Azure Setup
Follow this process to install an Azure VM with Cortex Certifai Pro running on it. Cortex Certifai Pro is a single-user server version of Certifai, available from the Azure Marketplace.
Azure Marketplace Setup
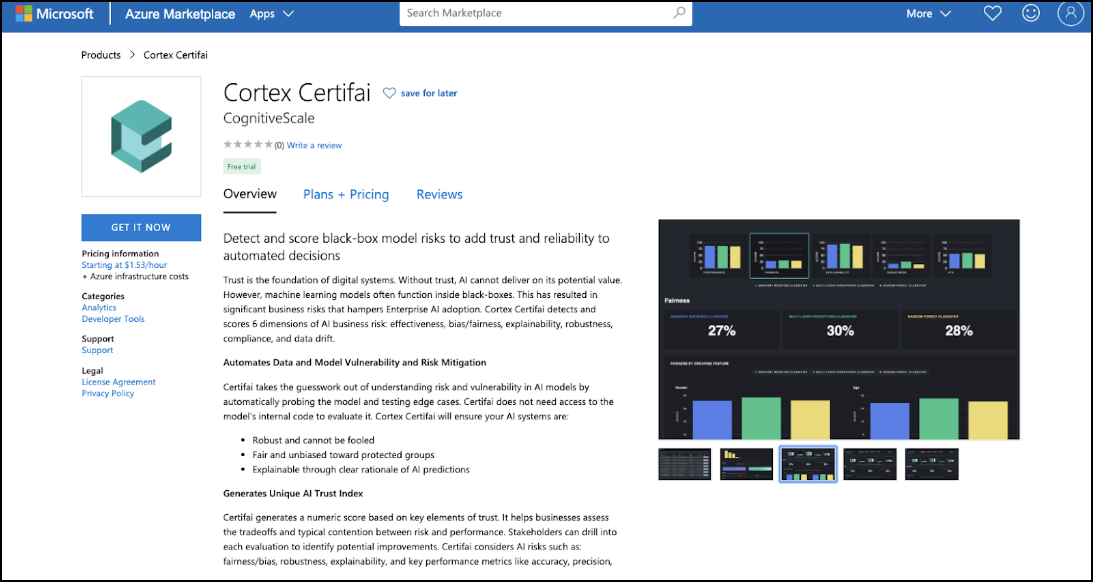
Go to the Azure Marketplace, search for, and select Cortex Certifai.
In the left panel of the Cortex Certifai information page click GET IT NOW.
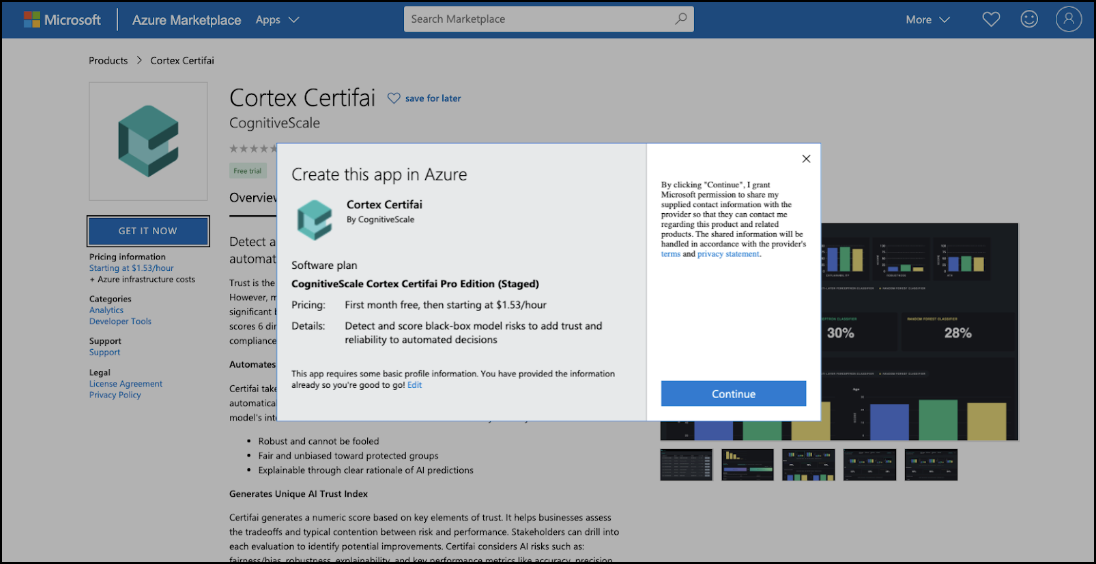
Accept the terms and conditions of the Azure portal by clicking CONTINUE.
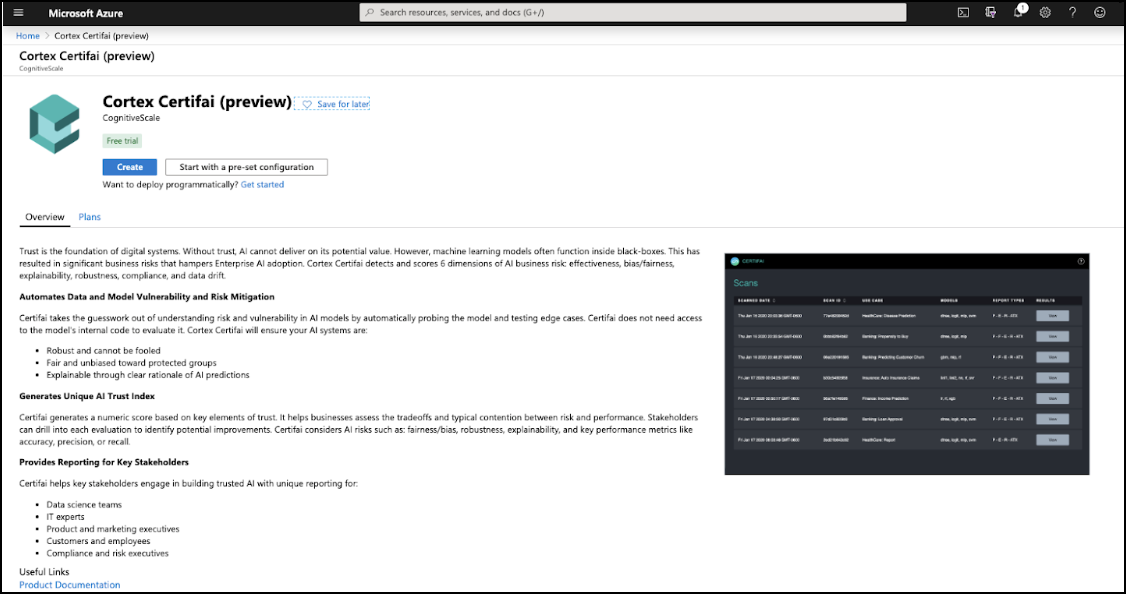
At the top of the Cortex Certifai page in the Azure portal click CREATE.
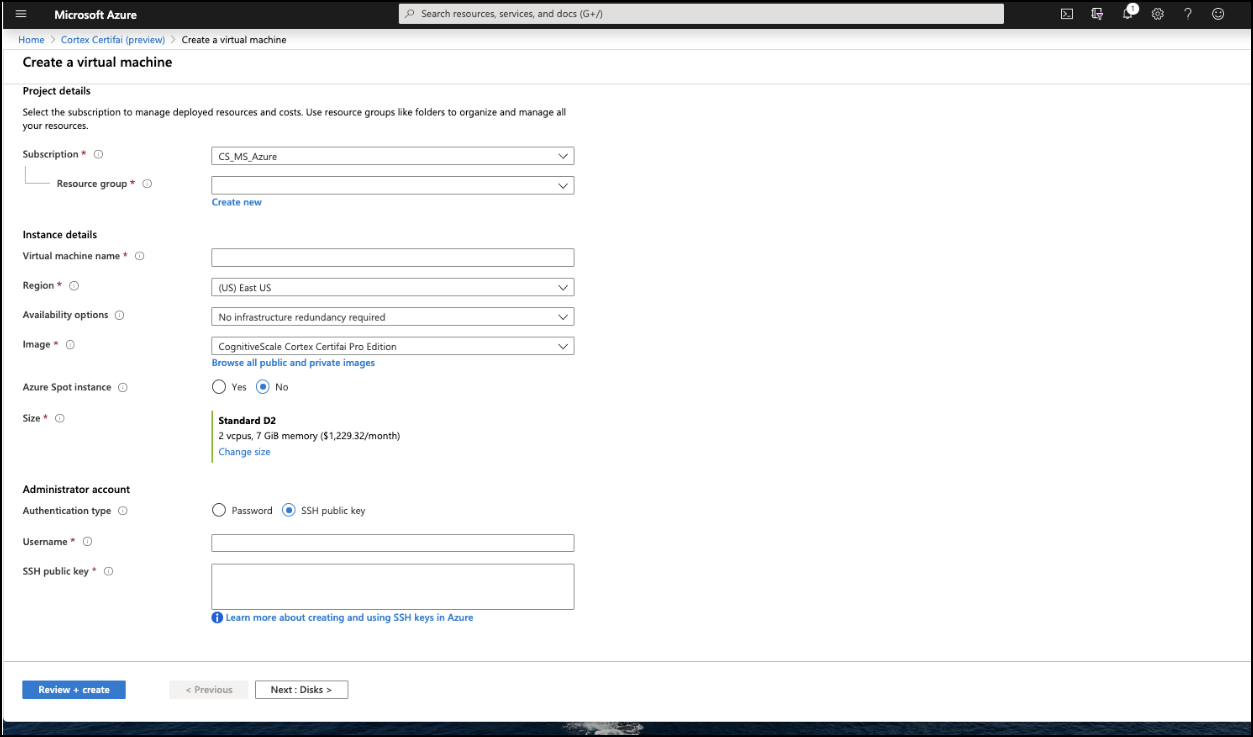
Create a virtual machine by completing the Basics configuration as follows:
- a. Select your subscription.
- b. Select a resource group or click Create new and enter a name for your resource group and save it.
- c. Provide virtual machine name
- d. Select a region.
- e. Select the image "CognitiveScale Cortex Certifai Pro Edition"
- f. Select a size that is 4 or more vcpus (fewer is not recommended).
- g. Select an authentication type.
- h. Click NEXT.
On the Disks tab make no changes and click NEXT.

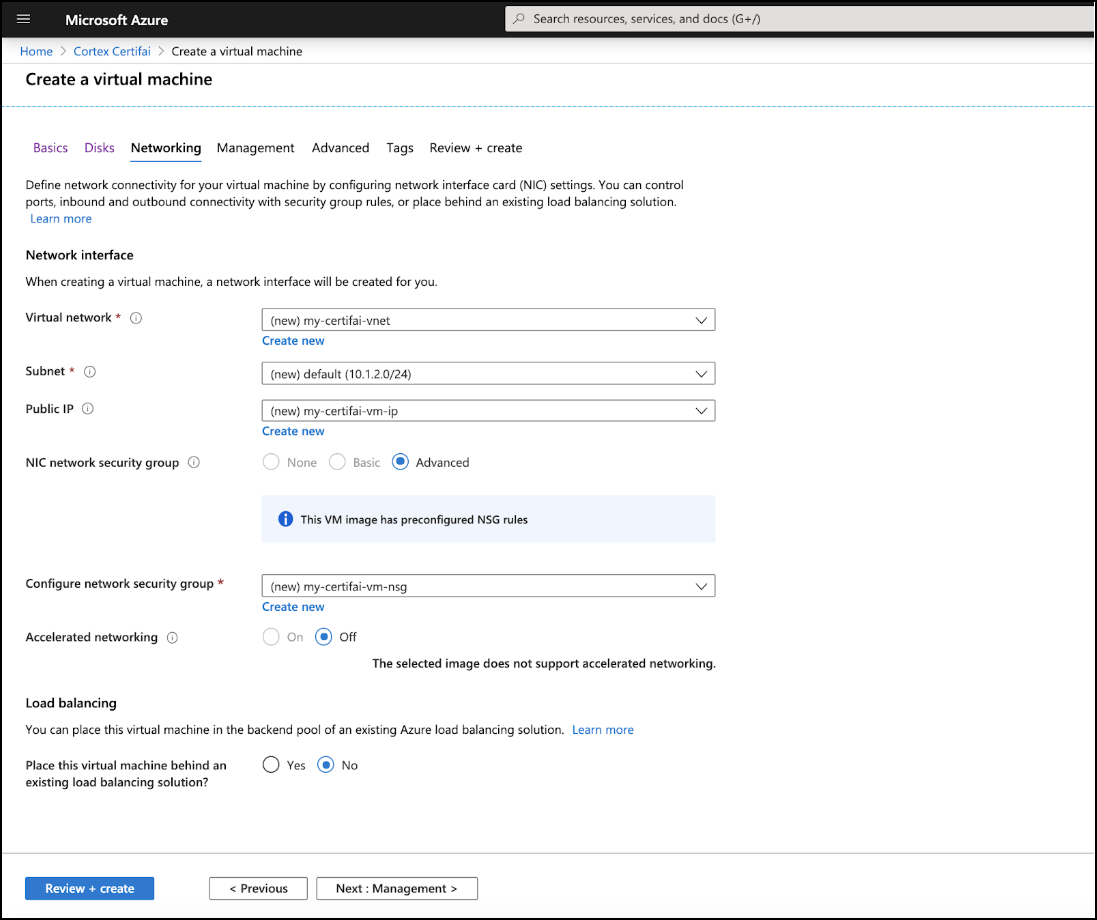
On the Networking tab select a virtual network or create one. This is the endpoint where your models are deployed so Certifai can access them. Click NEXT.
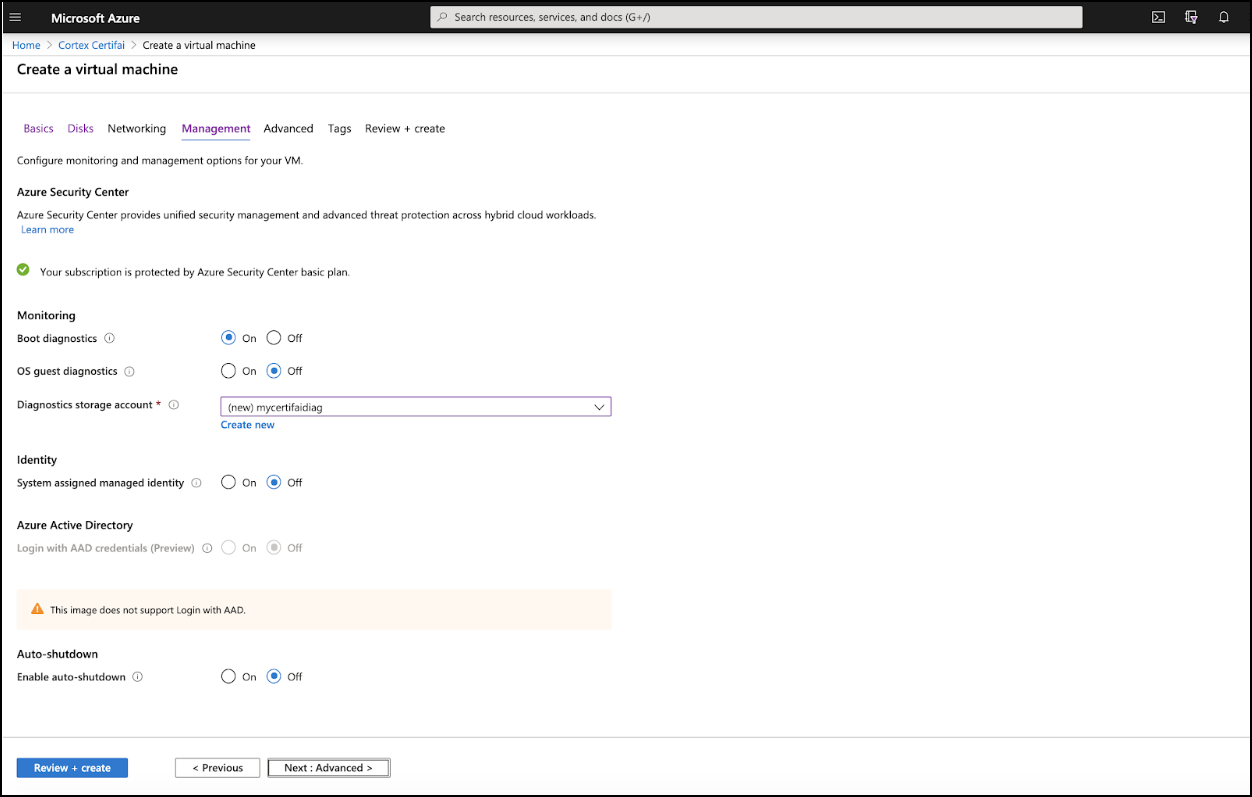
On the Management tab make selections or leave as is and click NEXT.
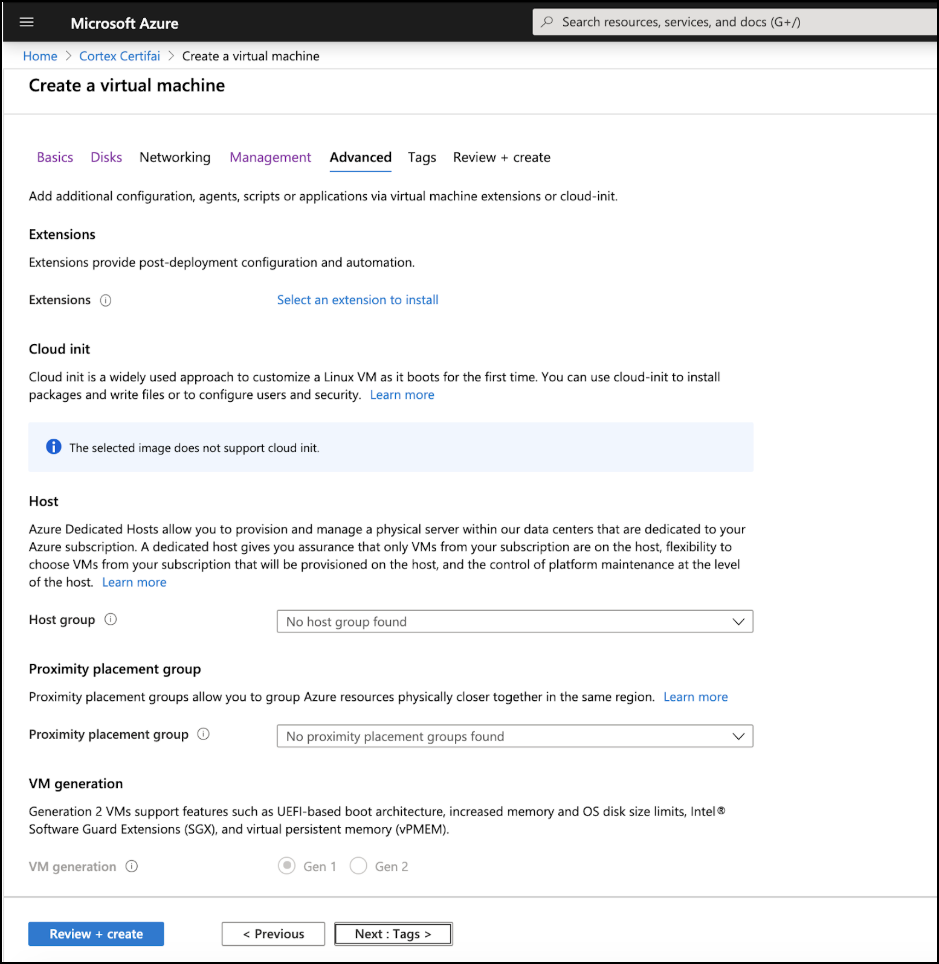
Leave the Advanced tab config as is and click REVIEW AND CREATE.
Validate your settings and click CREATE.
NOTE
Marketplace will display a message that states "Deployment Succeeded". It will take up to five more minutes to provision the Certifai software on the virtual machine. If you attempt to login before this is complete, a message is displayed that says the ip refuses to connect. Wait a couple of minutes and try again.
Azure Storage Account Setup
Click Microsoft Azure at the top left to go to the home screen.
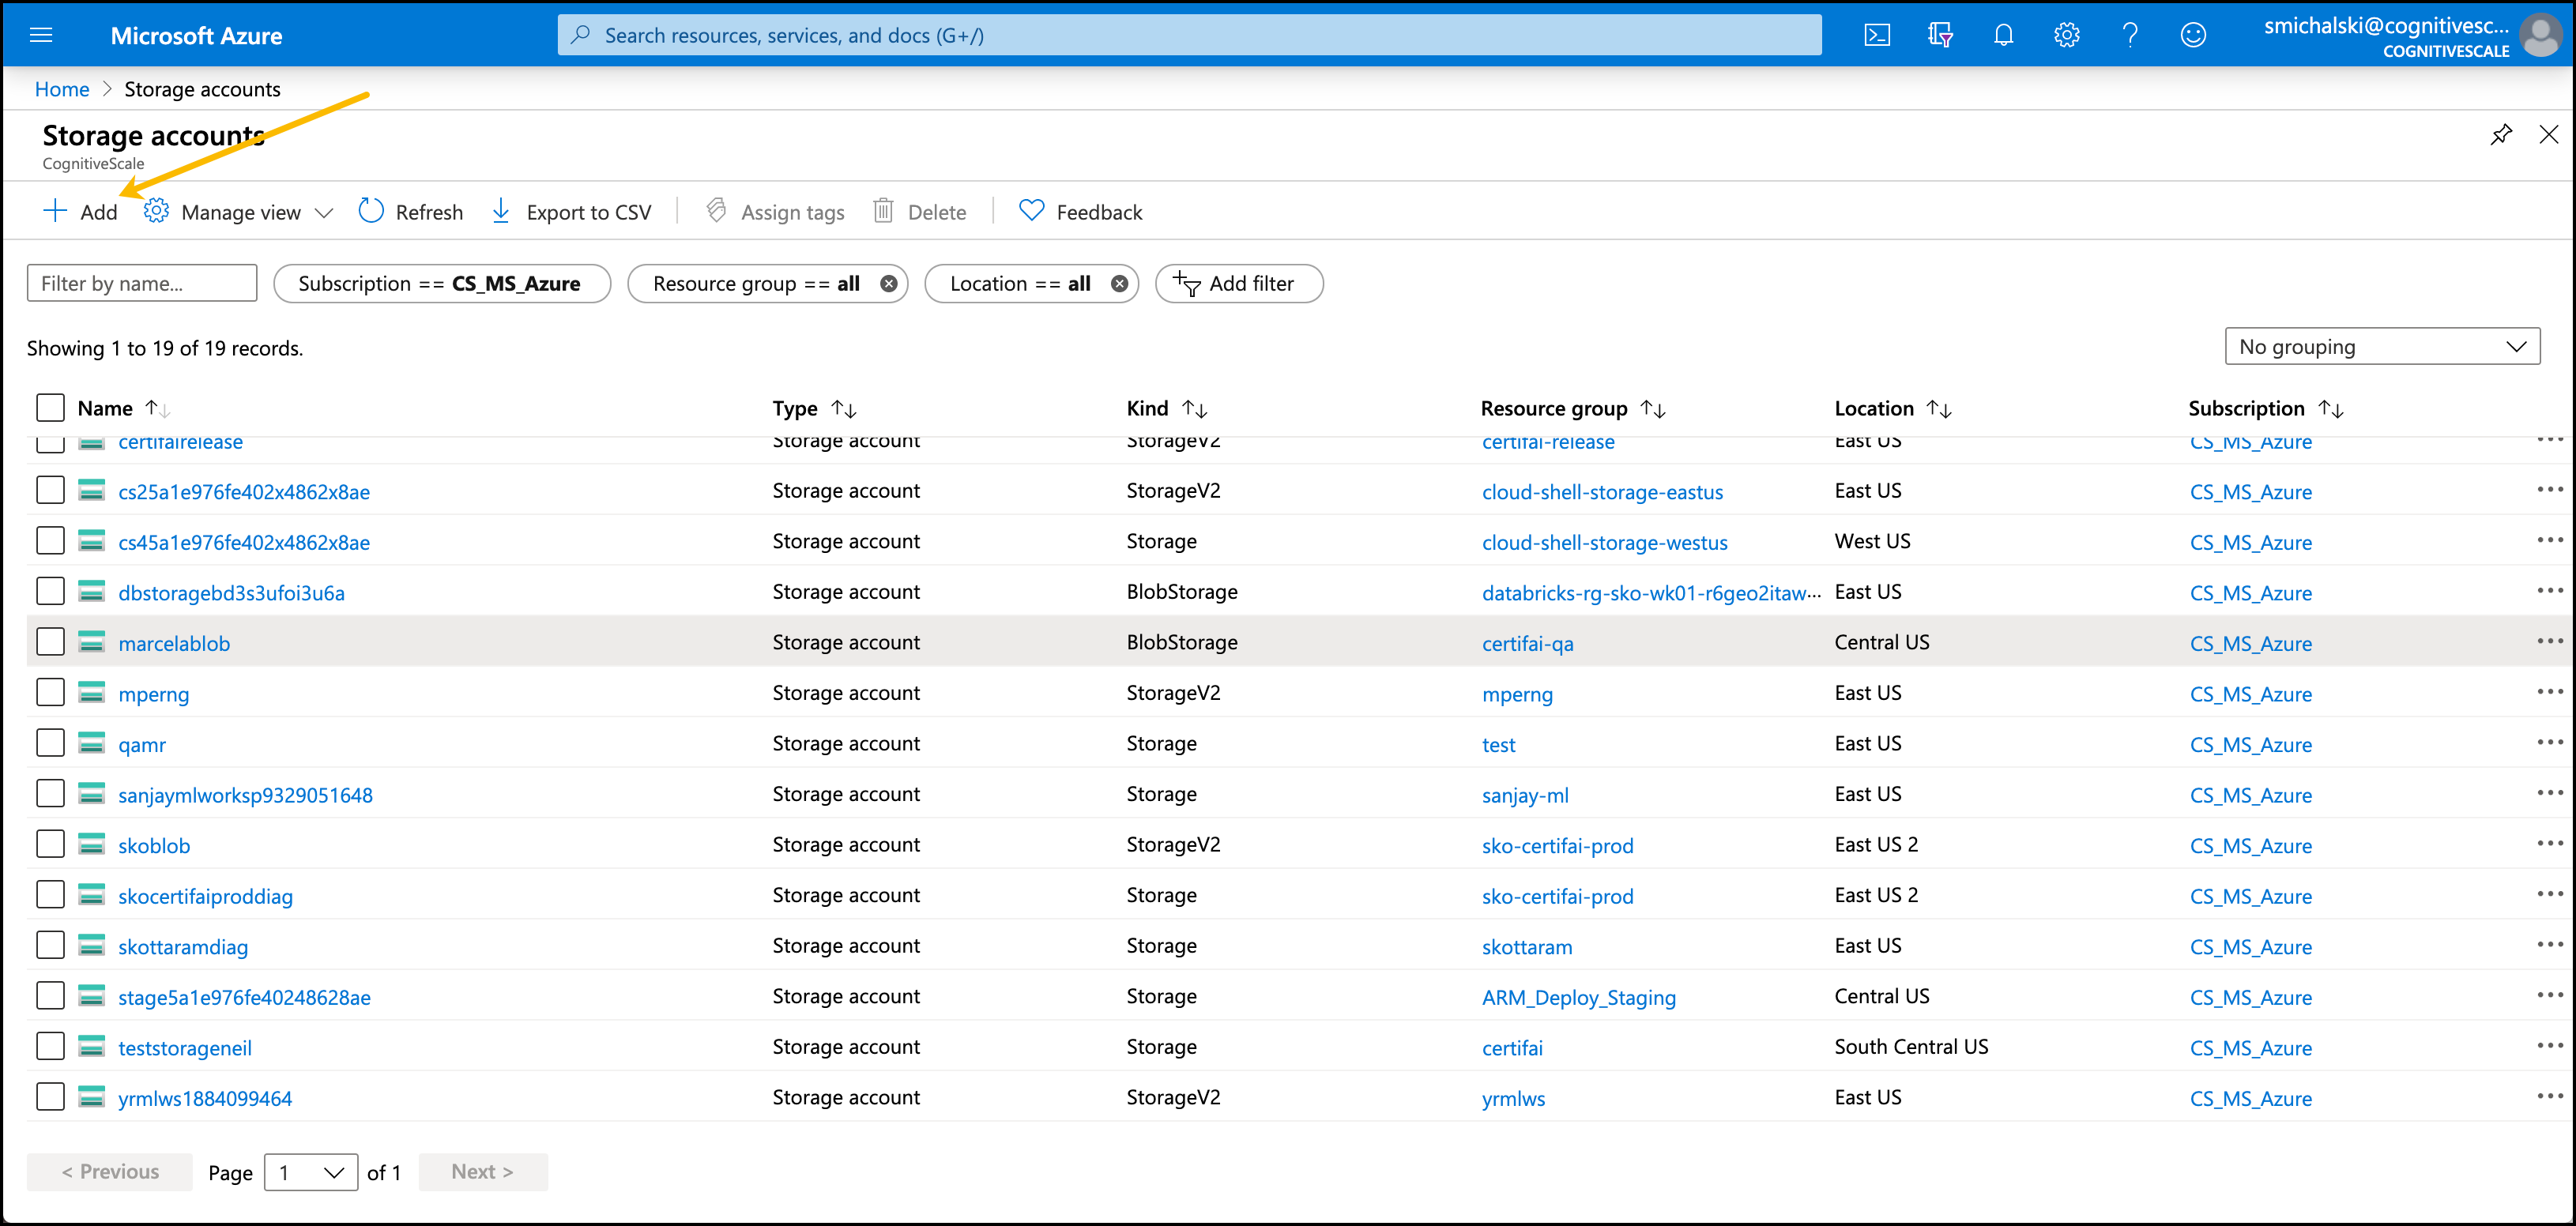
Click Storage Accounts (or search for Storage Accounts)
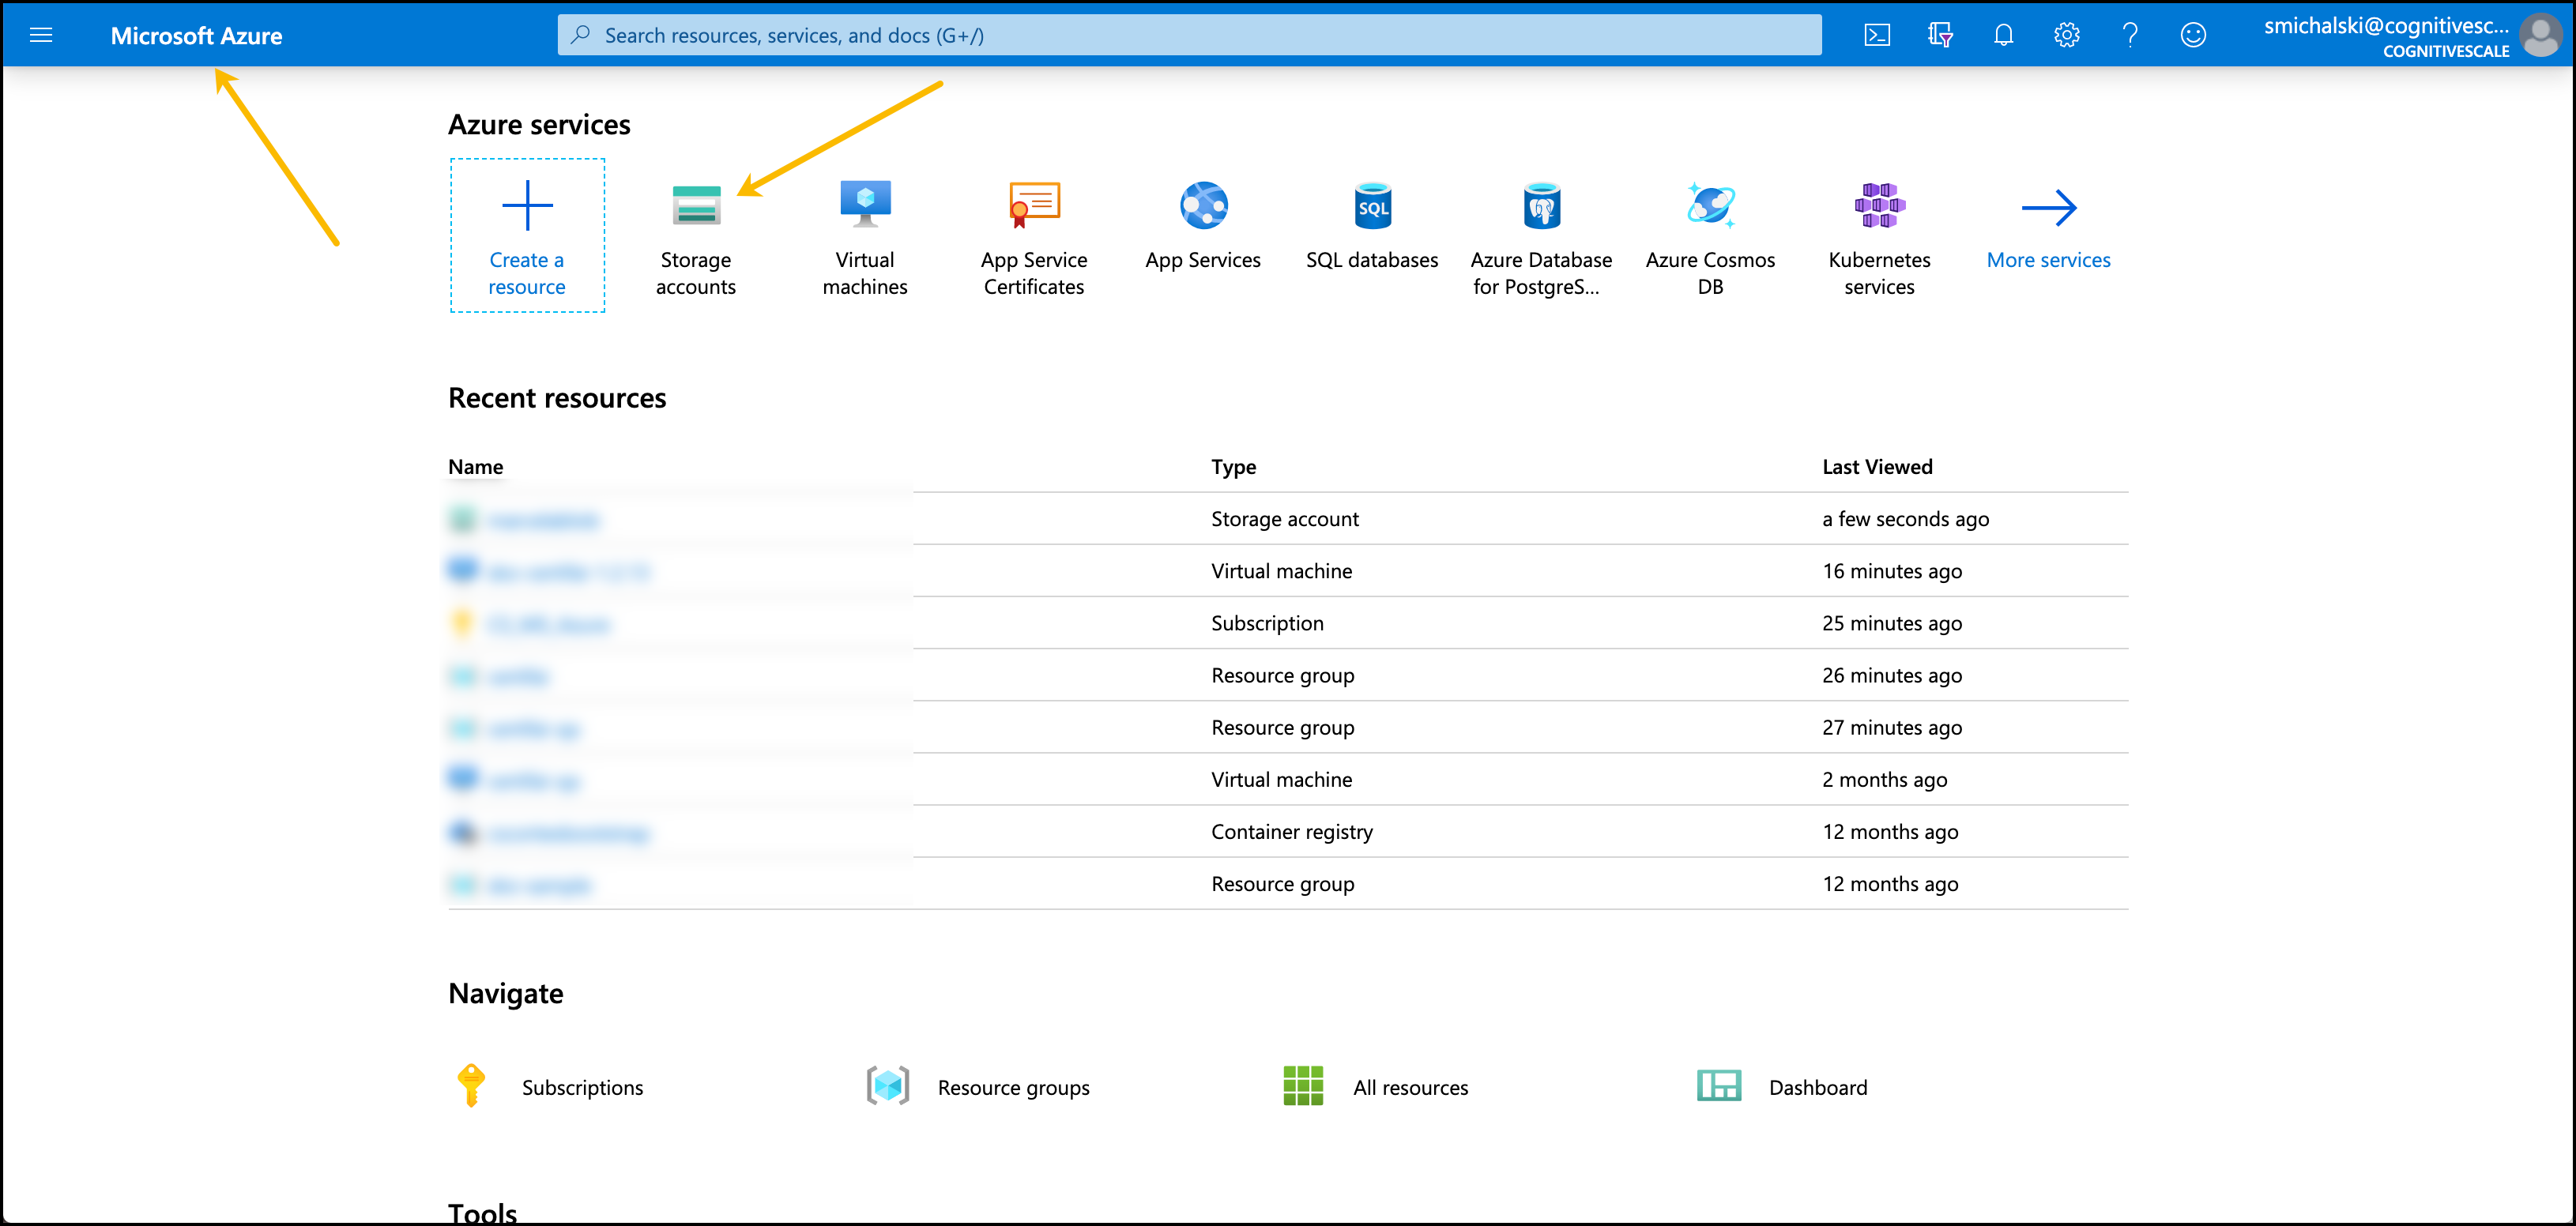
Click + Add in the top bar at the far left to create a storage account.
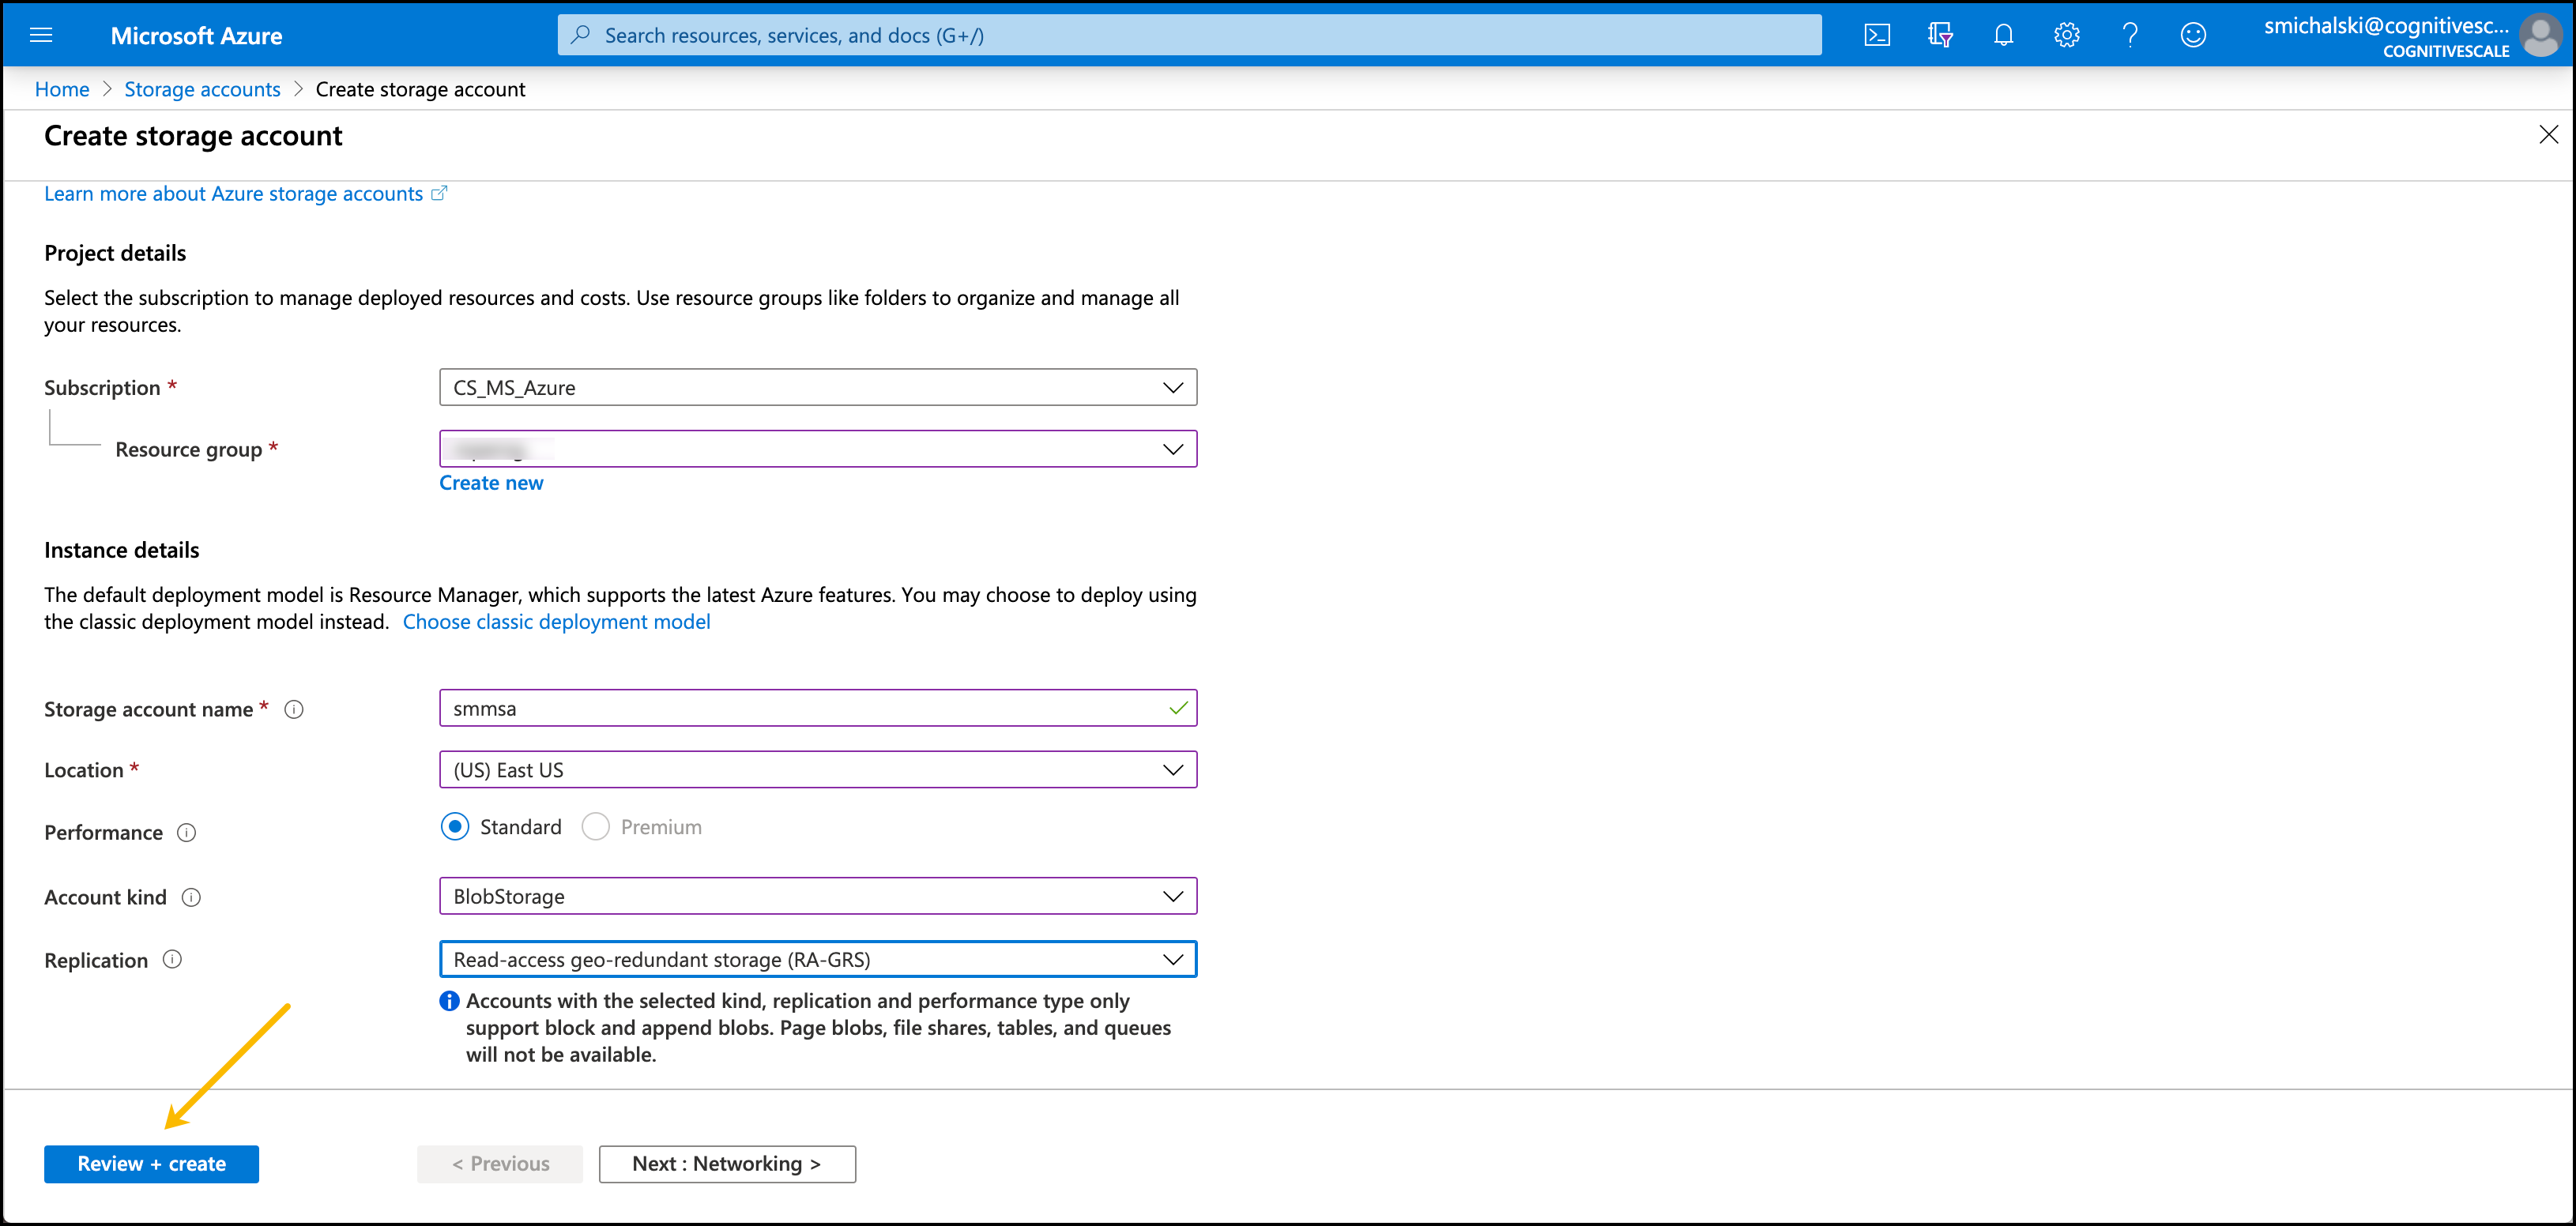
Complete the Basics as follows:
- Subscription: Select a subscription to apply the storage account to.
- Resource group: Select an existing resource group or create a new one.
- Storage account name: Enter a storage account name (no caps, spaces, or special characters)
- Location: Select a storage location
- Performance: Select
Standard - Account kind: Select
BlobStorage - Replication: Select
RA-GRS - Access tier (default): Select
Hot
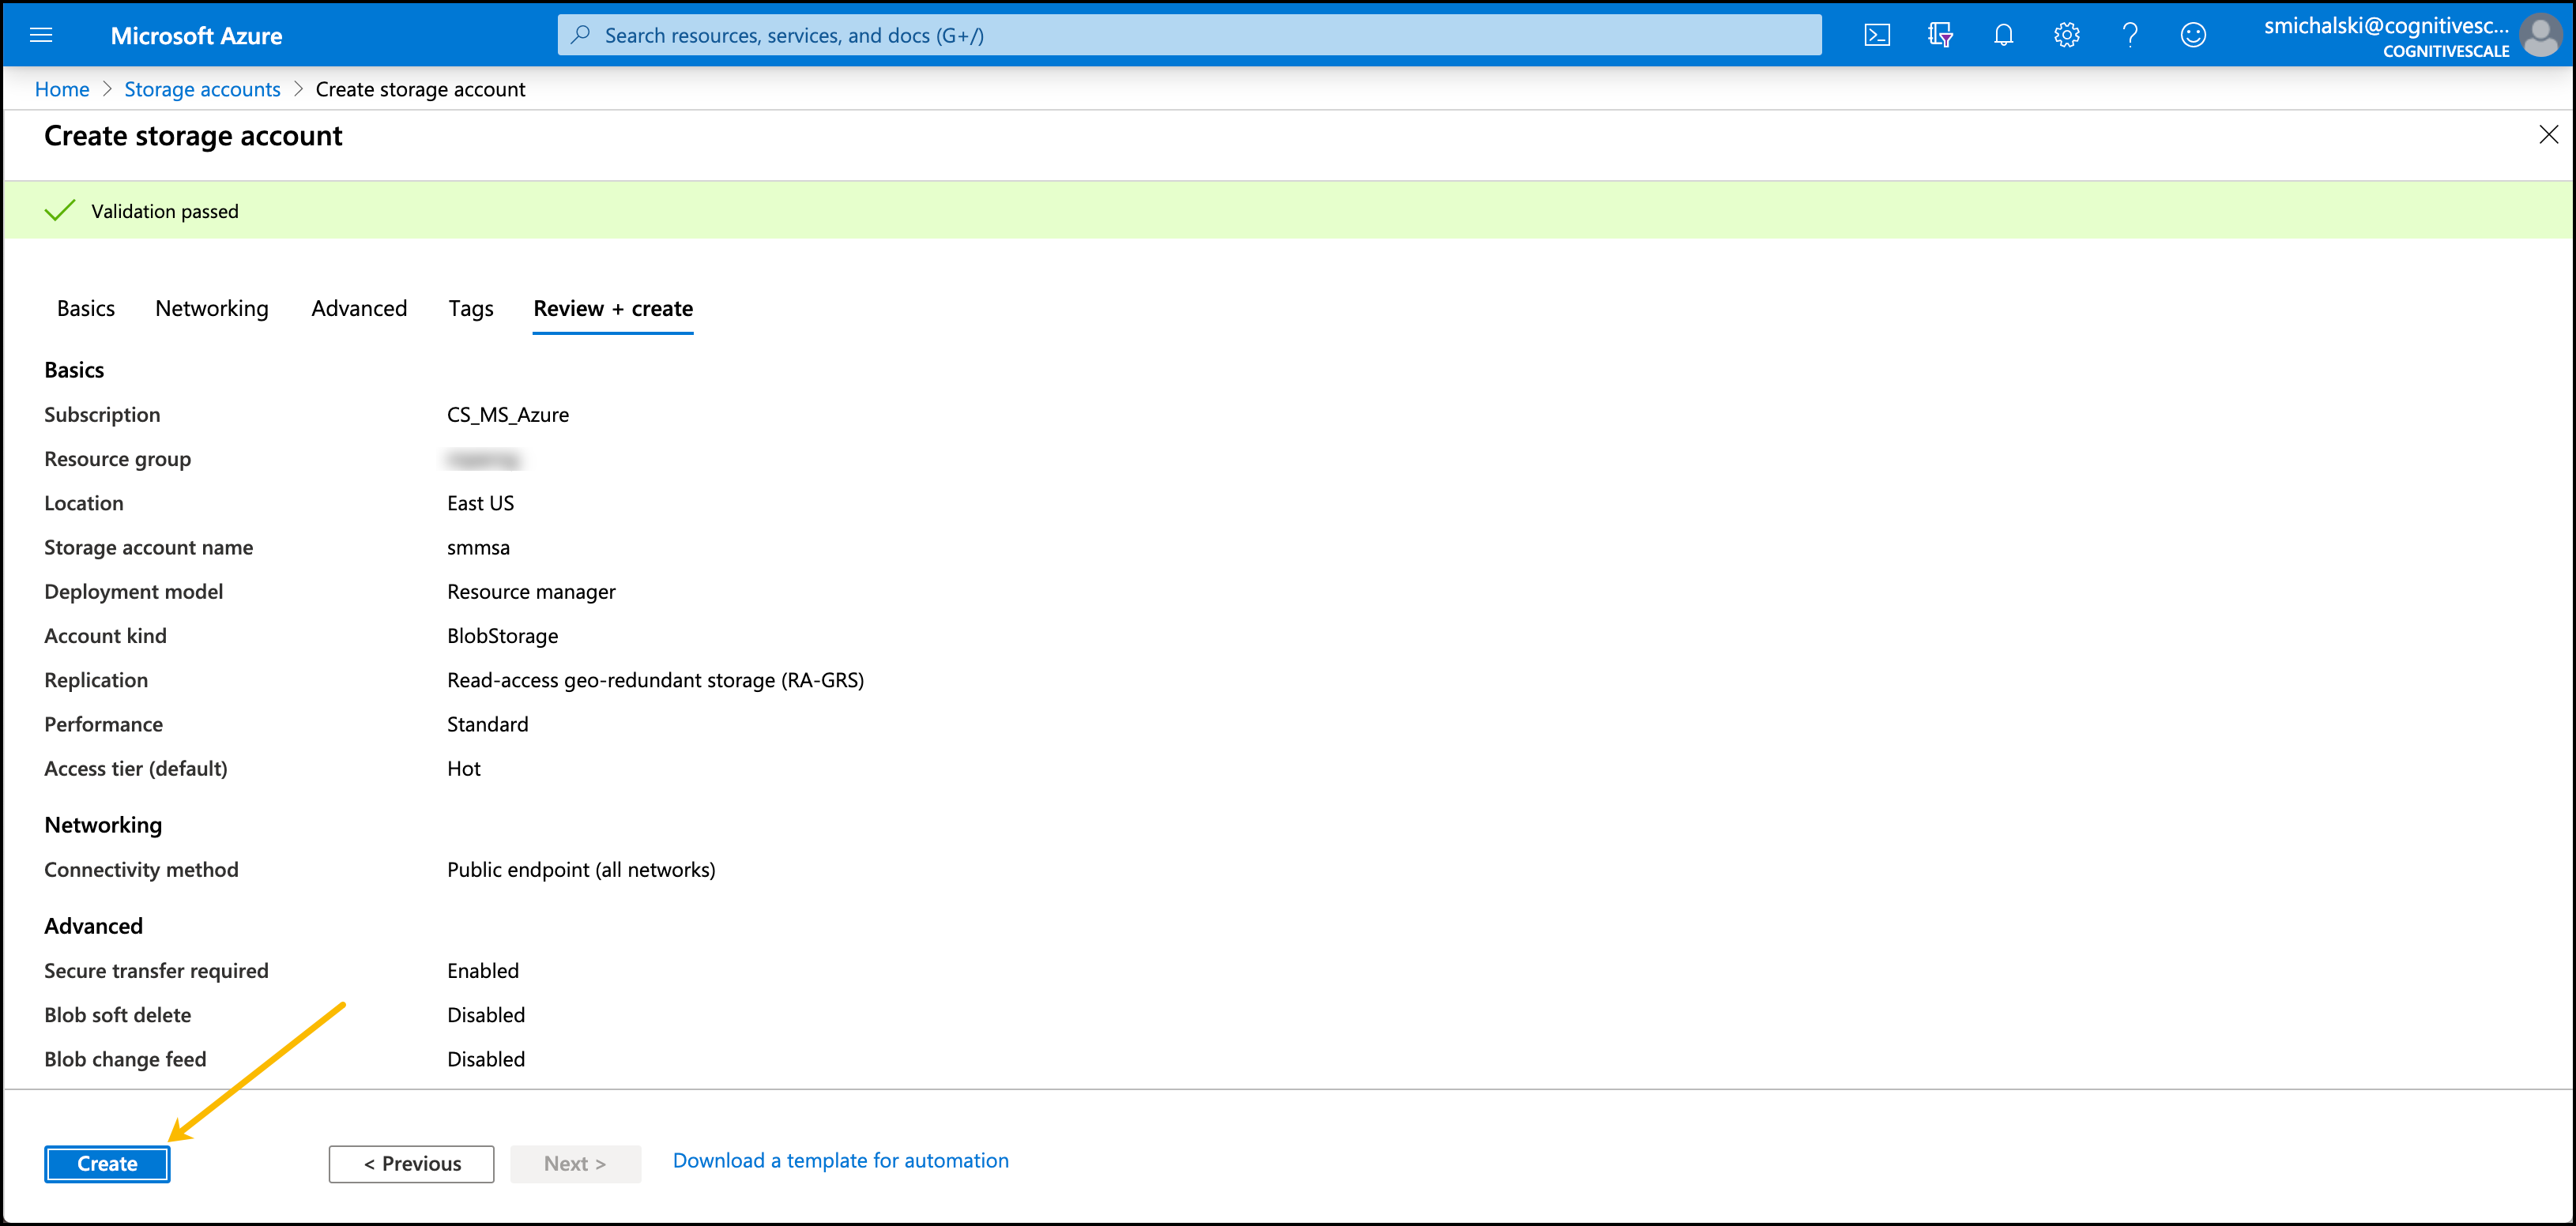
Click Review + Create at the bottom left.
A message is displayed that states Validation passed. At the bottom left click Create.
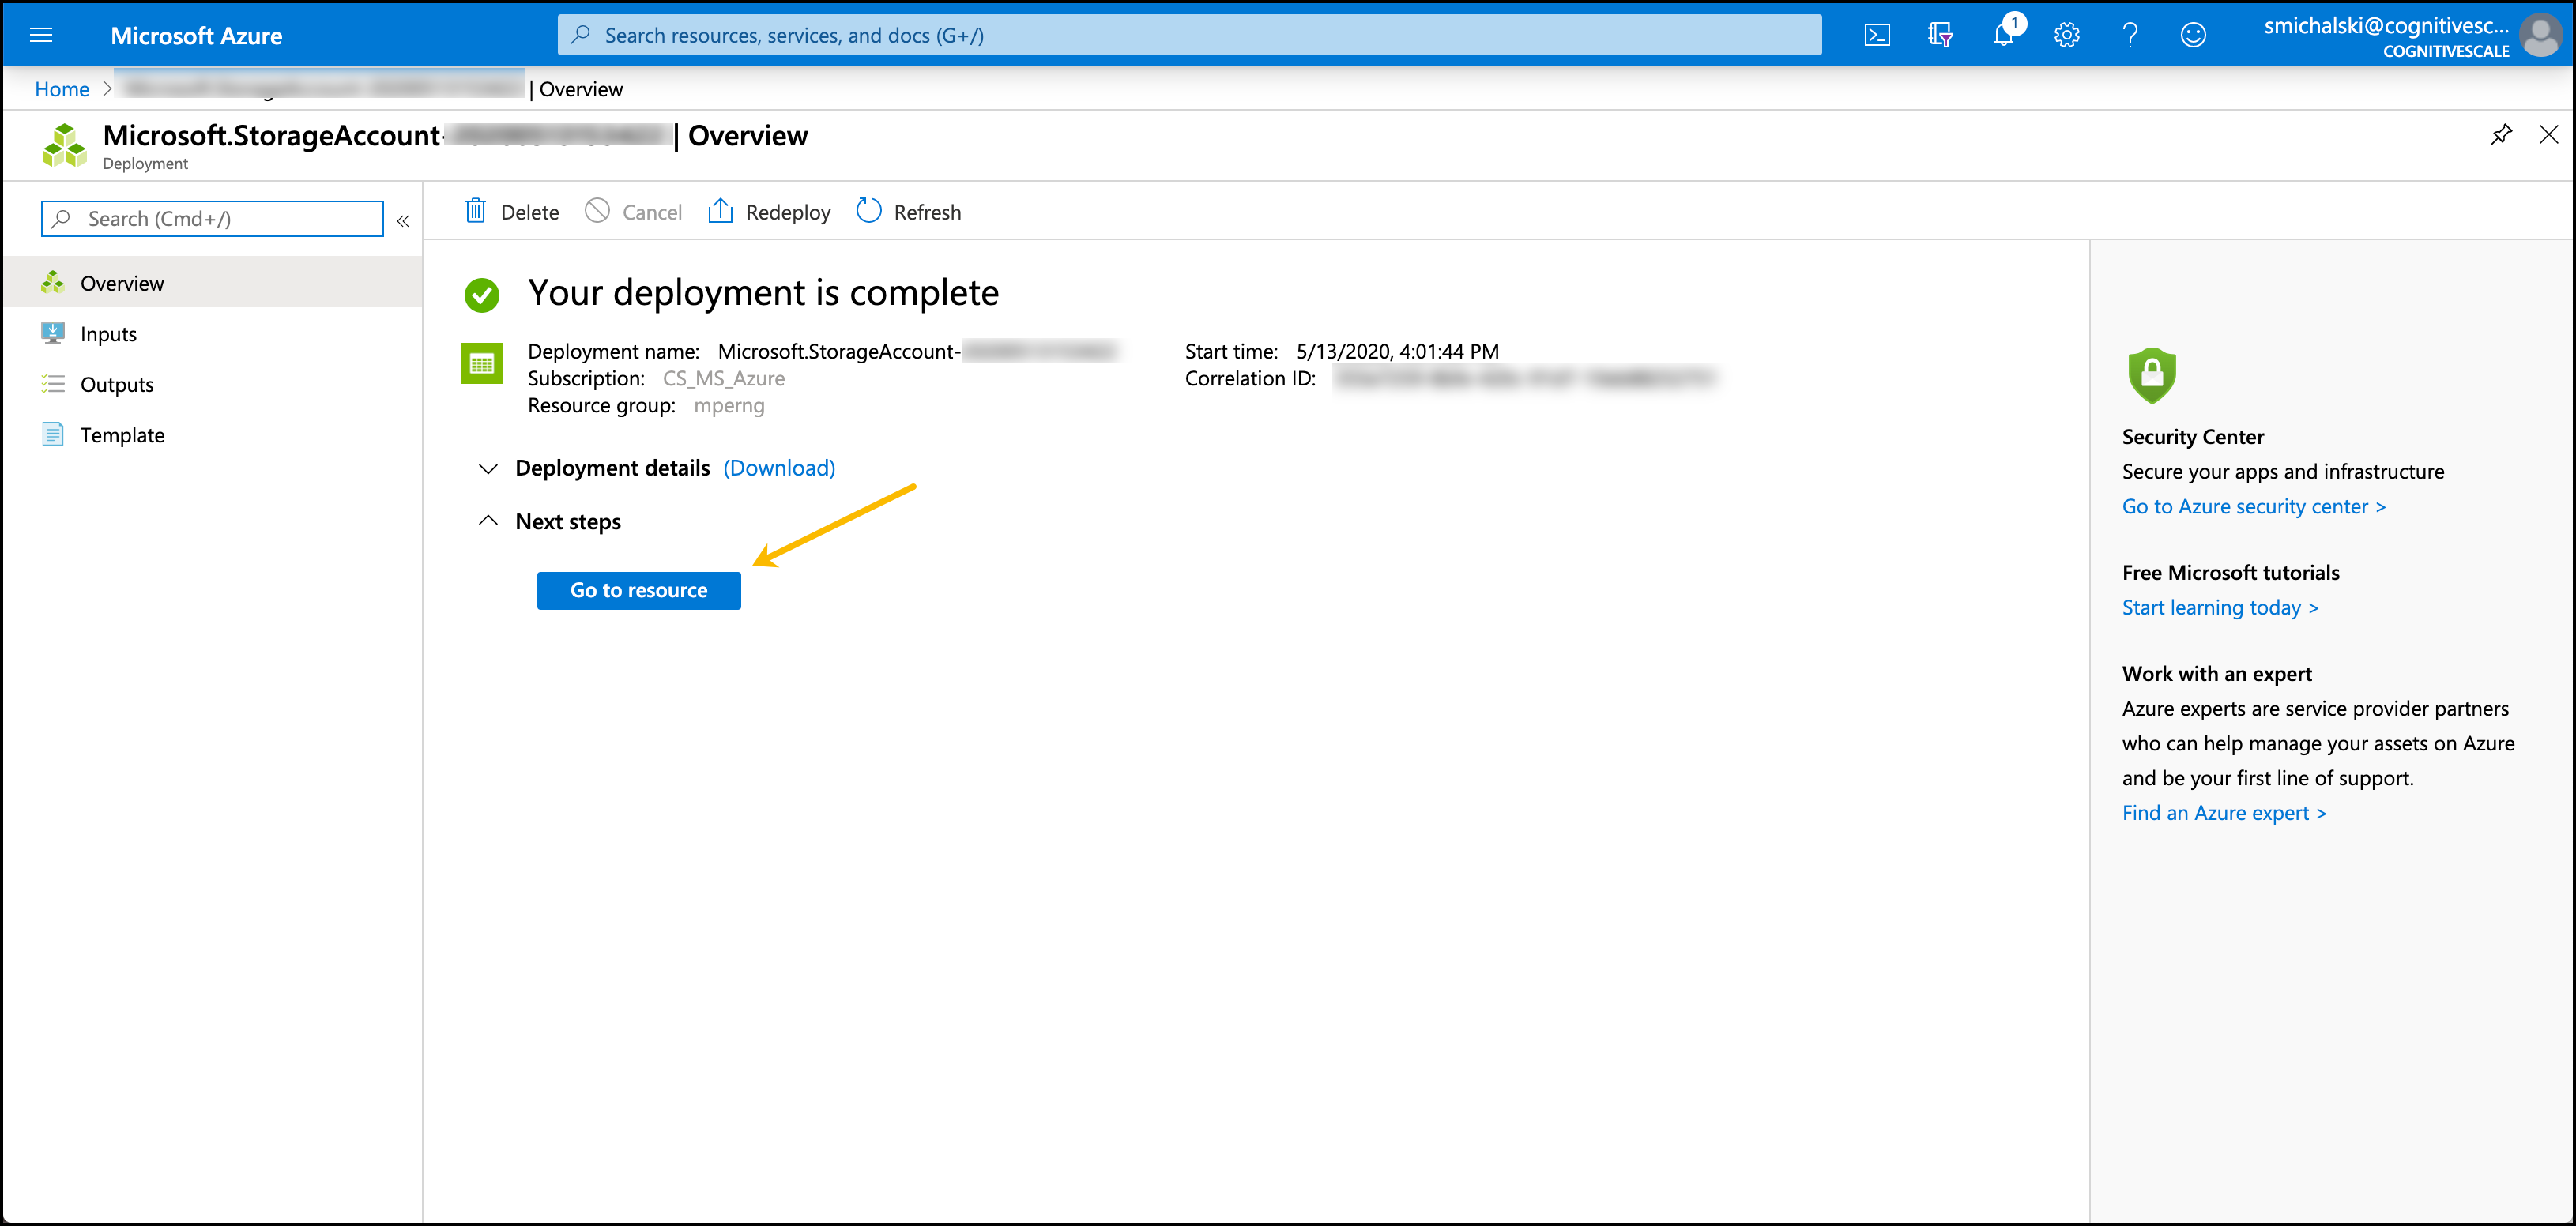
When the deployment is complete click Go to resource.
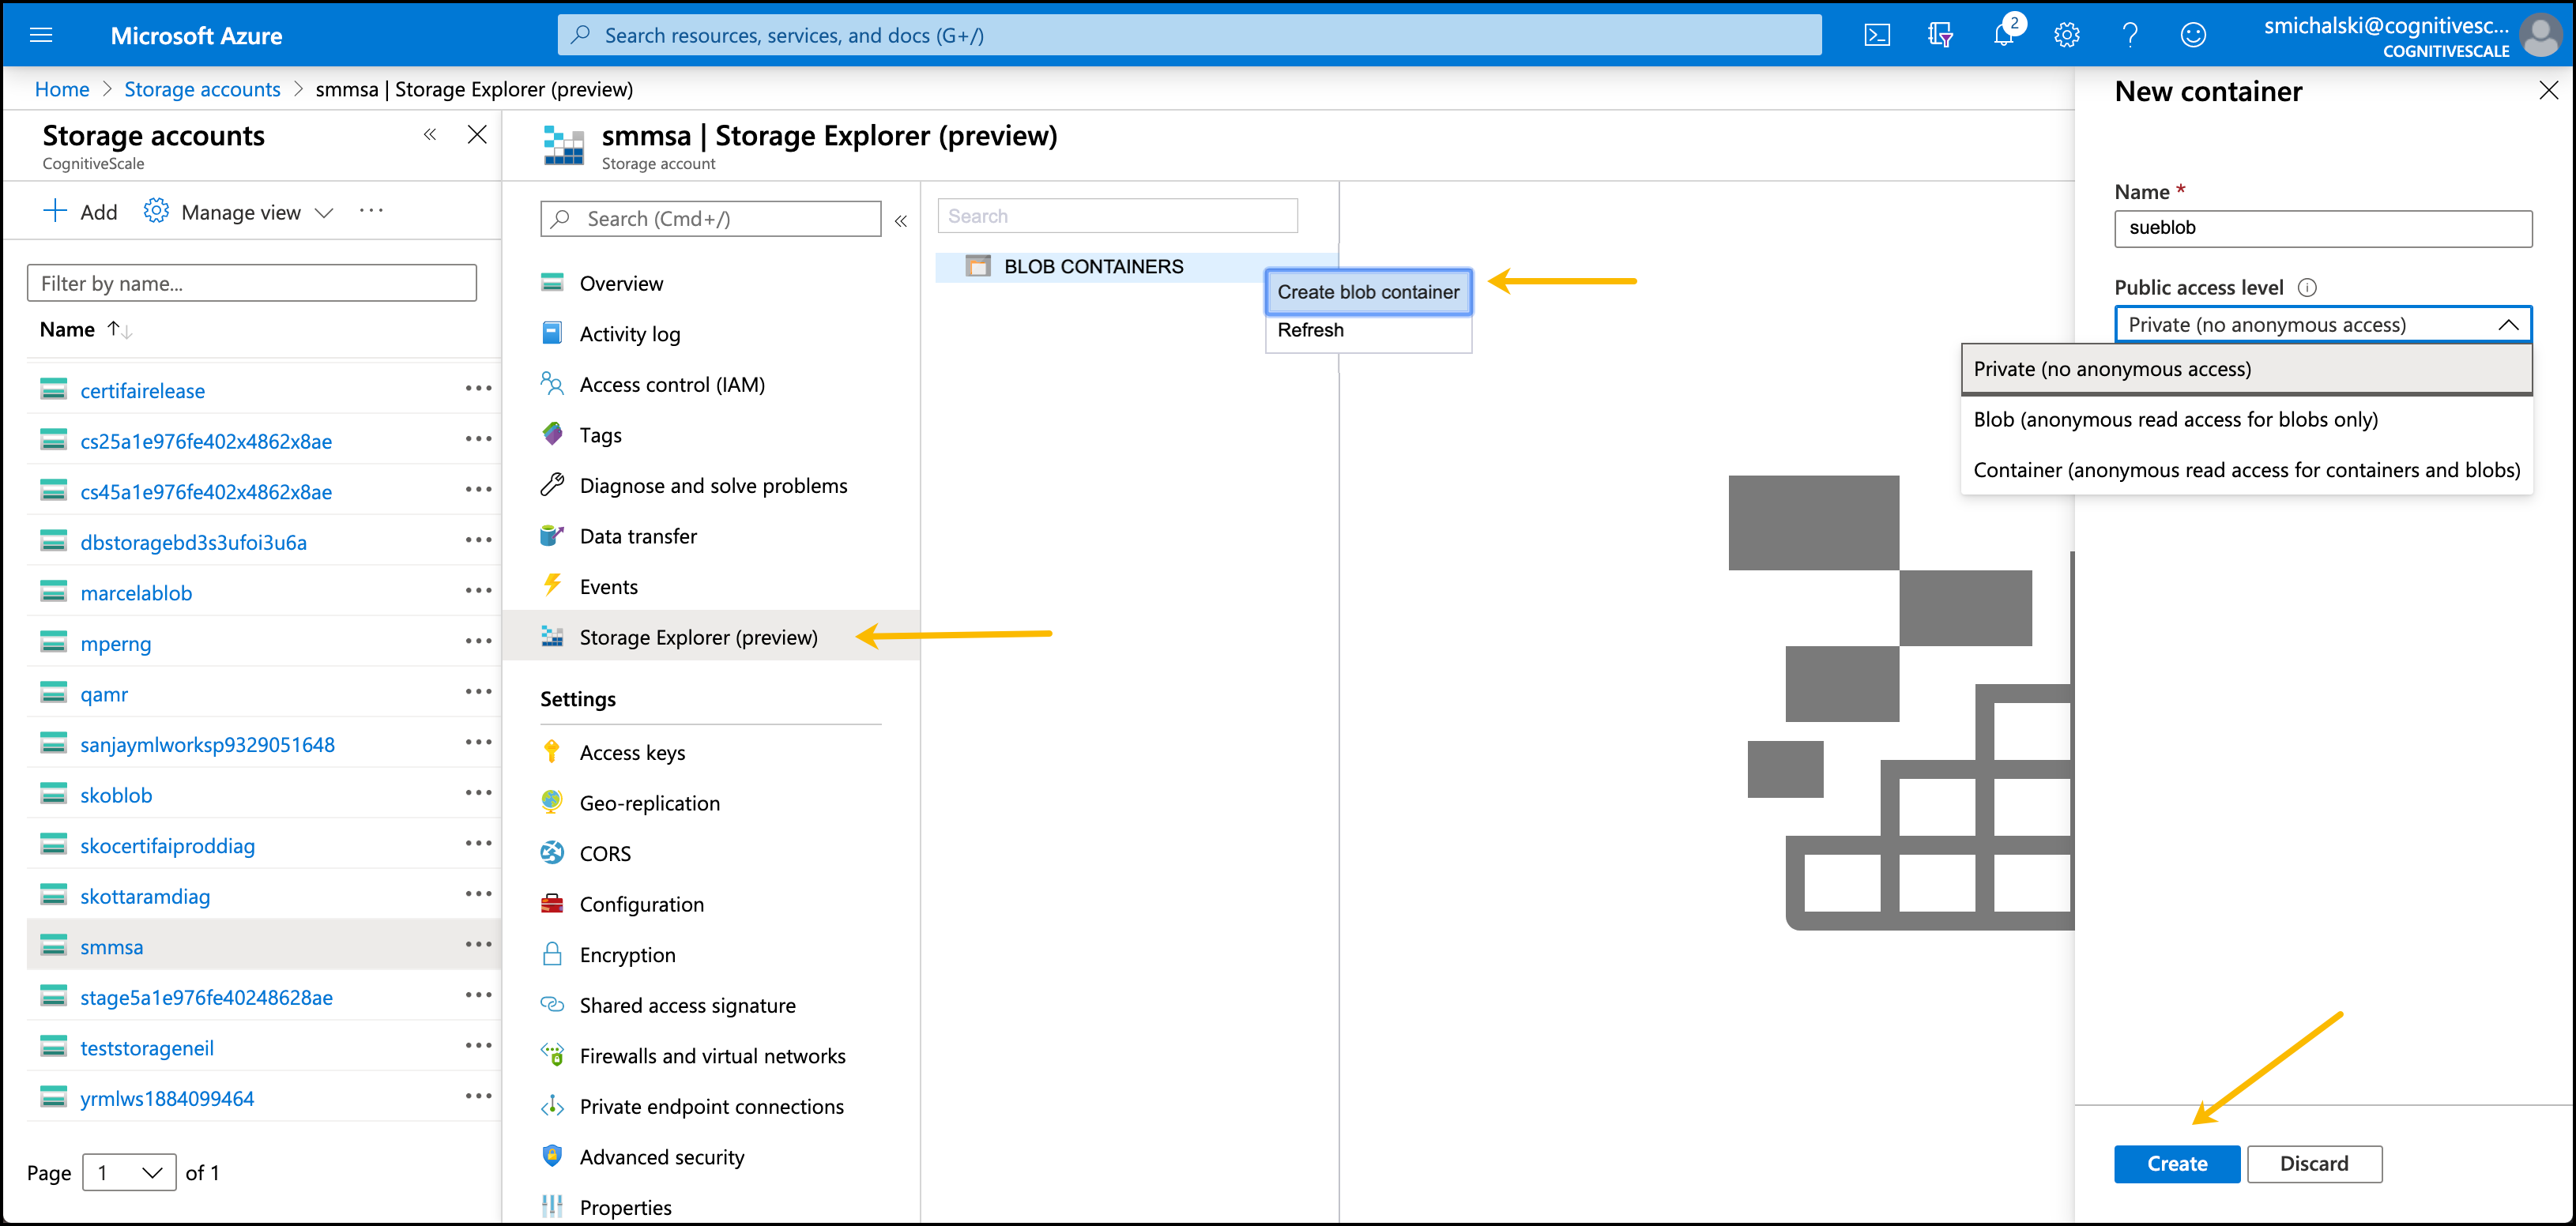
Click Storage Explorer (preview) in the left navigation panel. An empty blob containers list is displayed.
Right click Blob Containers in the middle panel and select Create Blob Container.
Complete the dialog in the panel on the right as follows:
- Name: Enter a name for the blob container
- Public Access level: Select Private
Click Create at the bottom of the panel.
Info
Make note of the Container Name and the Storage Account name; these are required to configure storage access in the Certifai portal
Certifai Console storage setup
To complete the configuration and login to the Certifai Console you will need to obtain four pieces of information from the Azure portal.
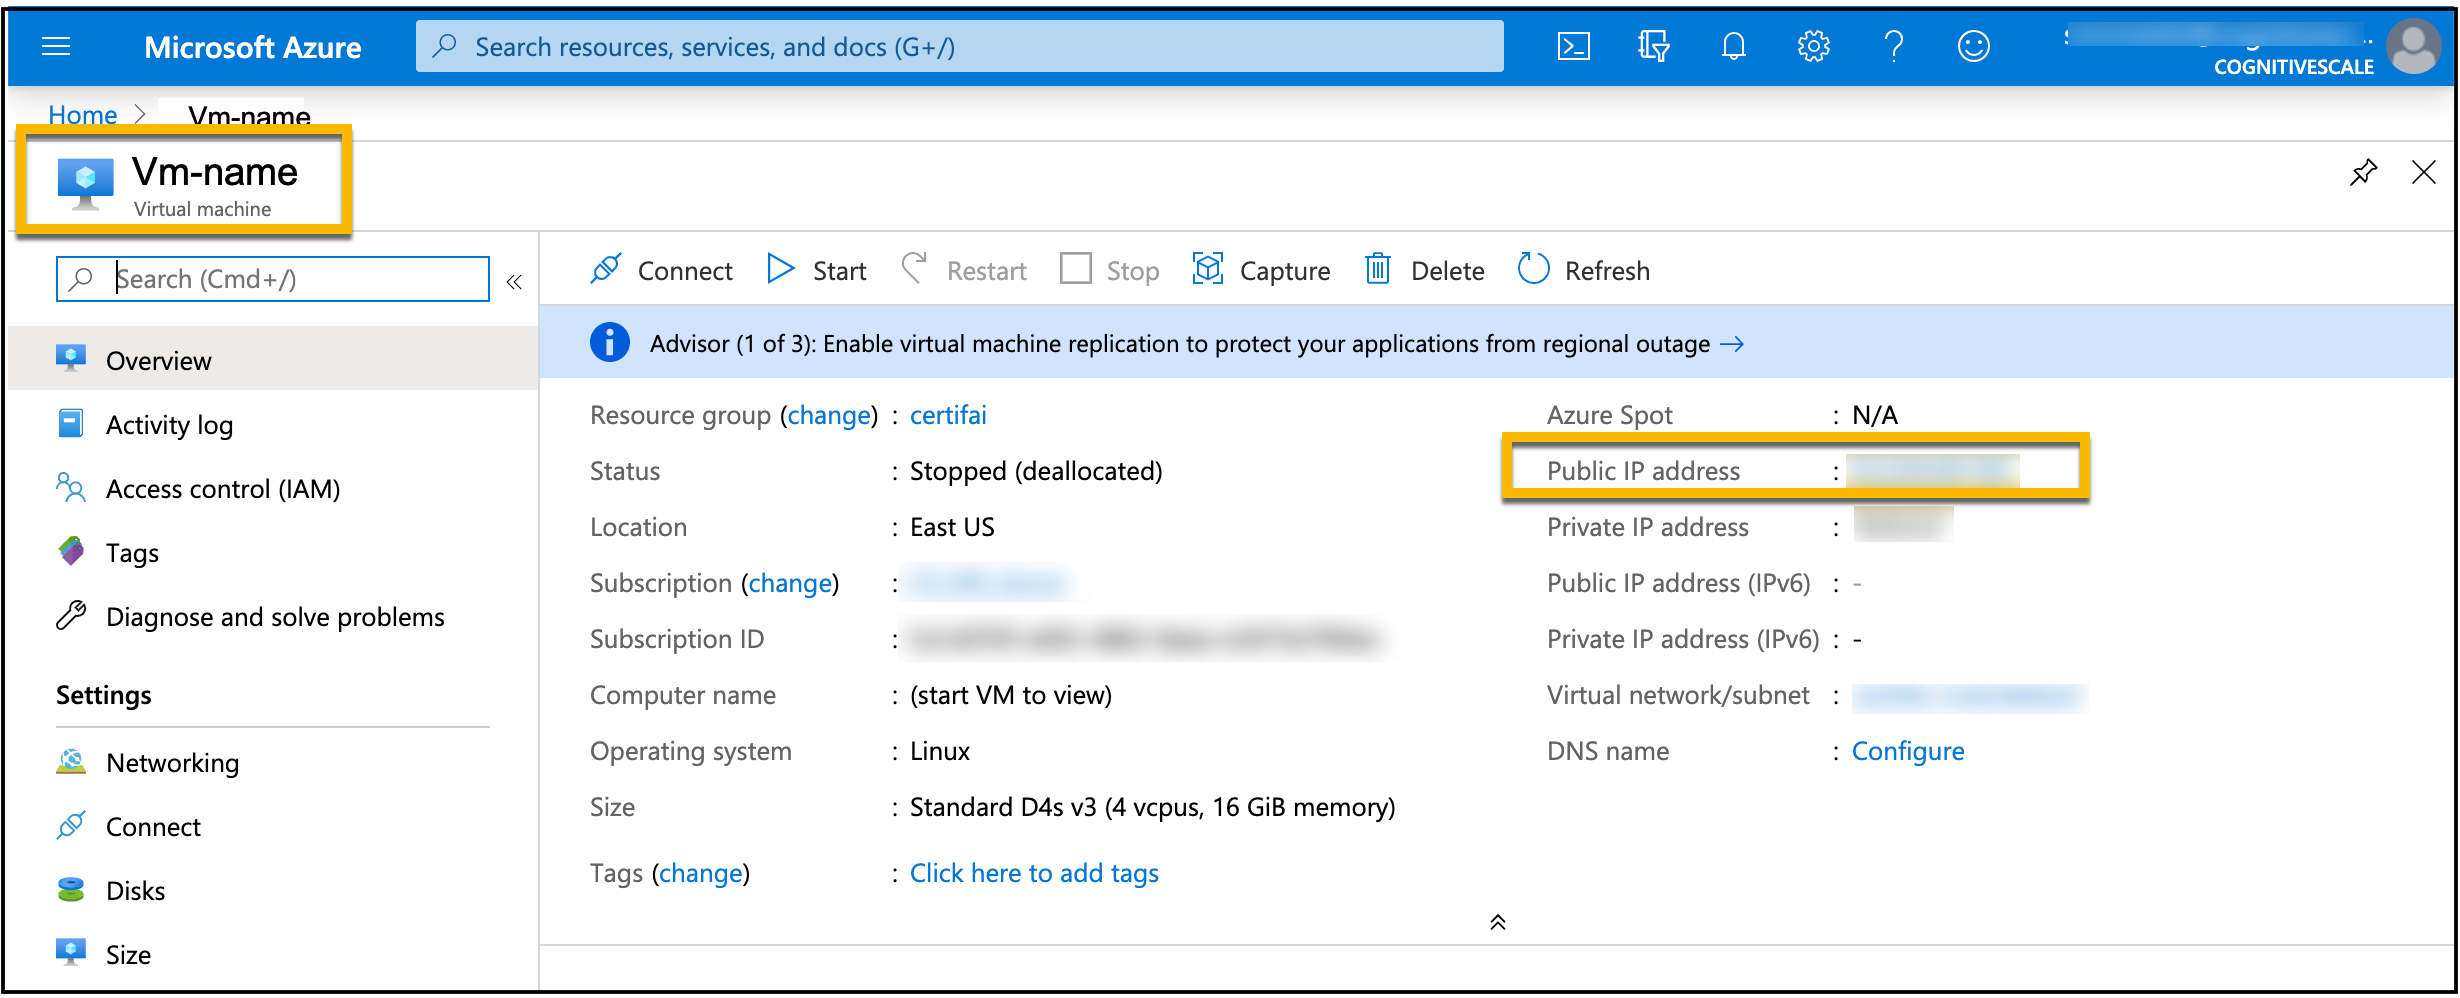
From your Azure virtual machine home, you will need:
Blob Container Name: enter this as the Scan Directory name in the Certifai storage setup.
Public IP address of your Certifai VM: enter this into a browser to bring up your Certifai Console following provisioning
Virtual Machine Name: you entered during provisioning.
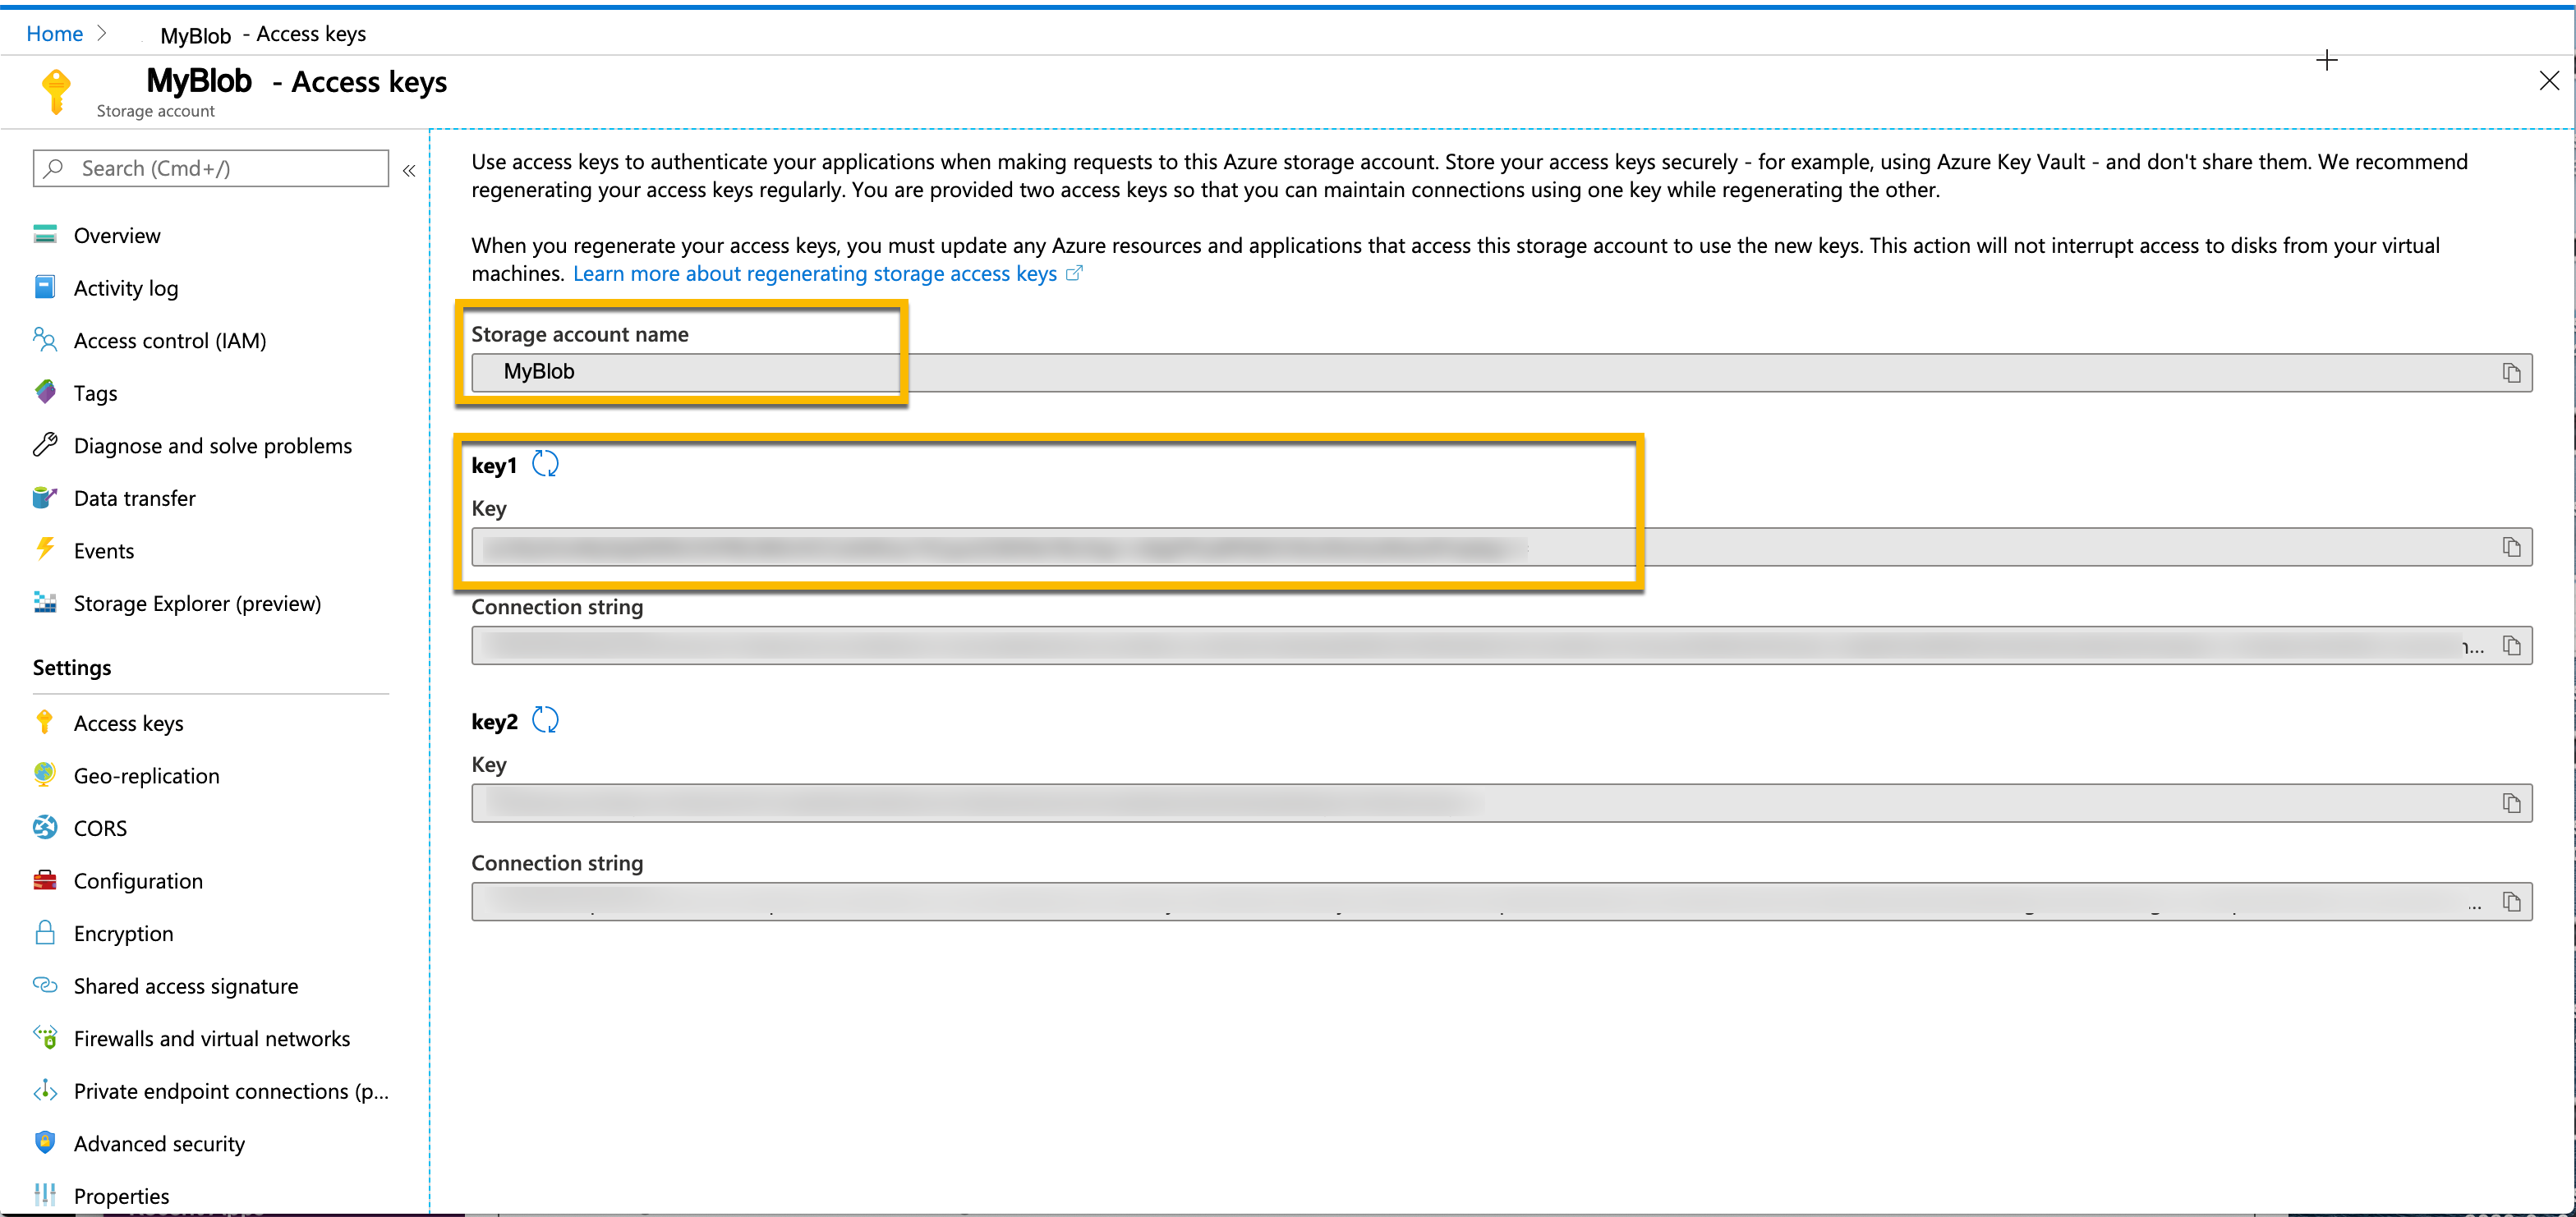
From your Azure blob storage Access Keys page, to configure your reports storage from the Console storage configuration page, you will need:
- Storage Name : This is the name of your Azure Storage Account
- Key 1 - Key : Access Key for this Azure Storage Account
- Storage Container Name: The name of the Storage Container in this Storage Account (any permission level).
Please ensure that you have:
- A Storage Account with the supplied Storage Name.
- A key for this account that has read-write access to the account.
- A Storage Container created whose name is entered in the Scan Directory field below, which uses a location (Container) in blob storage where your Certifai scan reports are stored in Azure, and the Console reads them from. Make note of this name; it is required to configure your storage in Certifai Console.
Enter
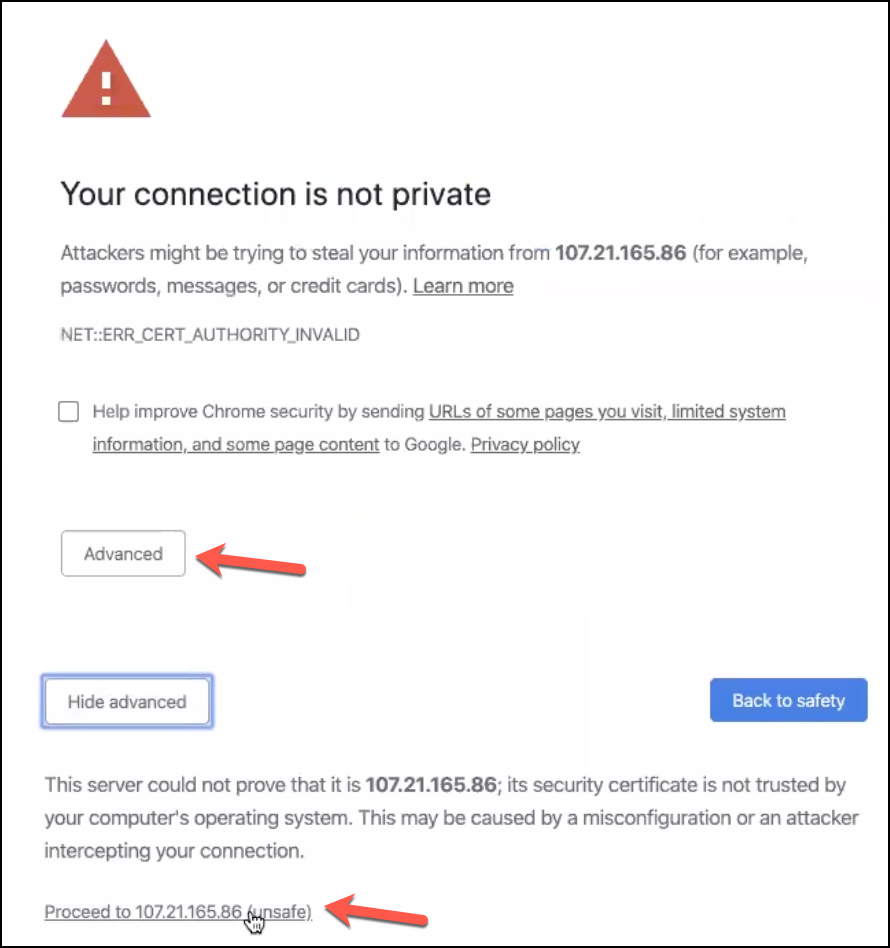
https://<Public IP address>into a browser window to open the Certifai Console login page. (Chrome is the recommended browser)Info
A warning message is display telling you that the connection is not private. Click on the link that exposes the Advanced settings. Click the link at the bottom that says "Proceed to <IP address>".
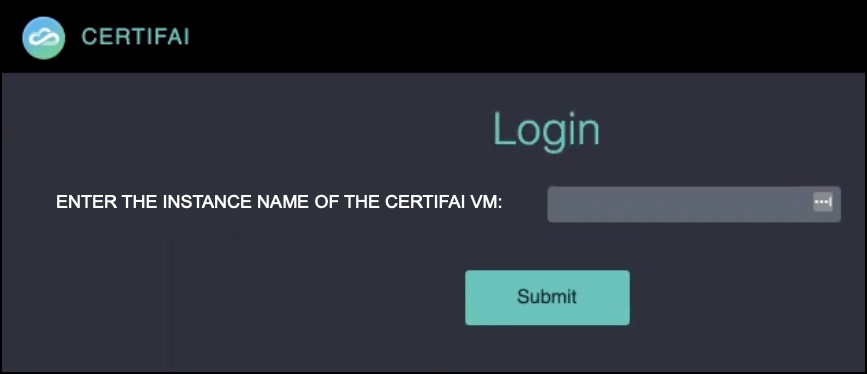
On the initial Certifai Console Login page enter your VM Name and click SUBMIT.
Info
If the login page is displayed, rather than the page pictured below. Do not enter a password, just click SUBMIT to open the VM Name page.
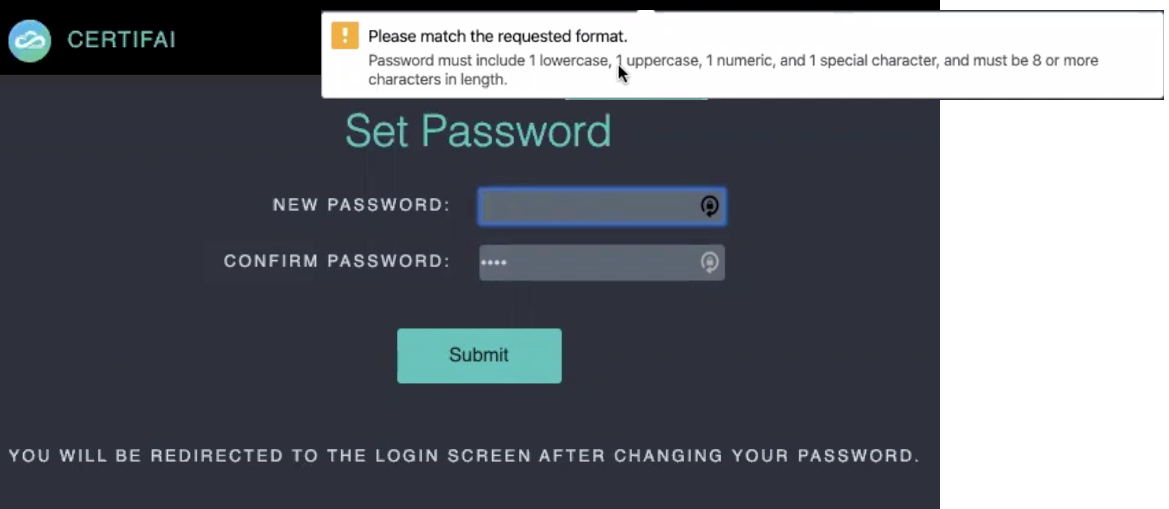
The "Set Password" page is displayed. You cannot proceed without setting a new password. Enter a strong password in the New Password field. Enter the same password into the Confirm Password field. Then click SUBMIT.
(We recommended 8 or more characters with one of each of the following: lowercase letter, uppercase letter, number, special character, no spaces)
You are redirected back to the login page where you must enter your new password for the "certifai" user and click SUBMIT. (NOTE: Do not change the username.)
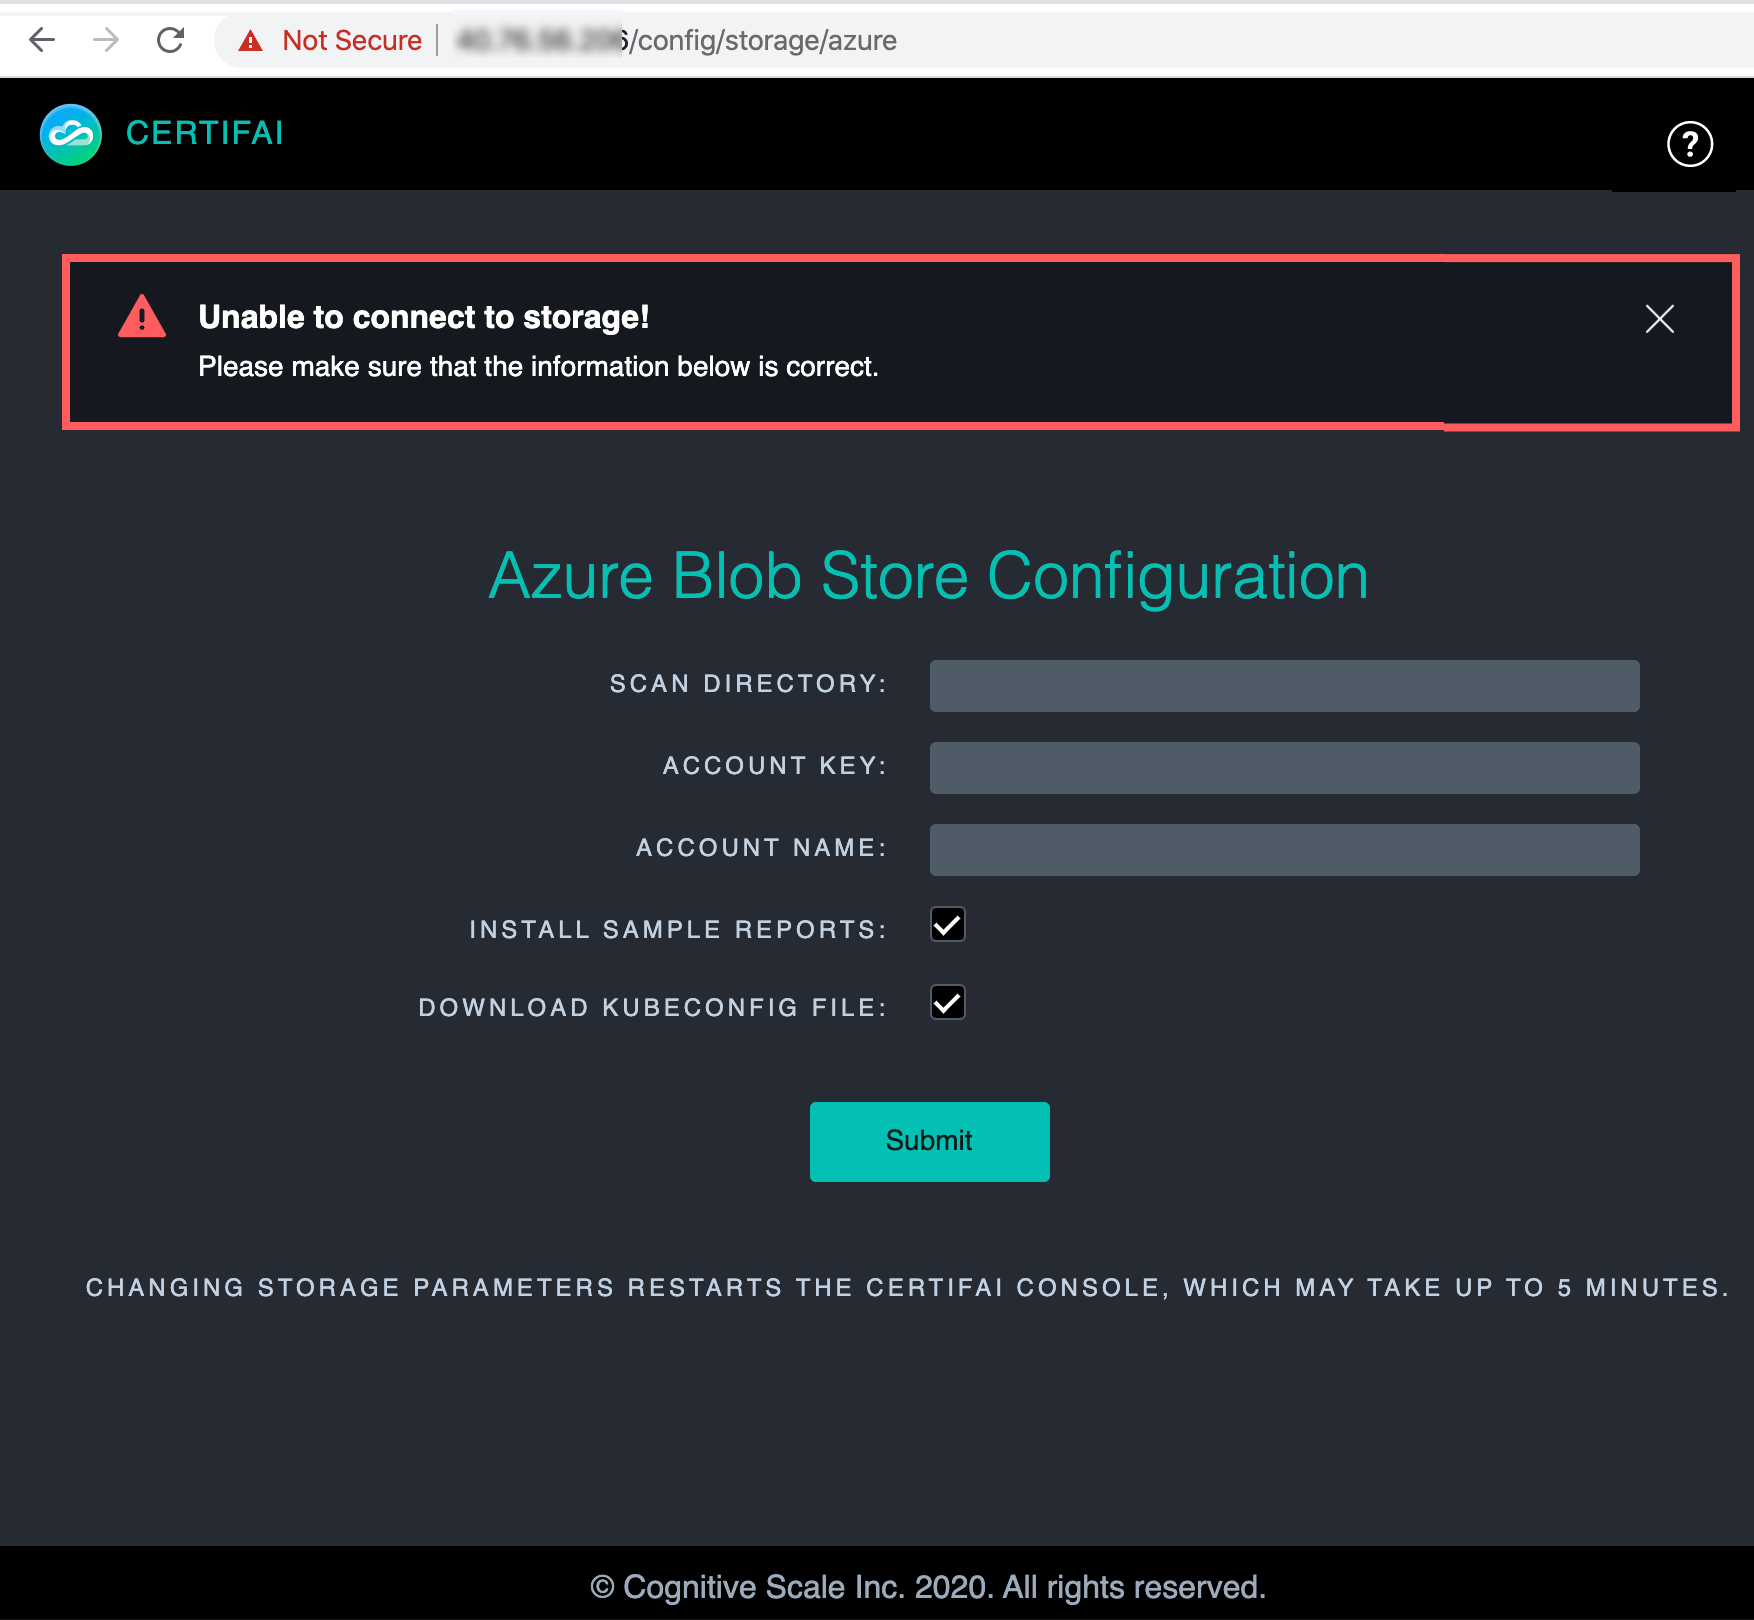
A Storage configuration page opens in Certifai Console with a warning displayed at the top. This is expected.
a. Create and enter your Blob storage container name in the Scan Directory Name field. This creates a location (Container) in blob storage where your Certifai scan reports are stored in Azure, and where the Console reads them from. Make note of this name; it is required to run remote scans.
b. From the Azure Blob Storage Access Keys page in the Azure portal copy the value in the field Key 1 into the Console field labeled Account Key.
c. From the Azure Blob Storage Access Keys page in the Azure portal copy the value in the field Storage Name into the Console field labeled Account Name.
d. If you want to install the sample scan reports available by default with Certifai, leave Install Sample Reports checked. If you uncheck it the sample reports will not be installed.
e. In order to run remote scan jobs, leave Download Kubernetes File checked. Uncheck only if you do not need this functionality. When this option is checked the
certifai-kubeconfig.jsonfile is automatically download to your local drive.f. Click SUBMIT
Info
Provisioning the storage configuration may take up to 5 minutes. You will be able to login to Console, but the reports will not be displayed until provisioning has completed.
Bookmark the IP address/URL. This will be where you access Certifai Console. Each time you return you must login to view sample scan reports or your own scan job results.
To learn more about navigating through the Console click here.
To learn more about the reports that are visualized in the Certifai Console click here.
Disable the "Forgot Password" link option
For improved security Certifai Pro users may want to disable the "Forgot Password" link on the Login page. This precaution prevents other people from your organization from using your account by changing the password.
- Go to the Login page.
- Check the DISABLE FORGOT PASSWORD checkbox.
- Accept the verification message.
- Click SUBMIT.
When you return to the Login page, the "Forgot Password" link is no longer displayed.
NOTE
If you forget your password, you will not be able to reset or recover this instance of Certifai Pro. You will need to setup a new Certifai Pro instance by following the setup instructions above.
Next steps
Click the help icon at the top right to expose the right menu.
Download and install the Toolkit.
Info
A local version of the Certifai Console is provisioned as a component of the Toolkit. It can be used only for viewing result of non-production scans that are run locally. You will not need to login to the local Console.
Run scan jobs in the Azure Cloud and view result visualizations in the remote Console.