AWS Setup
Follow this process to install an AWS VM with Cortex Certifai Pro running on it. Cortex Certifai Pro is a single-user server version of Certifai, available from the AWS Marketplace.
Prerequisites
- Kubectl CLI is installed
- An AWS VPC with private and public subnet has been created.
- Network Security Groups have been created with required ports (80, 443, 22, 16443)
AWS Marketplace Setup
In the AWS Marketplace follow the steps to setup an instance of Cortex Certifai Pro.
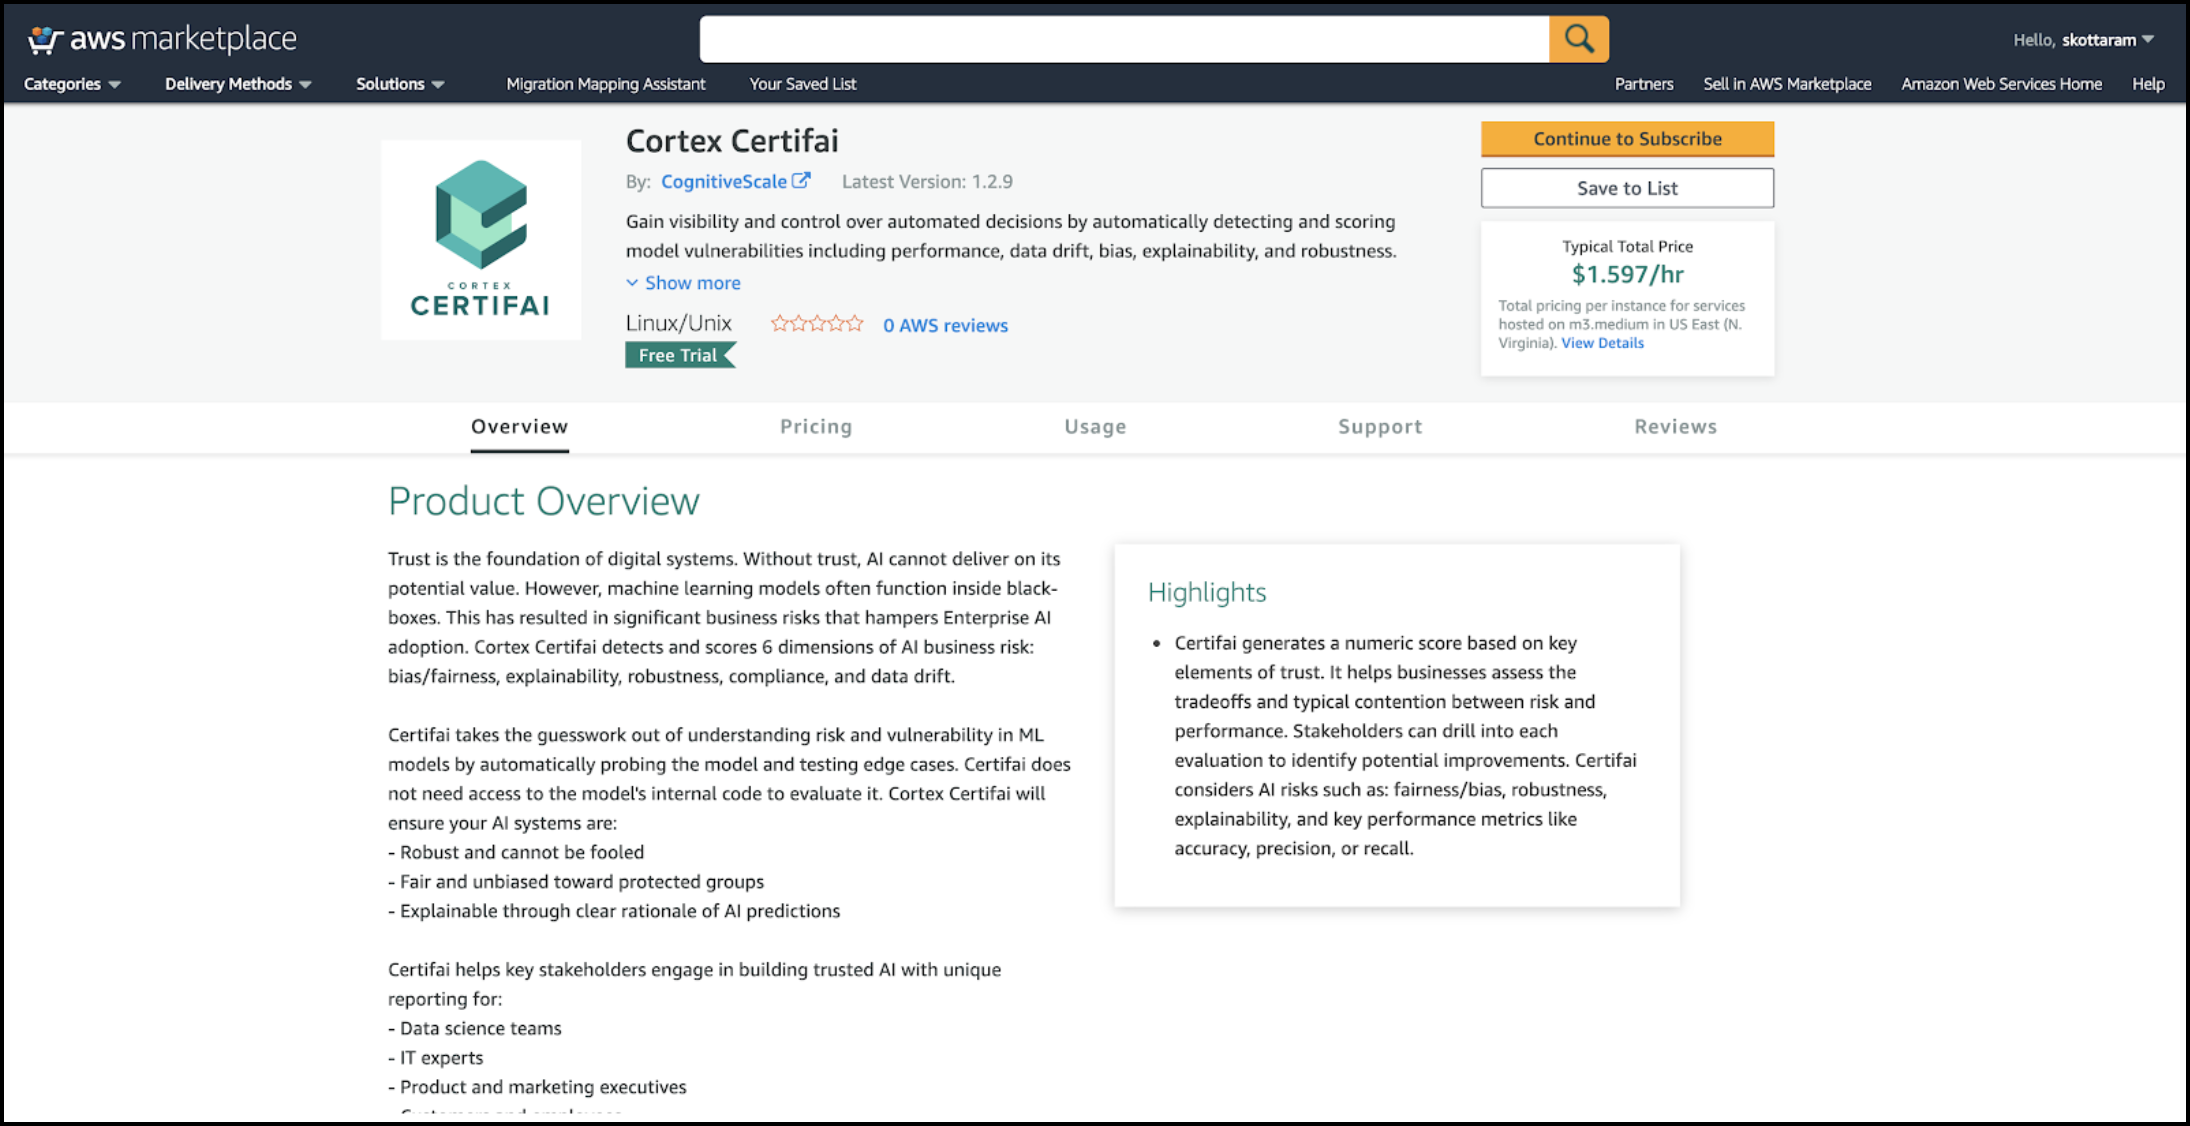
Go to the AWS Marketplace, search for, and select Cortex Certifai or click here.
At the top right of the Cortex Certifai information page click CONTINUE TO SUBSCRIBE.
On the subscription terms and conditions box click ACCEPT TERMS.
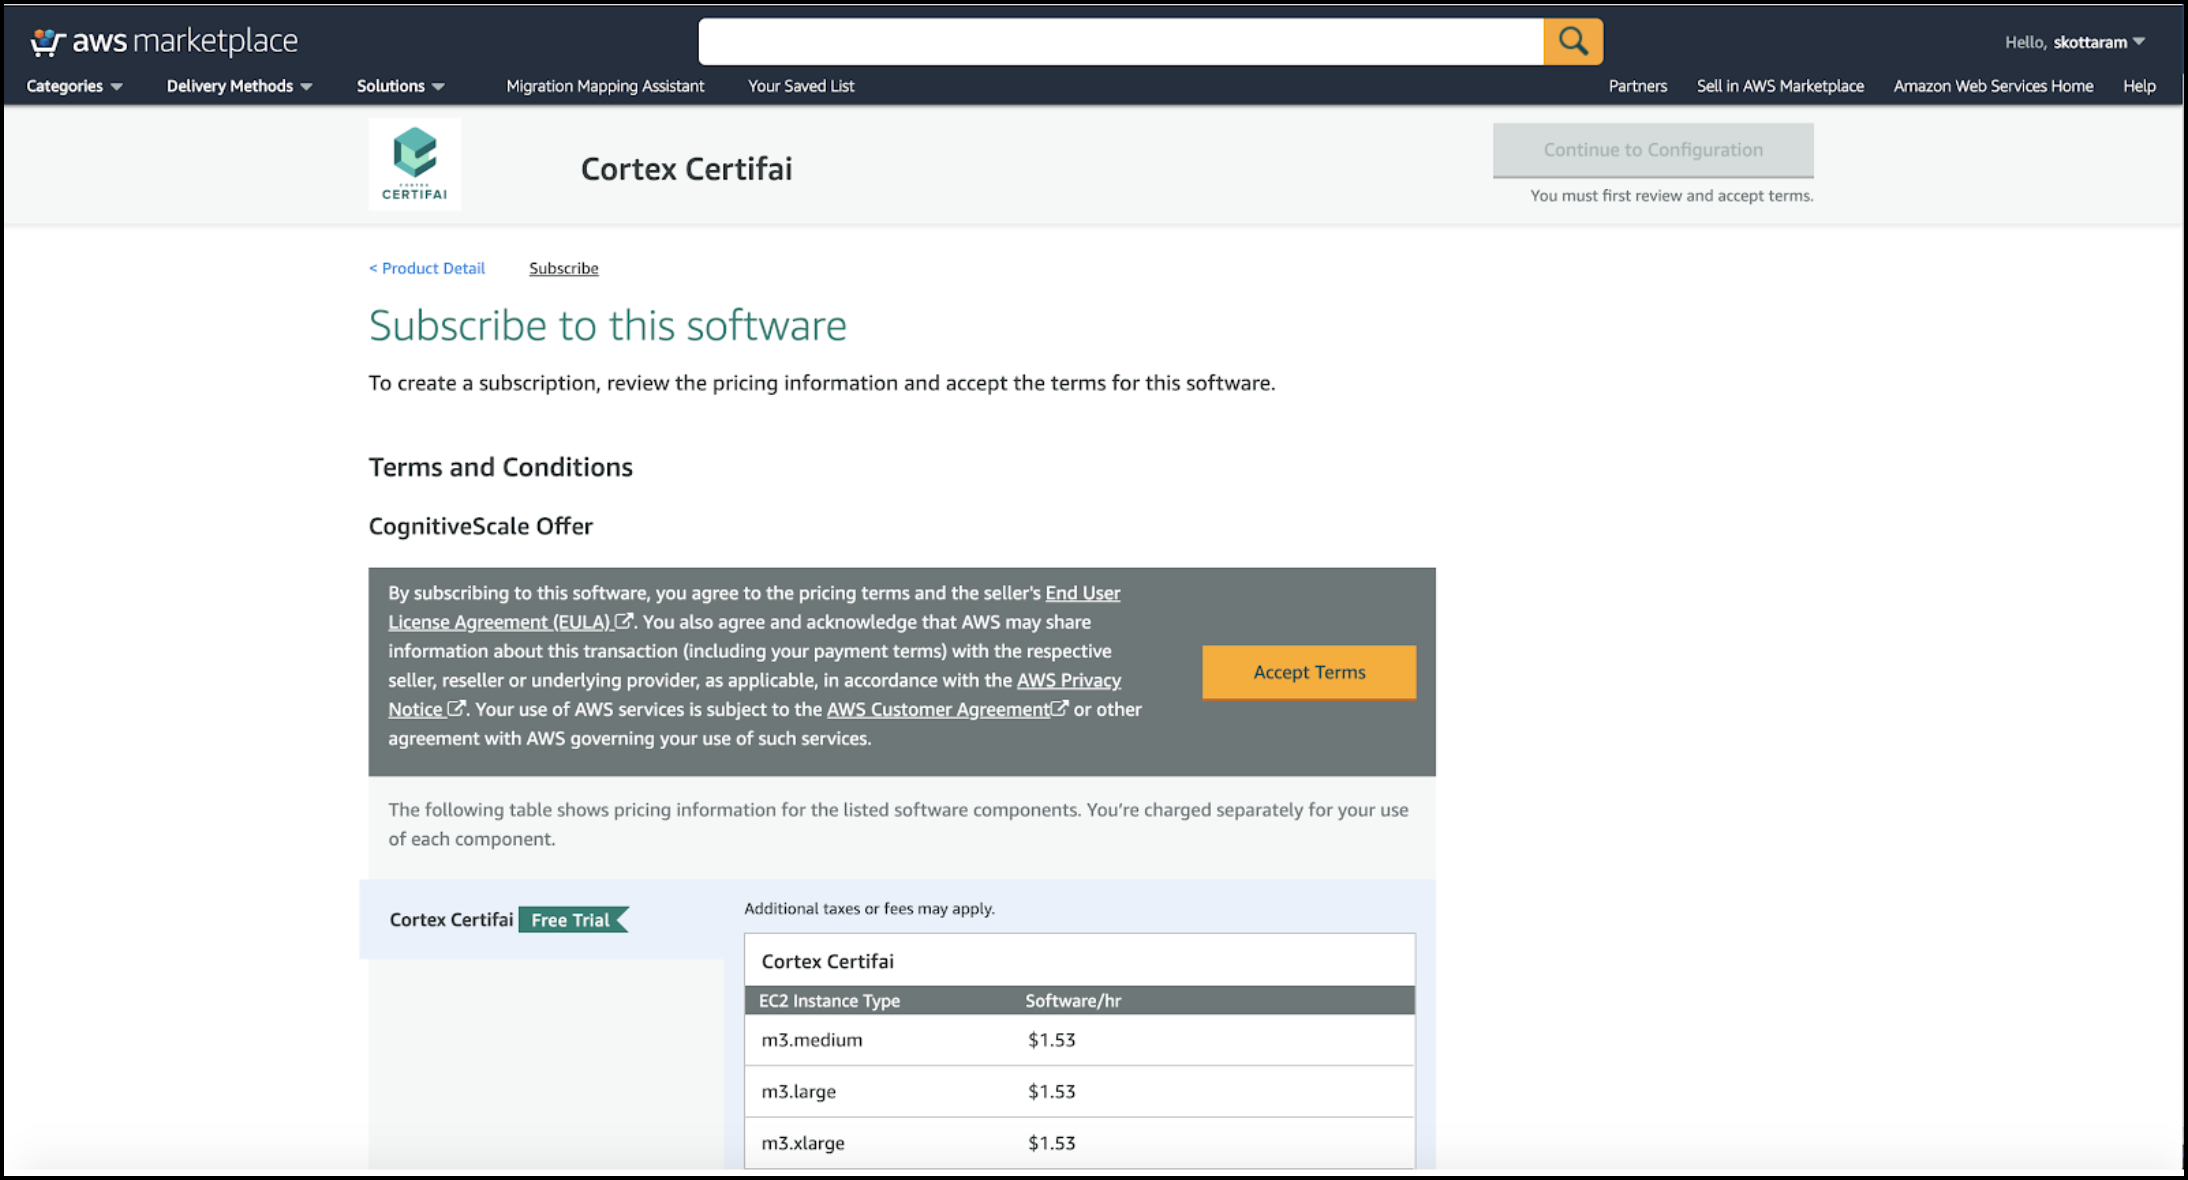
Read the subscription offer; then at the top right click CONTINUE TO CONFIGURATION.

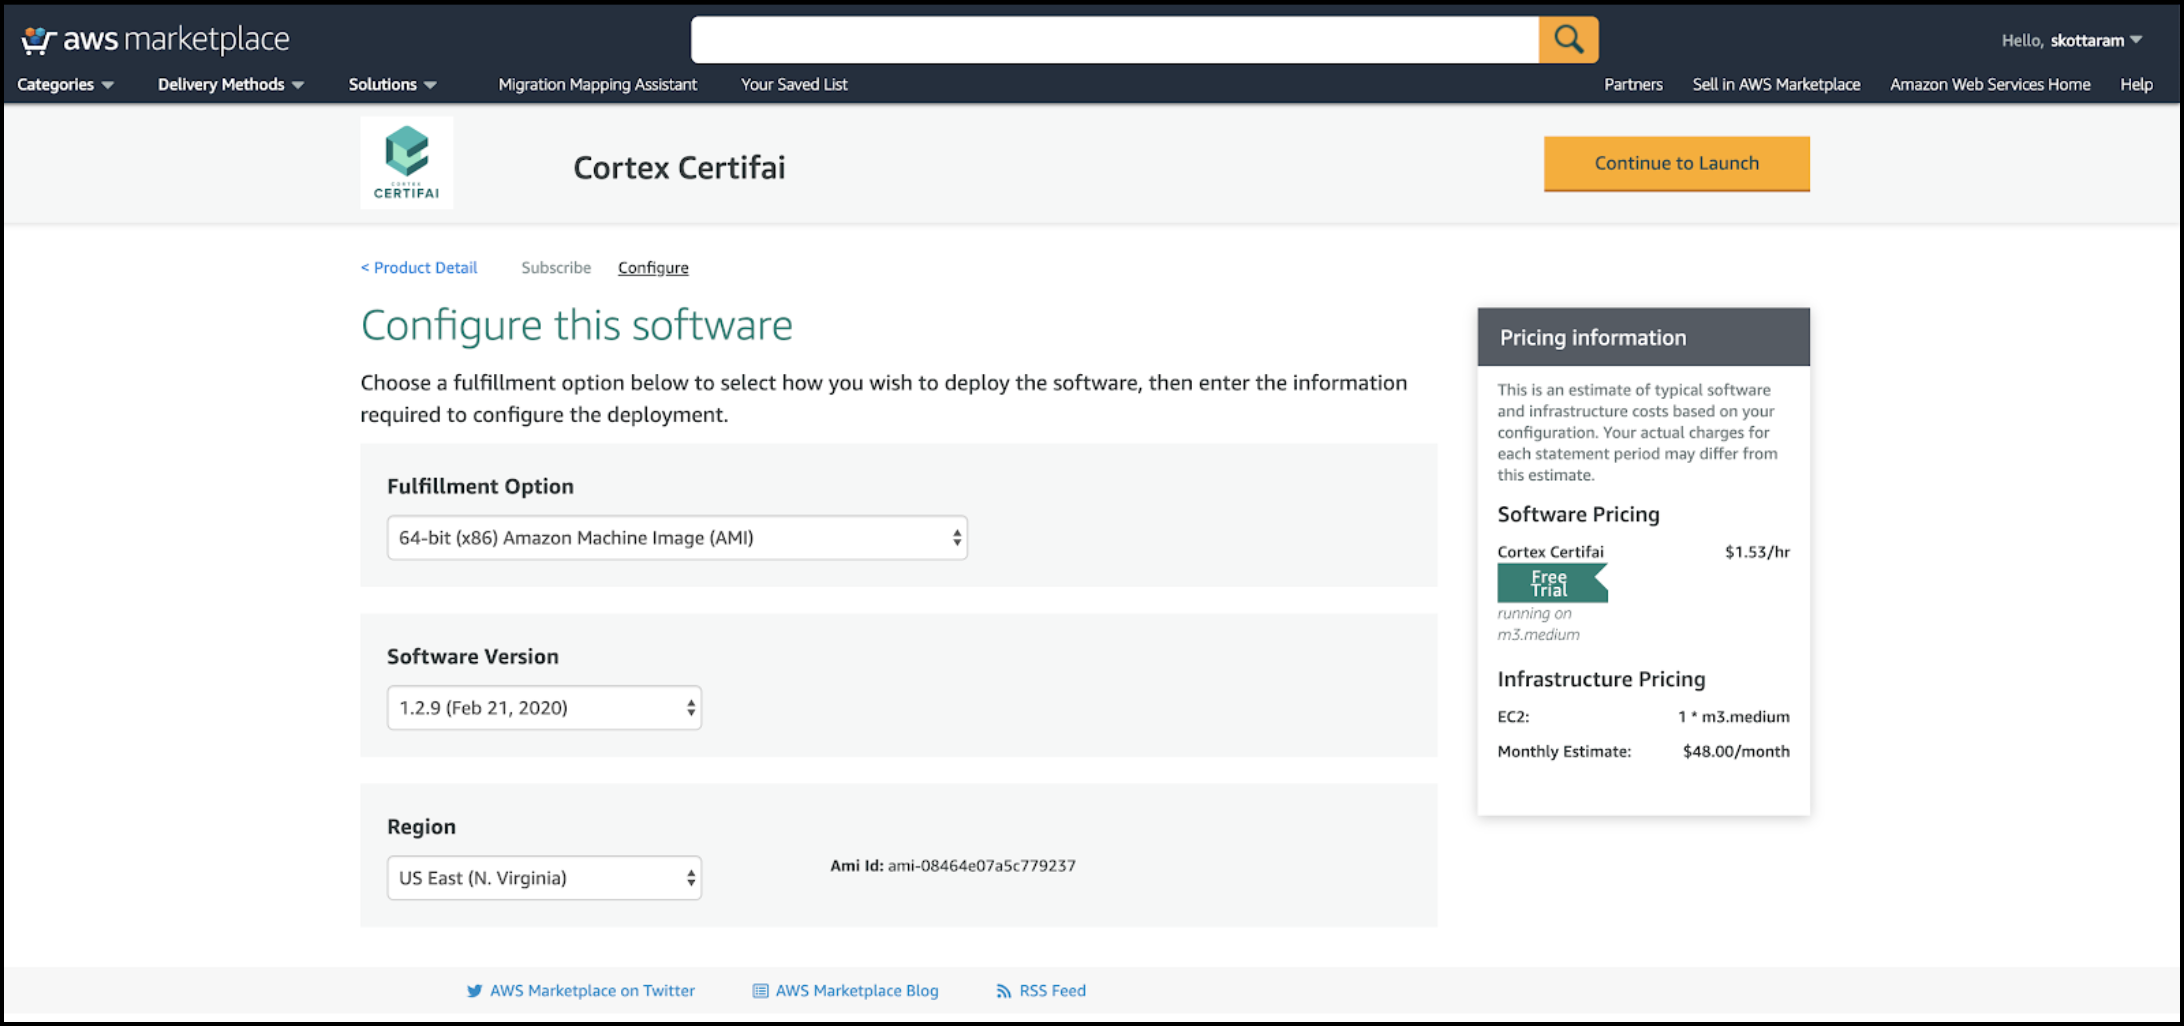
On the Configure software tab verify the default selections; then at the top right click CONTINUE TO LAUNCH.
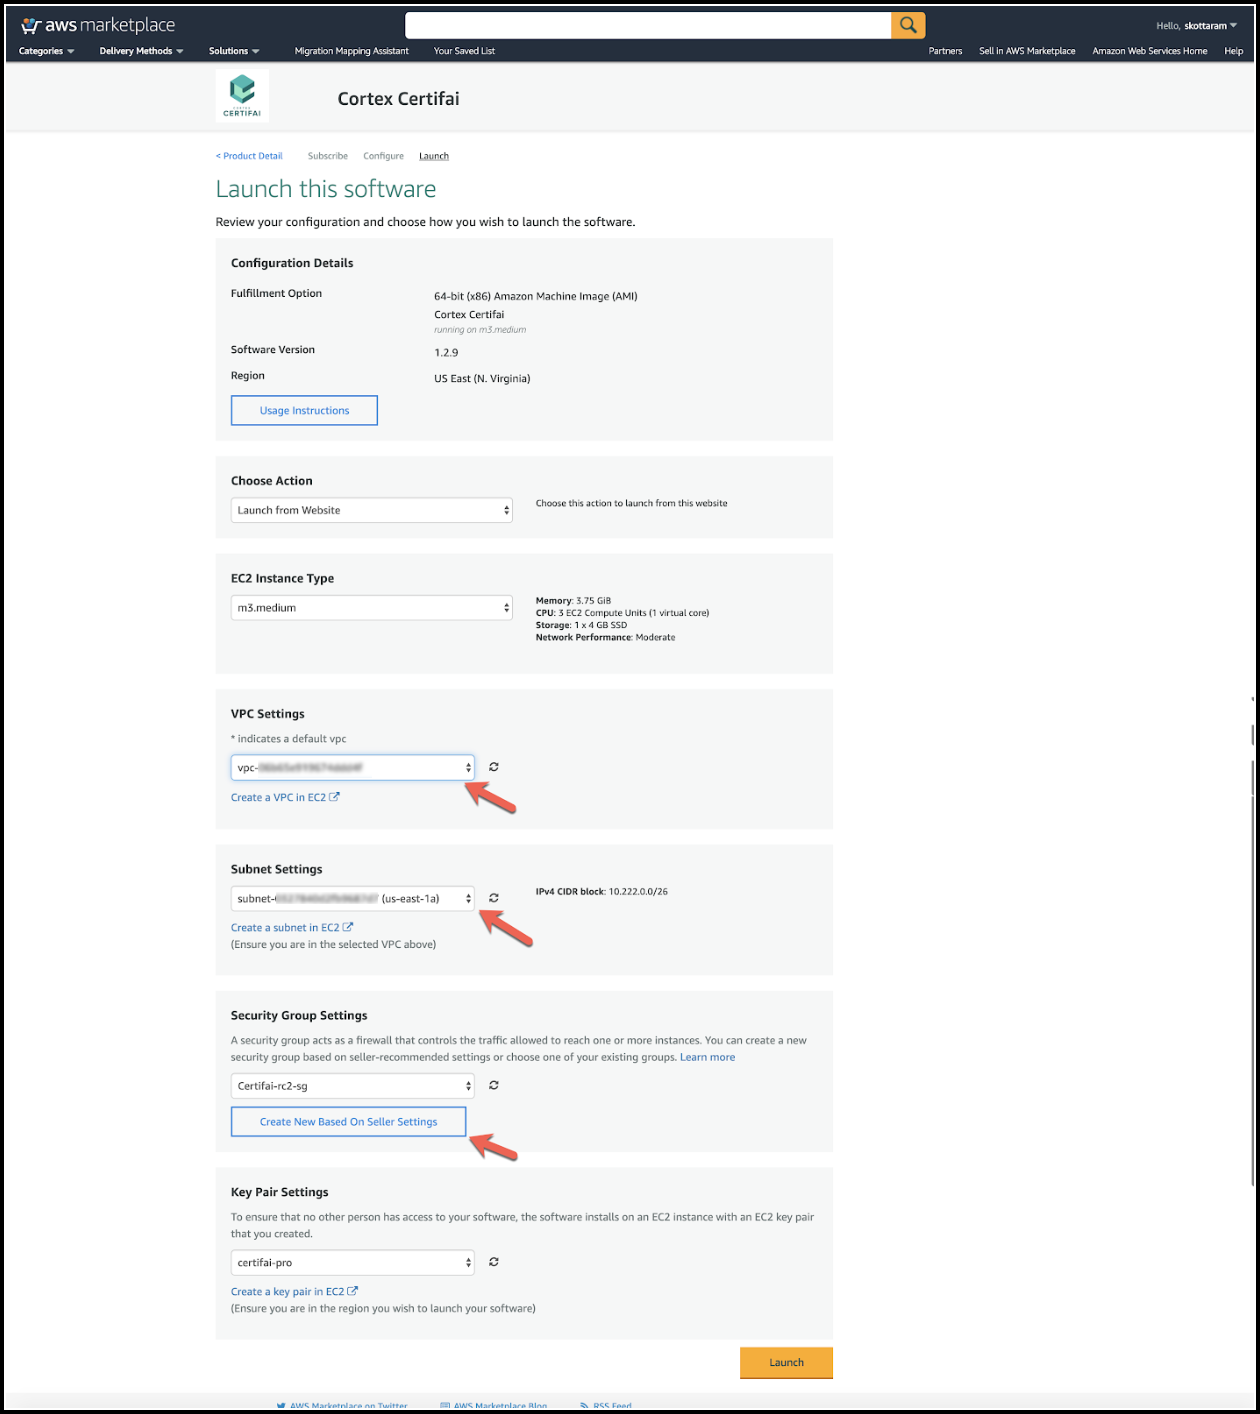
On the Launch Software page configure the following:
- a. VPC Settings: Select the VPC you set up as a prerequisite.
- b. Subnet Settings: Select the Subnet you created as a prerequisite.
- c. Security Group Settings: Add a Security Group by clicking Create New Based on Seller Settings. This opens the required ports.
- d. Click LAUNCH.
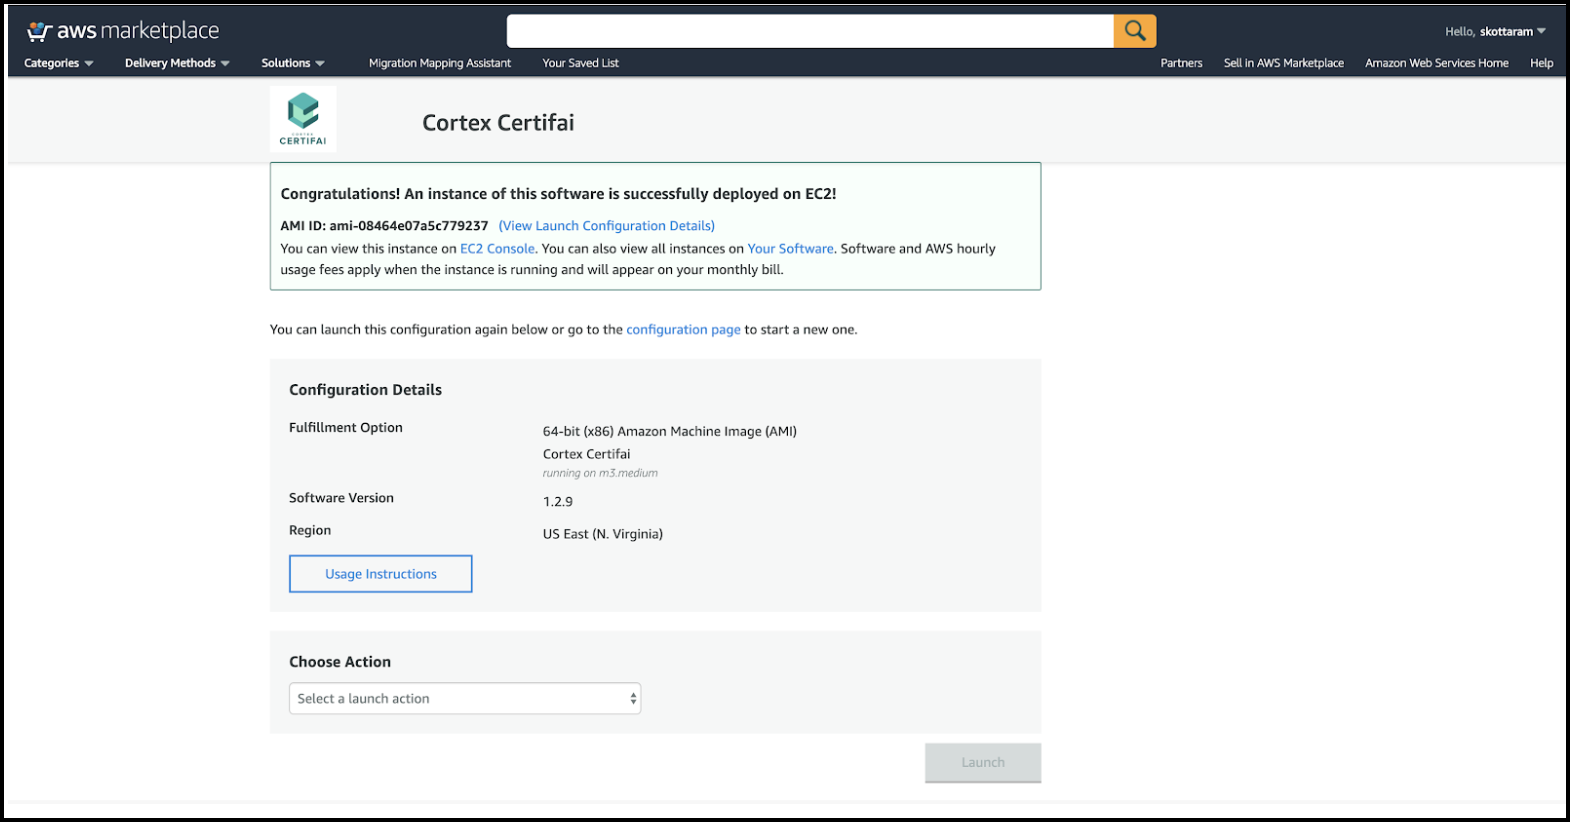
A successful deployment message is displayed with your AMI ID and links to additional deployment information.
Info
It will take 5-10 more minutes to provision the Certifai software on the virtual machine. If you attempt to login before this is complete, a message is displayed that says the ip refuses to connect. Wait a couple of minutes and try again.
Click the EC2 Console link to view a list of your Instances and their states.
Click the box at the head of an Instance row to open the details in the panel below the list.
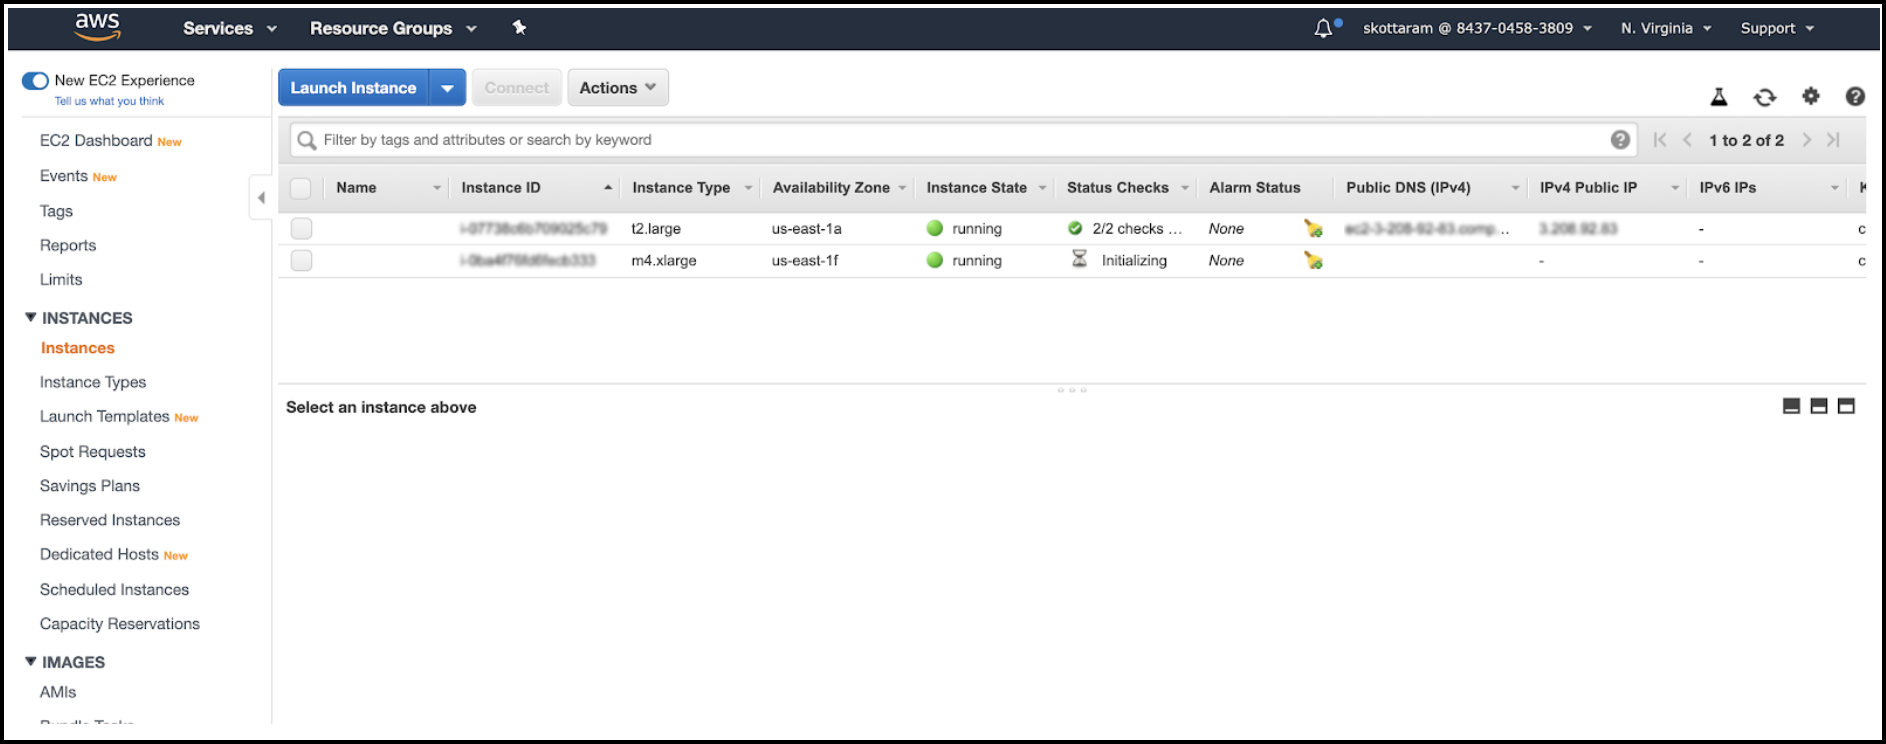
NOTE
In the description details you will find the Instance ID and Public IP. These are required to log in to Certifai Console.
Associate the Public IP with the VM you have just launched. Your IT team may perform this configuration if you do not have permissions. If you have elastic IP addresses allocated to your account, they may be reassigned, rather than allocating new ones.
NOTE
If you have access to a Jump Box then follow instructions from your IT team.
a. Navigate to the Manage IP Addresses dialog by clicking Actions > Networking > Manage IP Addresses.
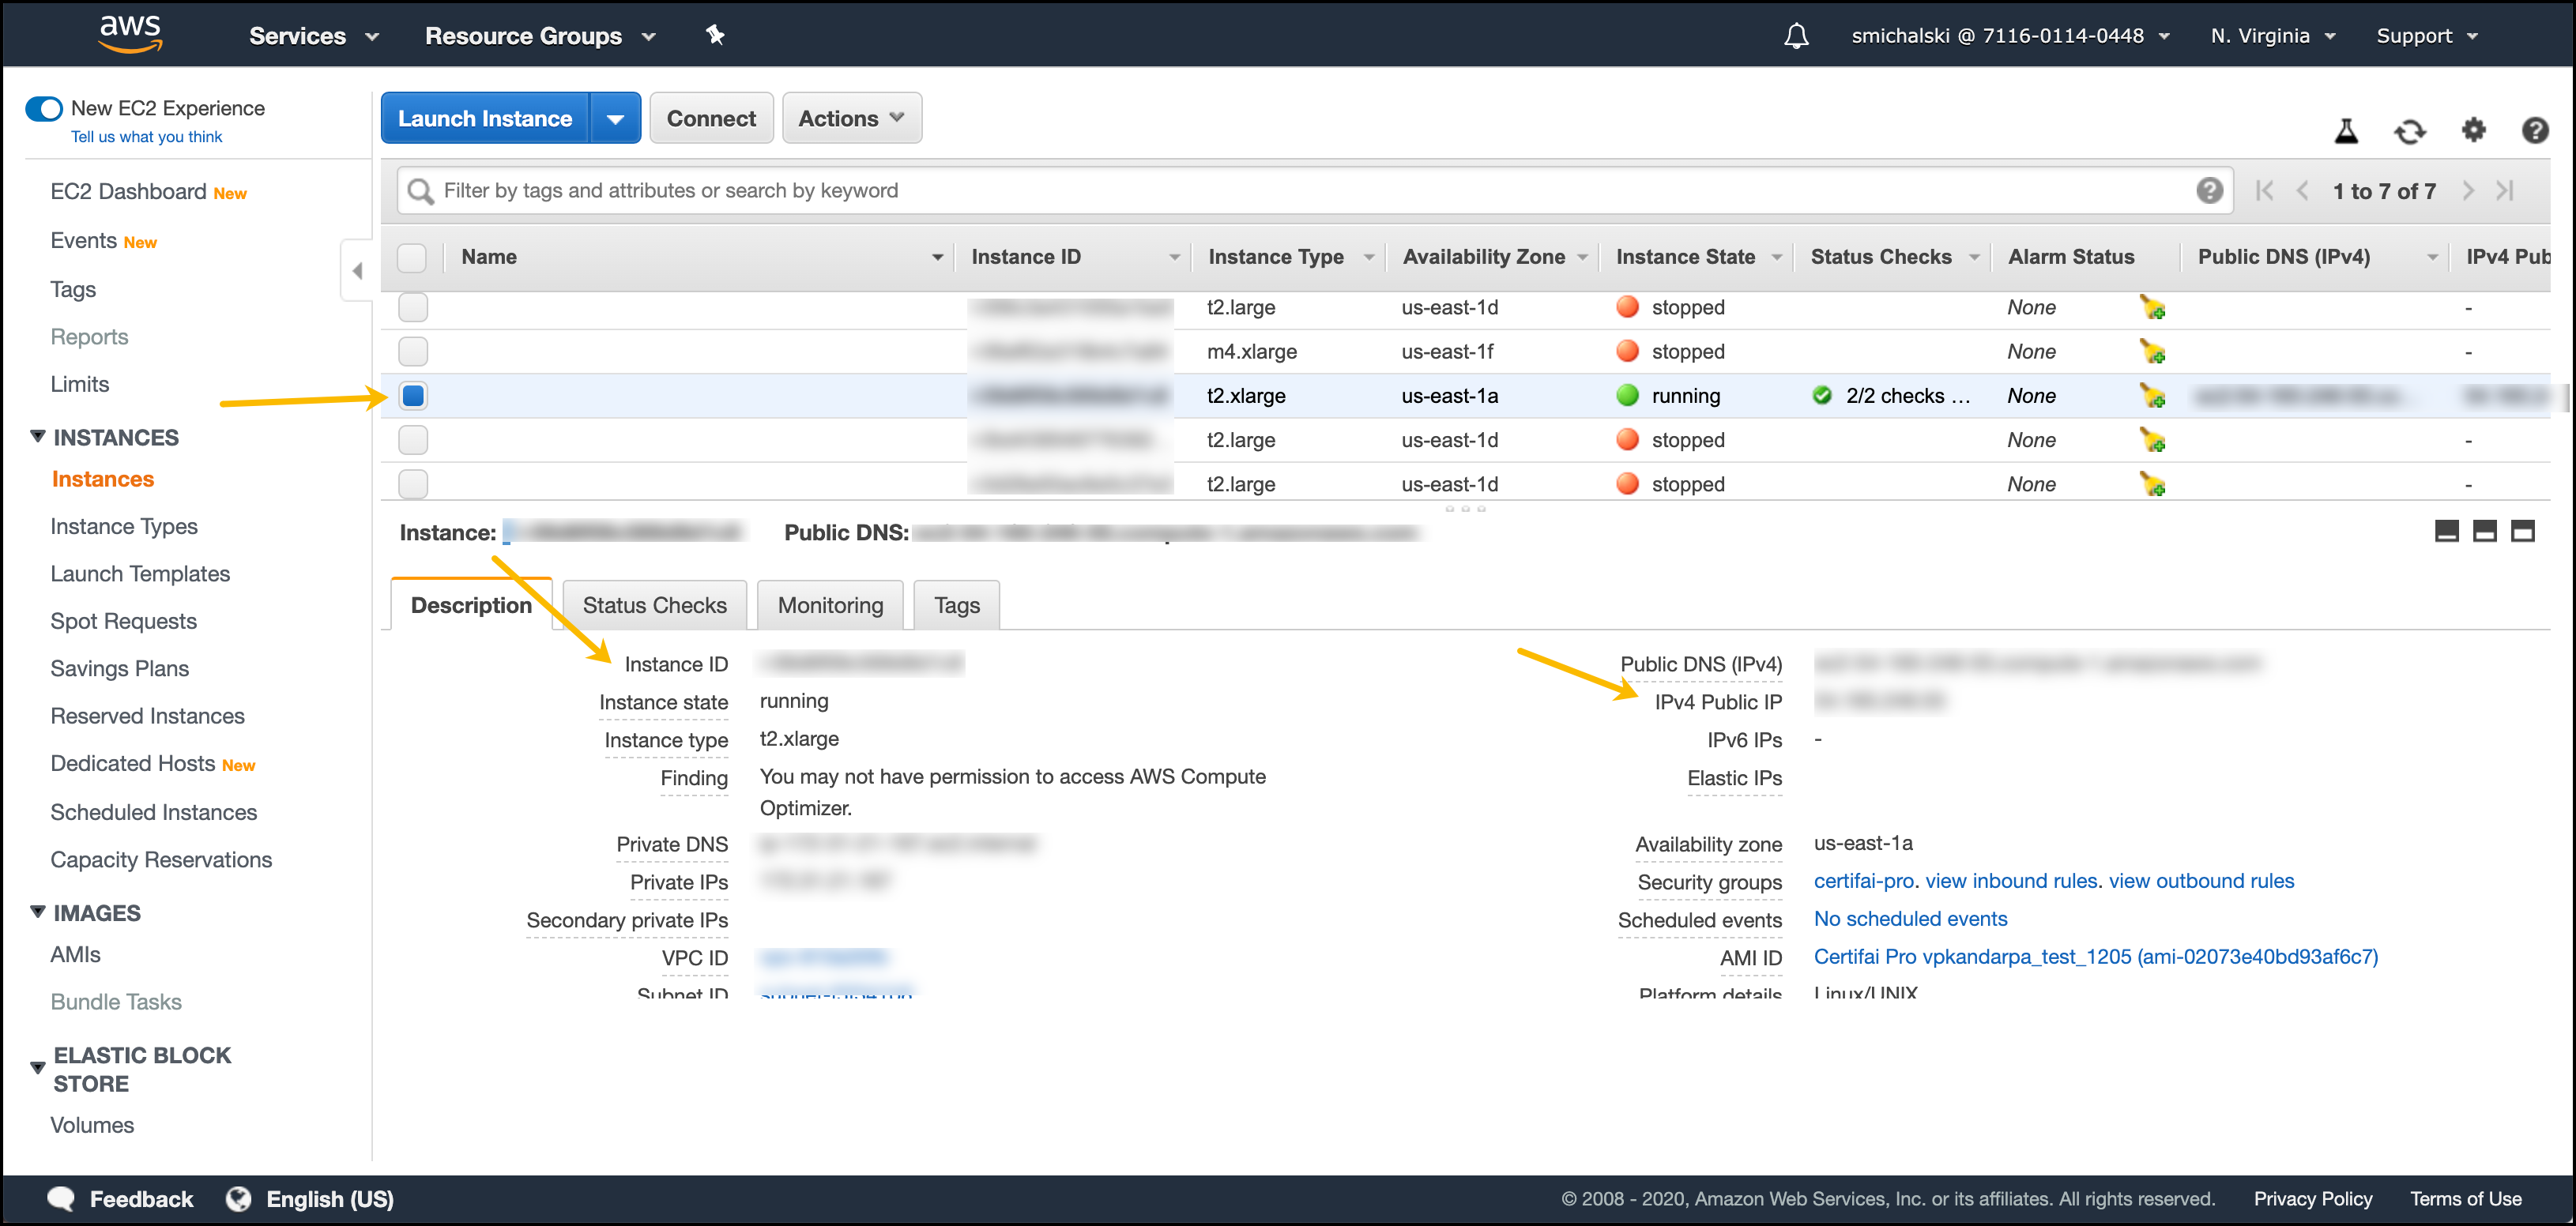
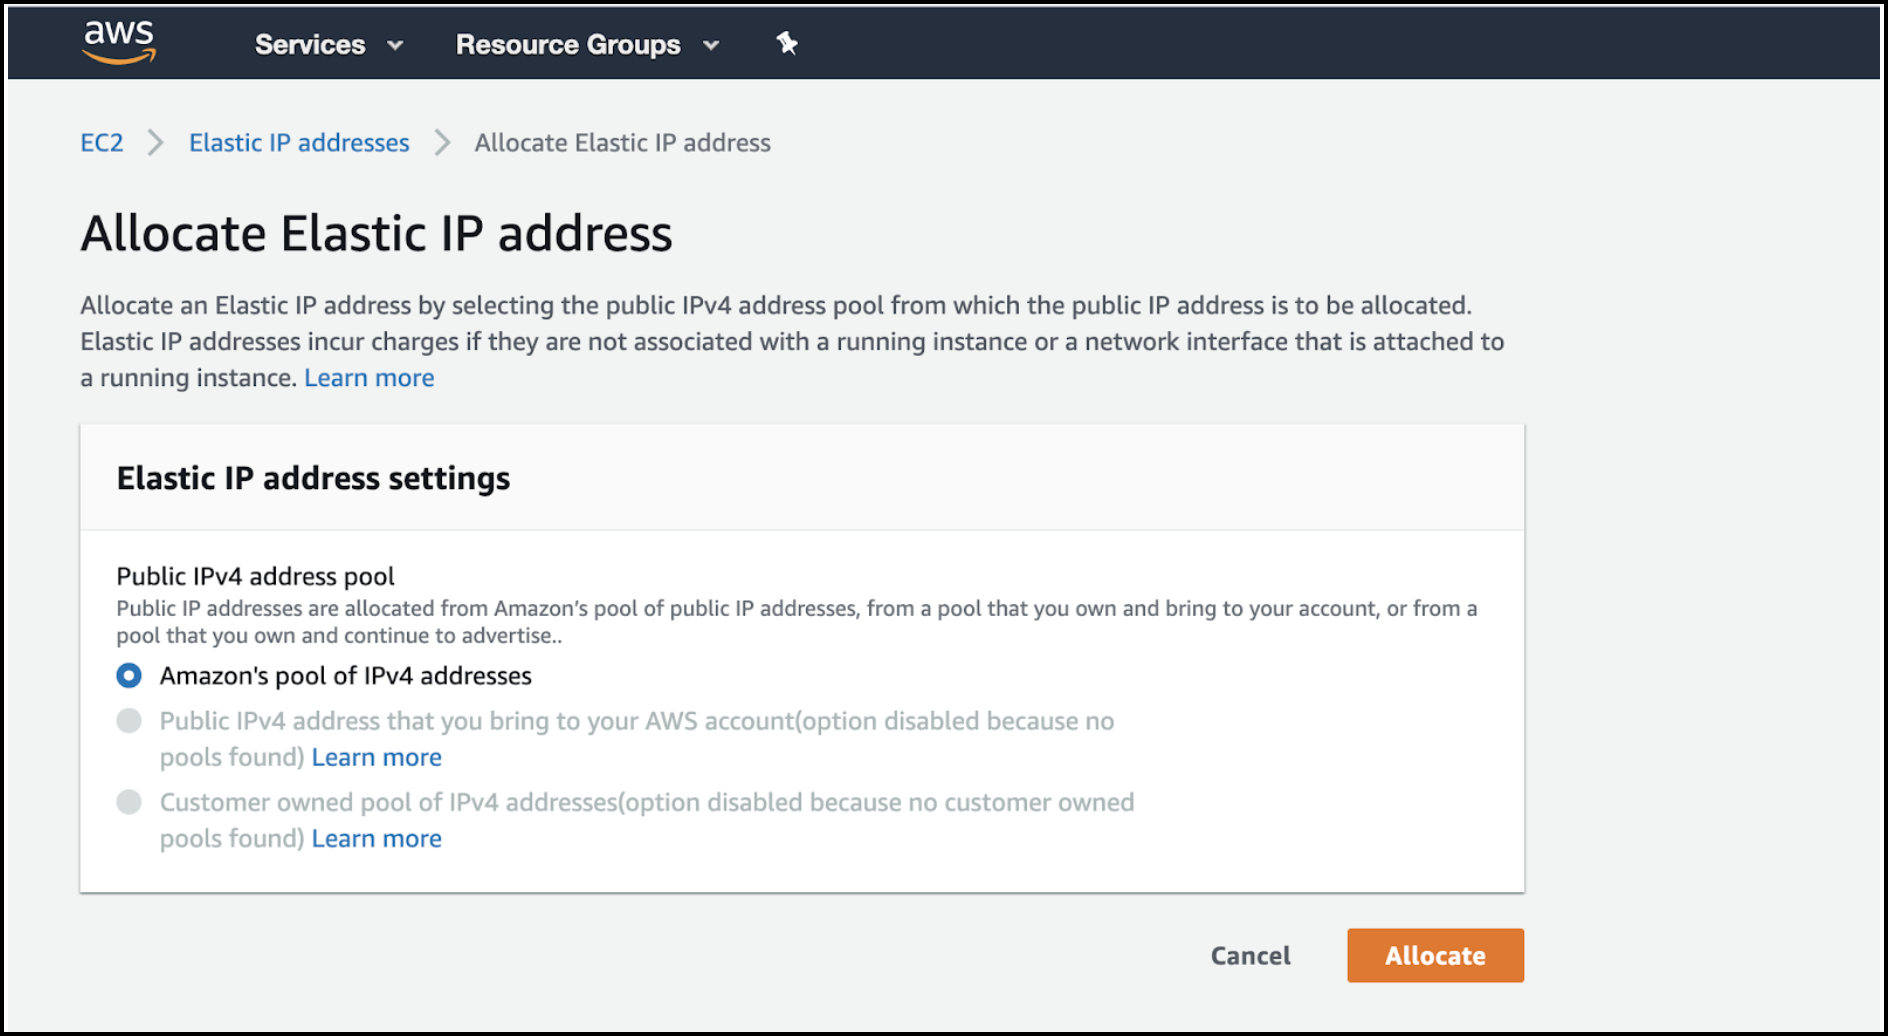
b. Click the Allocate an Elastic IP link.
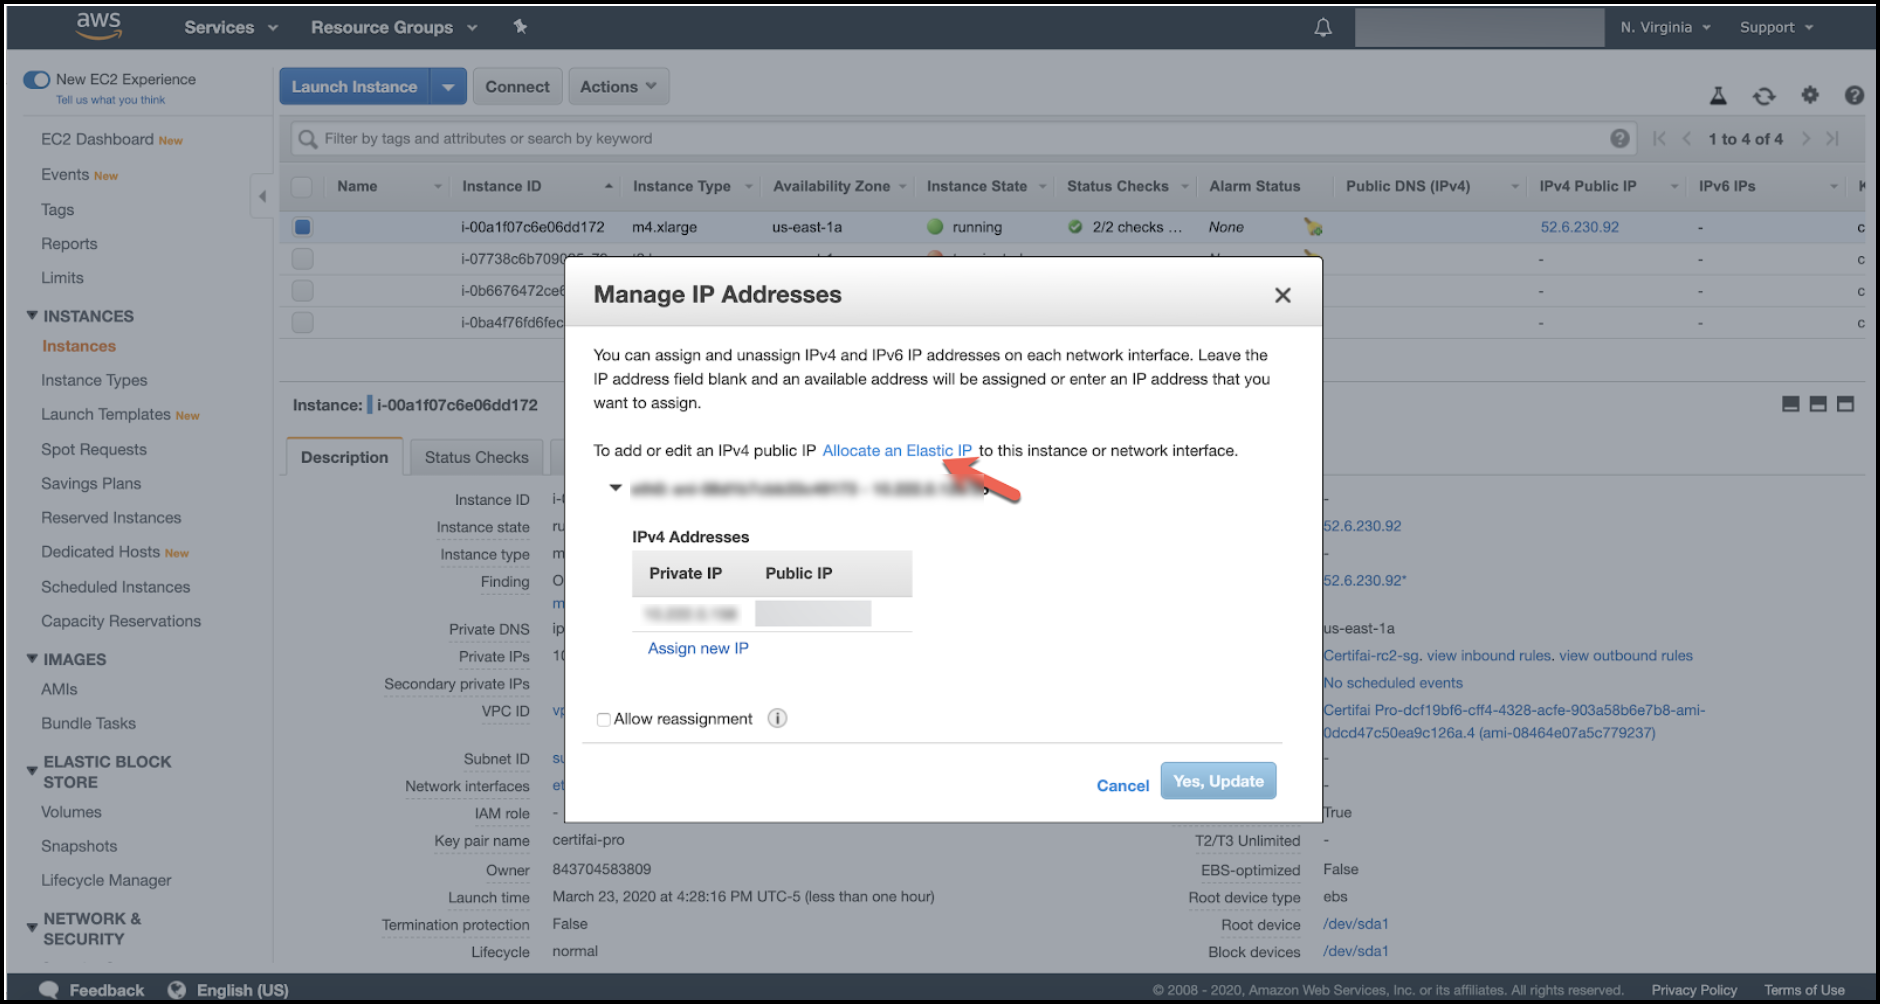
c. On the Allocate Elastic IP address page that opens make sure that Amazon's pool of IPv4 addresses is designated and click ALLOCATE.
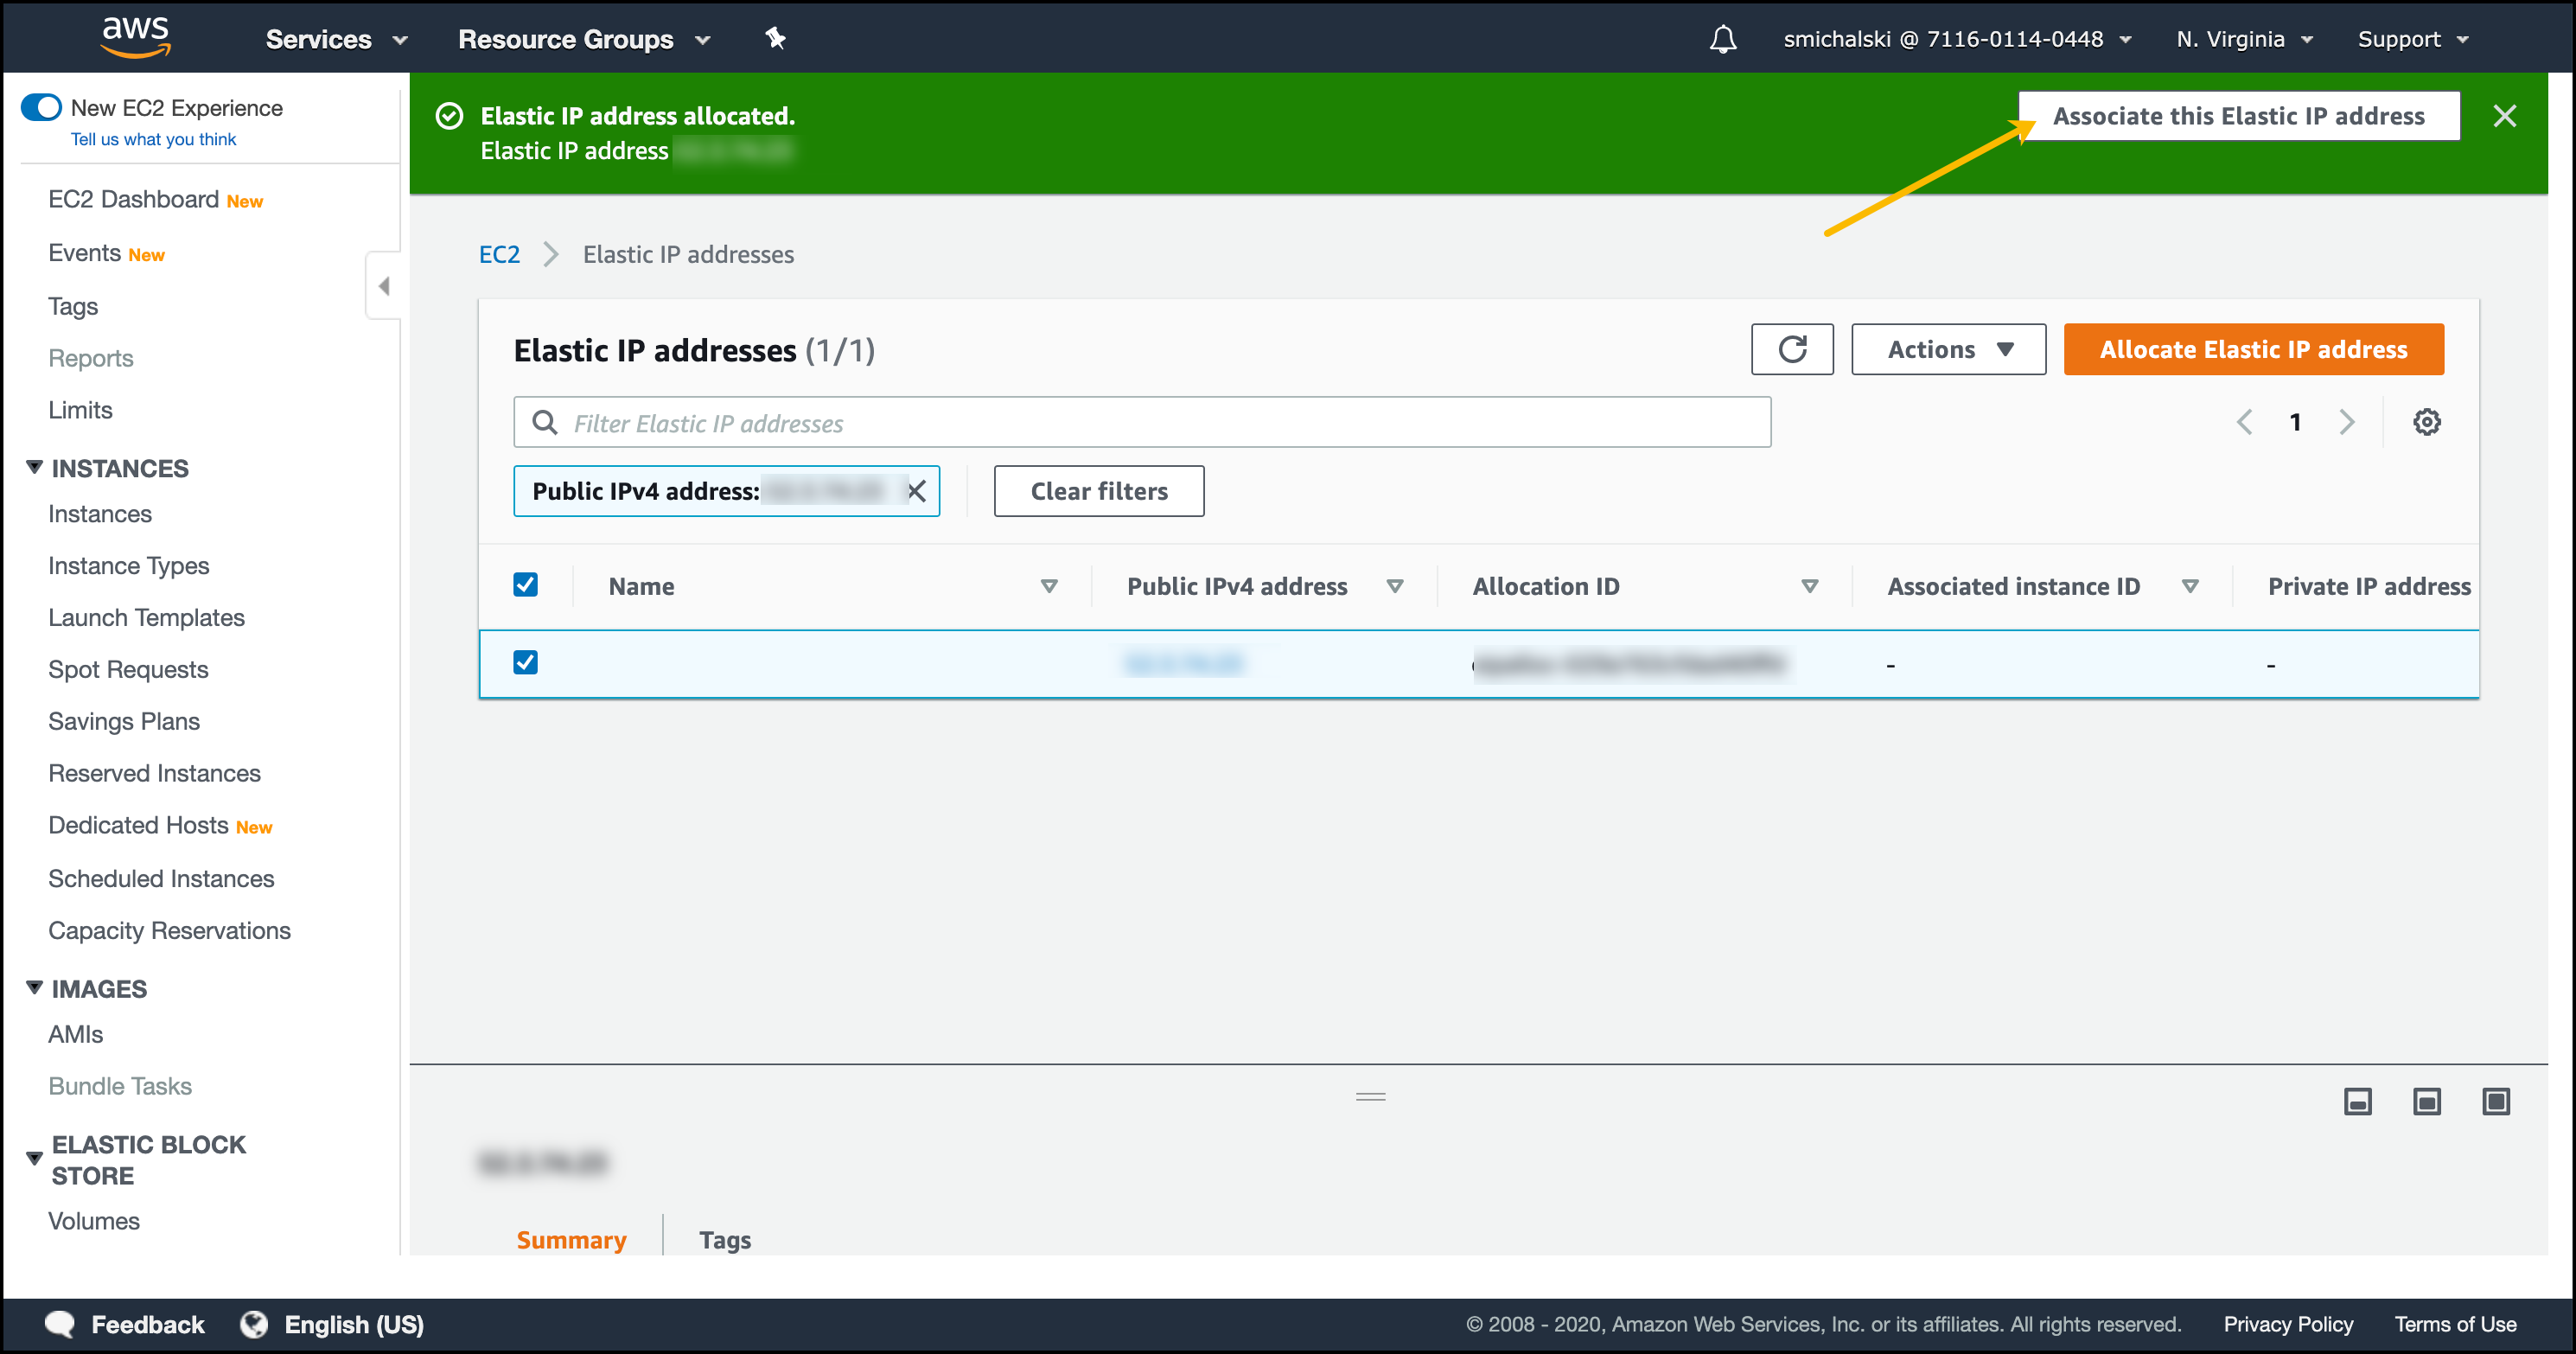
d. At the top left click Associate this Elastic IP address.
e. Select Resource Type: Instance.
f. Click in the Instance field to select from a list of existing instance IDs. Be sure to select the ID associated with your Certifai VM.
g. Click in the Private IP address field to select a Private IP address.
h. Do NOT check Allow this IP address to be reassociated.
i. Click Associate at the bottom right.

j. Close the IP address list view and the dialog with the Allocate IP Address link.
Configure AWS Storage and Access Keys
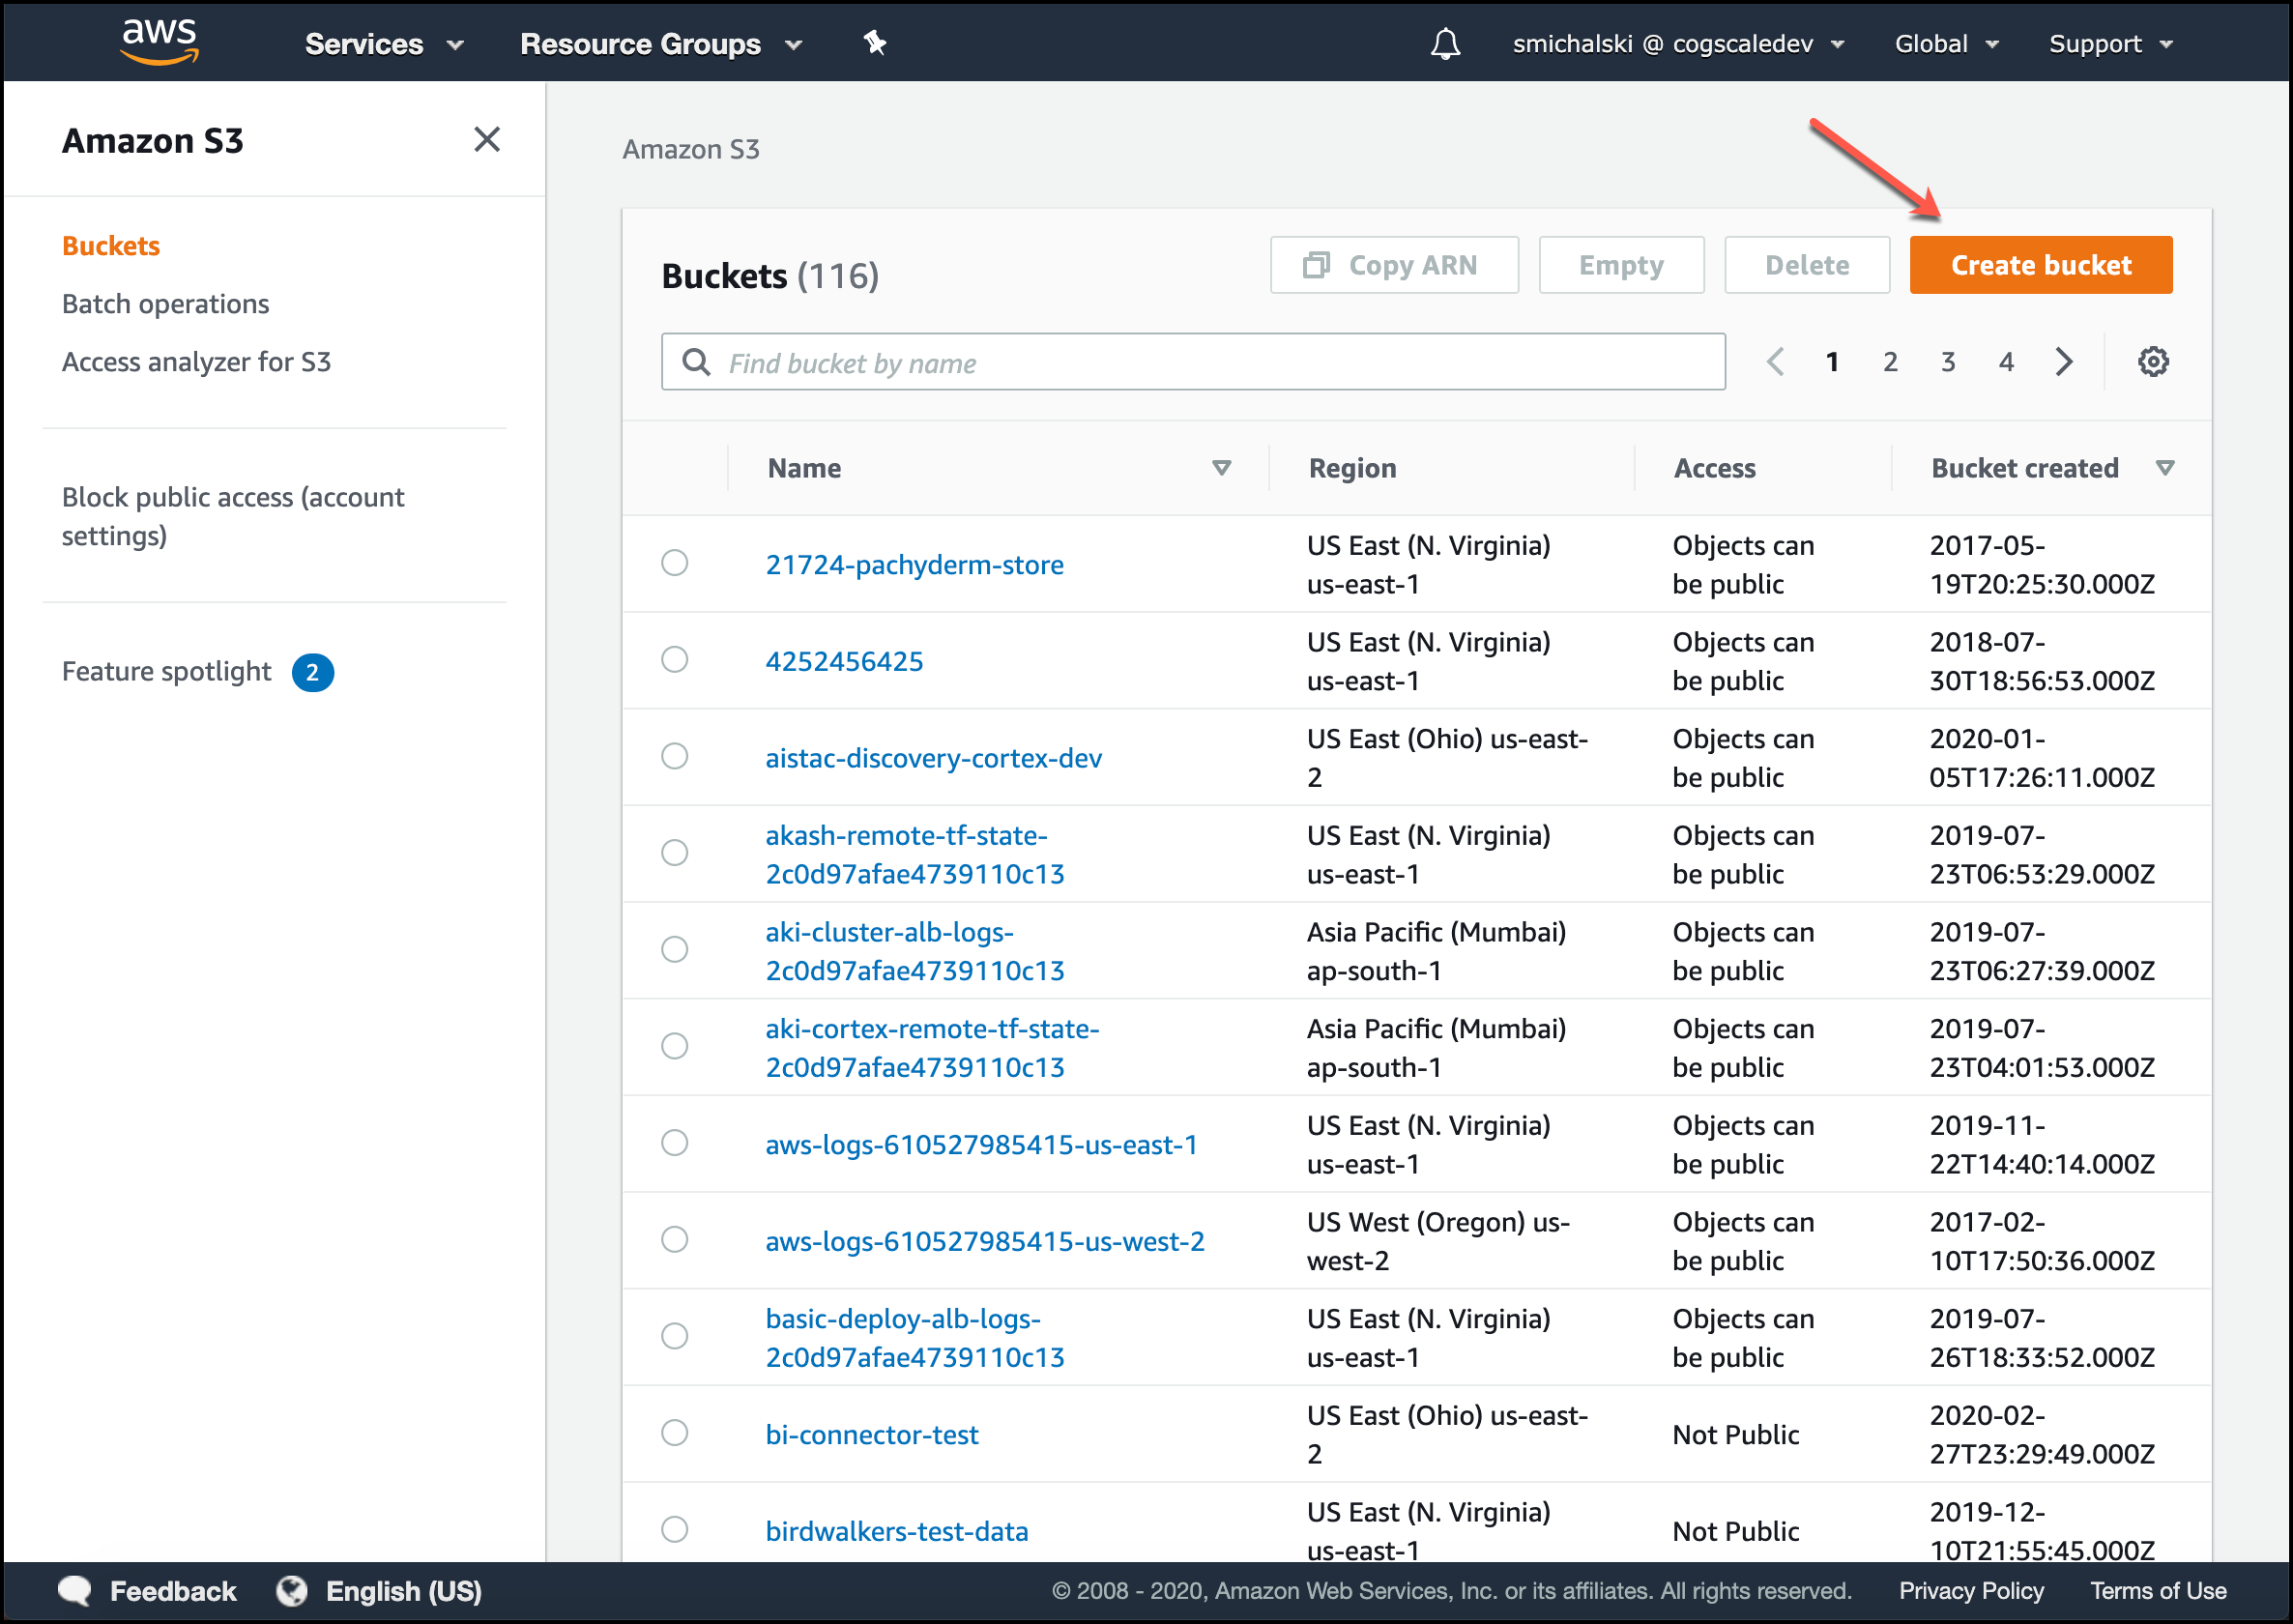
After your account is setup, login to your AWS console and search for S3 in the services menu.
Click CREATE BUCKET on the top right of the S3 Bucket list page.
In the Create Bucket dialog enter a unique Bucket name, and select your region. Click CREATE BUCKET. Make note of your Bucket Name; you will need to enter it in the storage configuration dialog in Certifai Console in the next section.
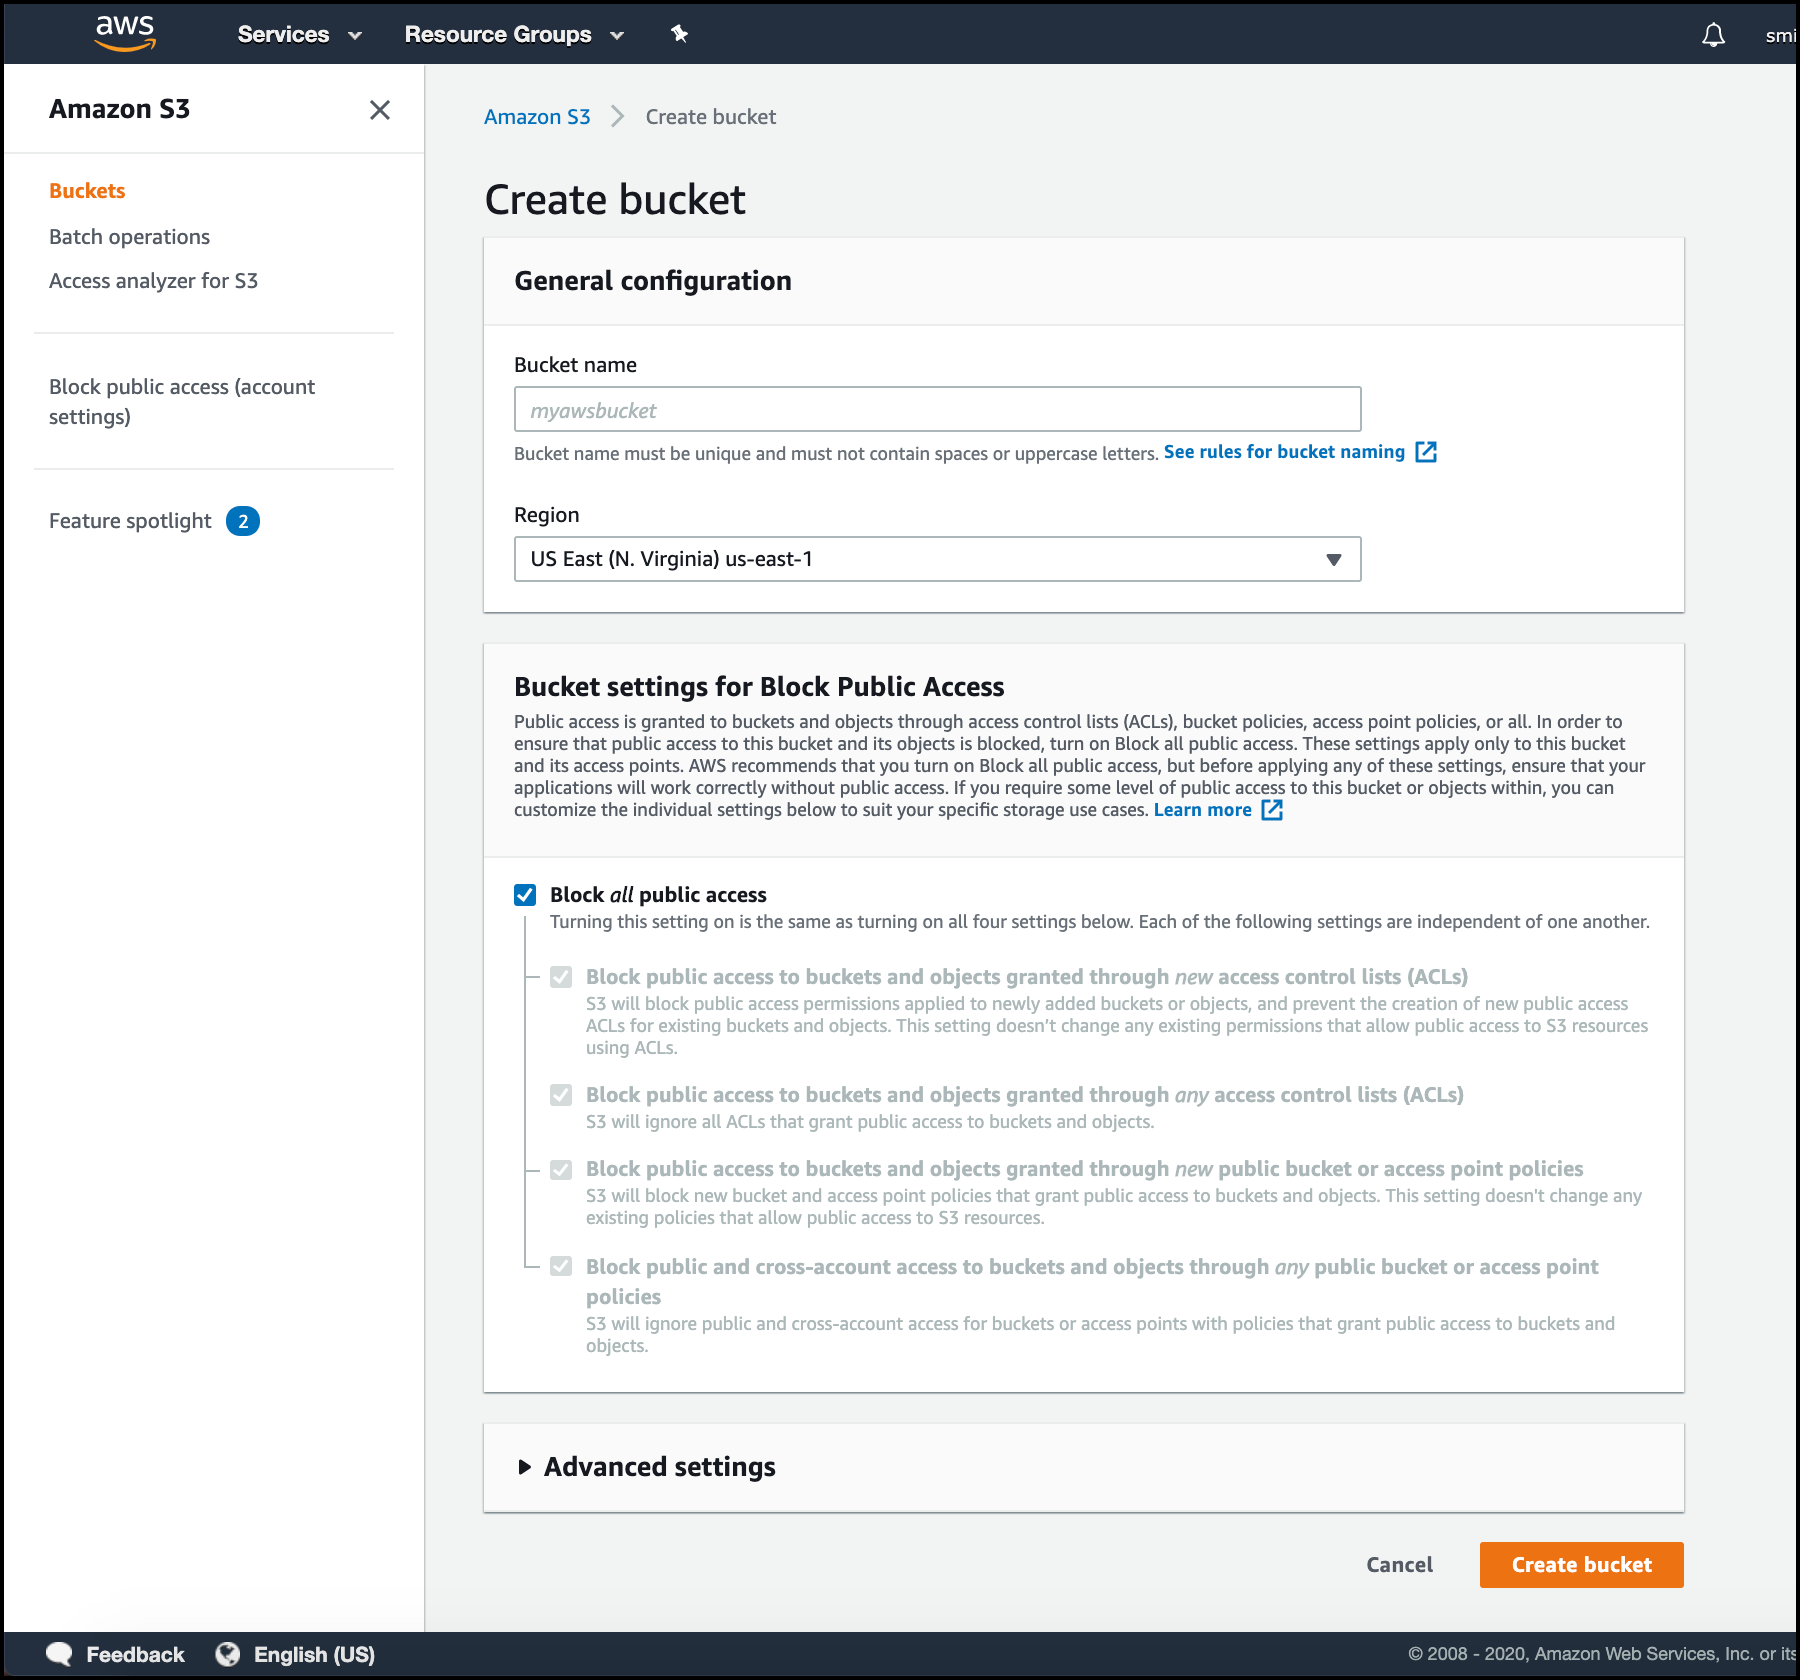
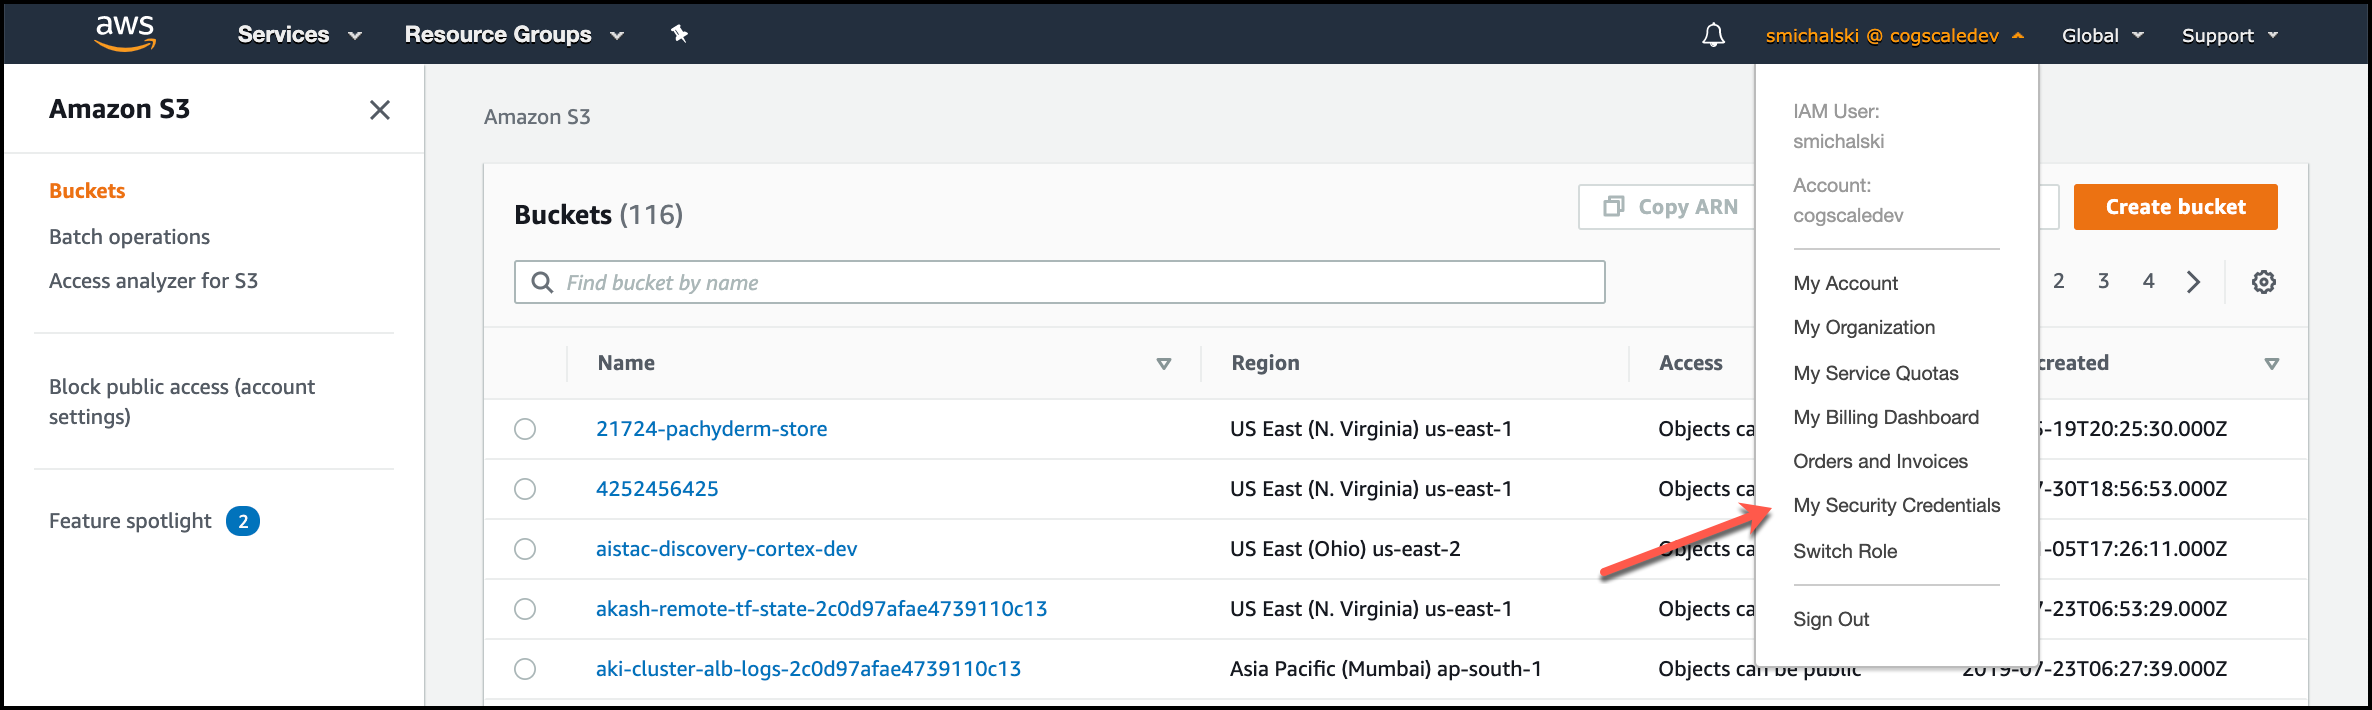
Your new bucket is added to a bucket list in the Amazon S3 section of the portal.
At the top right of your portal click on your account name and select My Security Credentials from the menu.
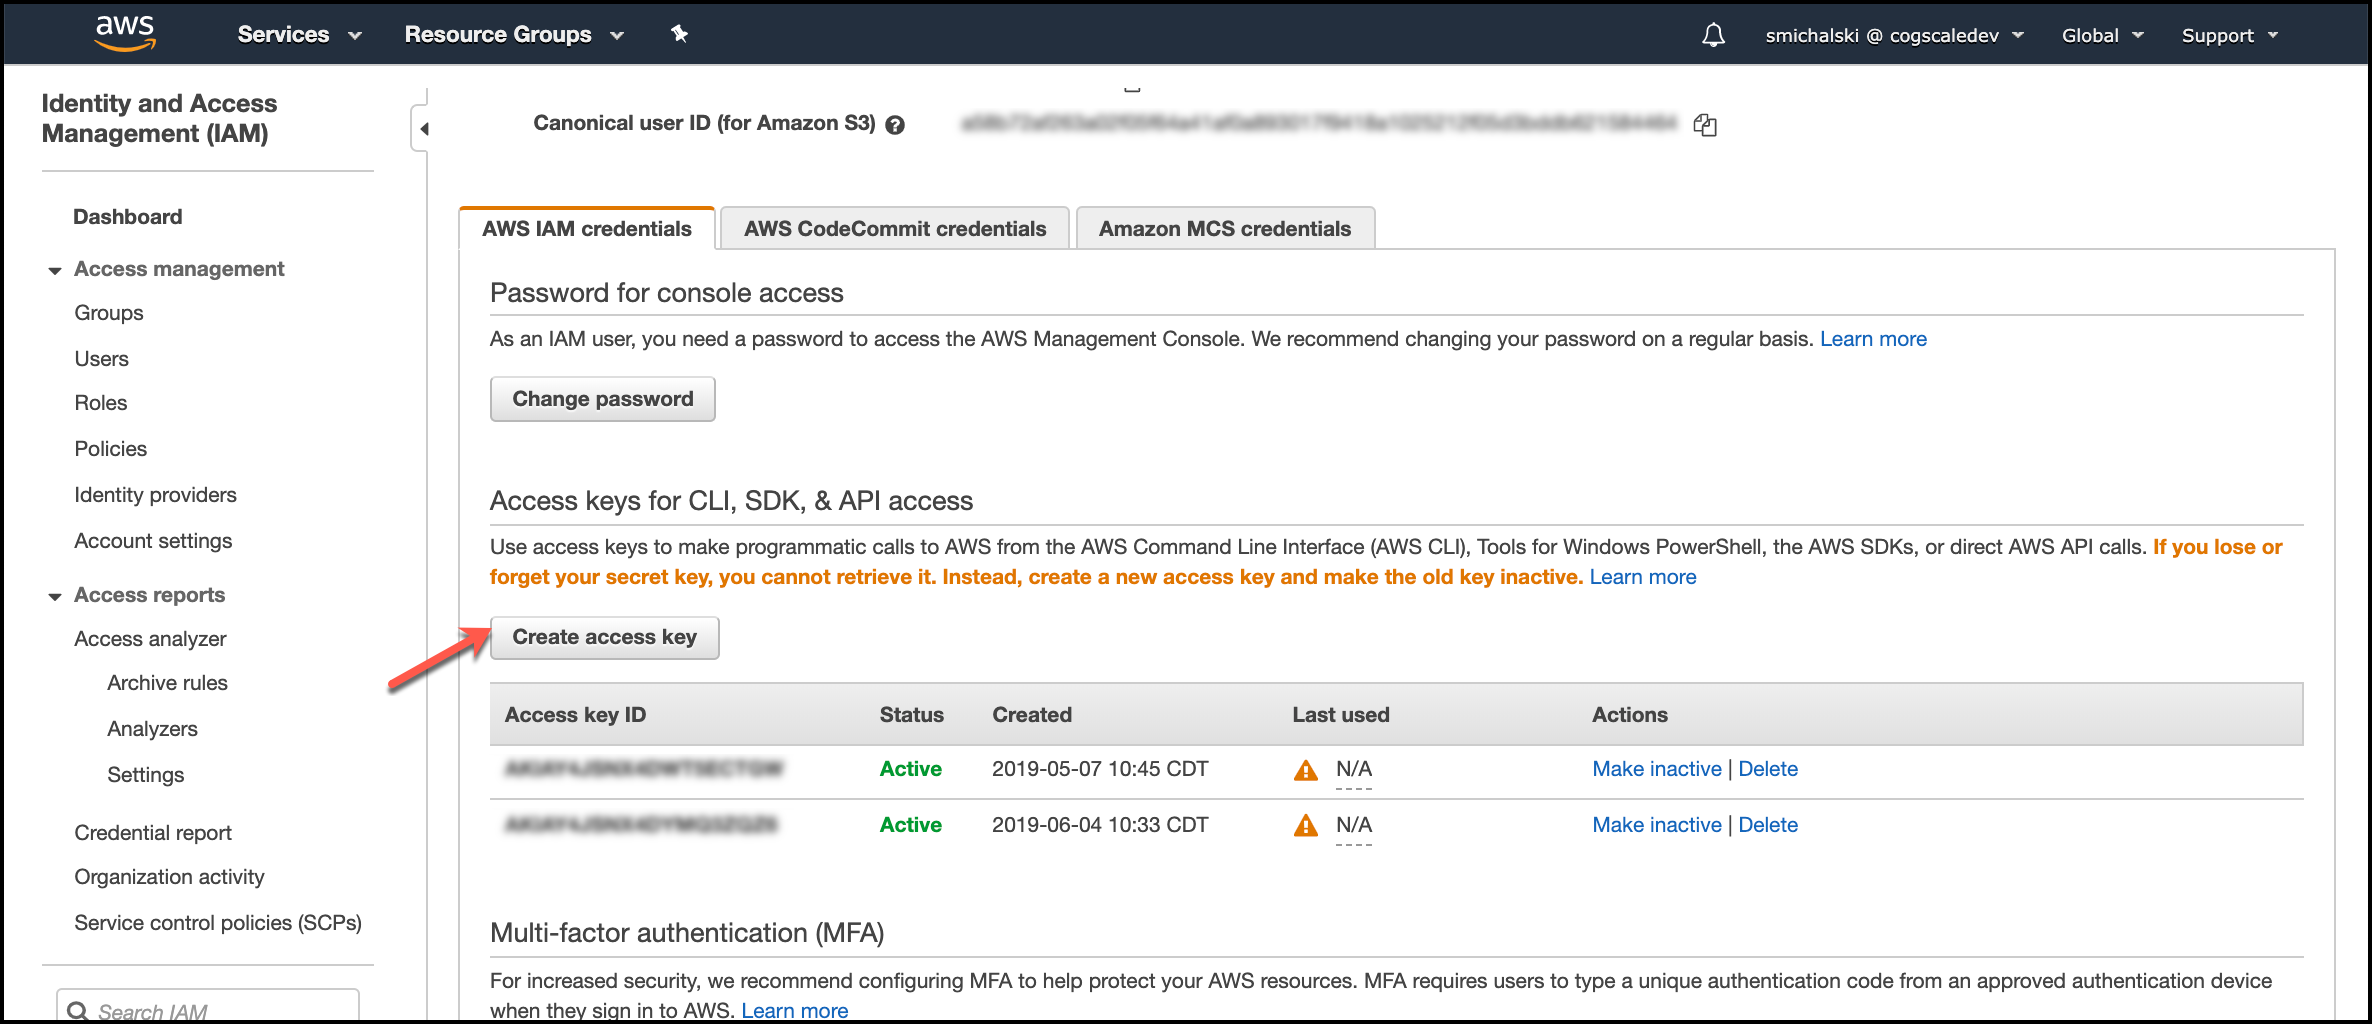
On the AWS IAM credentials tab under Access keys for CLI, SDK, & API access click Create access key.
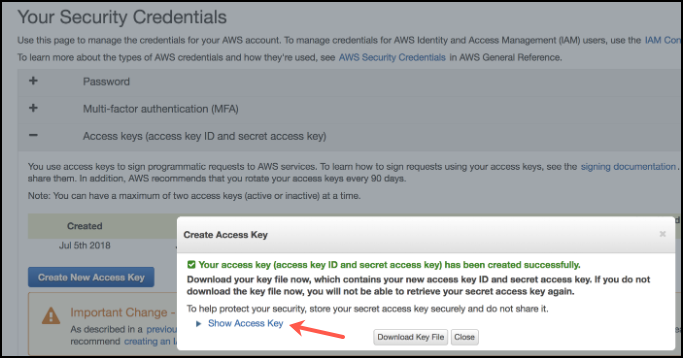
A message is displayed saying that your access key has been successfully created. Click Show Access Key to view the keys.
Click Download Key File for future access to these keys. There is no way to return to this dialog or to view the keys once you leave this page.
Make note of the Keys; you will need to enter these in the storage configuration dialog in Certifai Console in the next section.

Certifai Console storage setup
To complete the configuration and login to the Certifai Console you will need to obtain four pieces of information from the AWS Console.
From your AWS EC2 Console, you will need:
- Public IP address of your Certifai VM: enter this into a browser to bring up your Certifai Console following provisioning
- Instance ID: assigned during provisioning.
From the AWS storage and access key setup that you just completed, you will need the following to configure your reports storage on the Console storage configuration page:
- AWS Bucket Name
- AWS Access Key ID
- AWS Secret Access Key
Enter
https://<Public IP address>into a browser window to open the Certifai Console login page. (Chrome is the recommended browser)Info
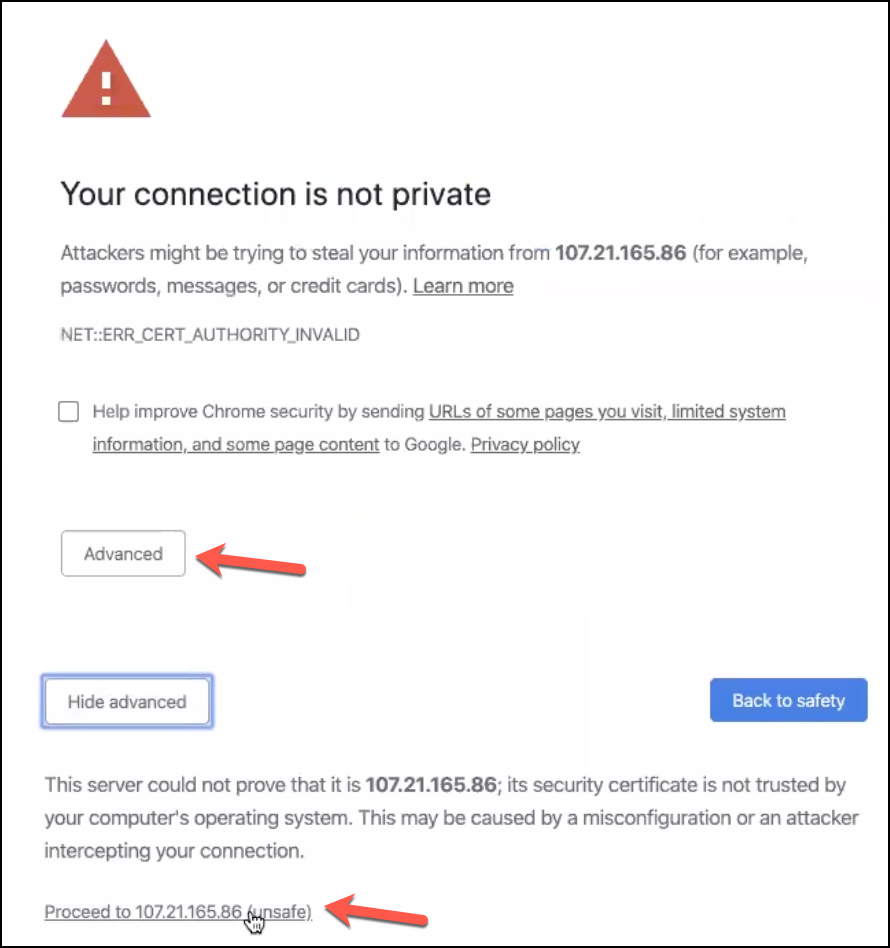
A warning message is display telling you that the connection is not private. Click on the link that exposes the Advanced settings. Click the link at the bottom that says "Proceed to <IP address>".
On the initial Certifai Console Login page enter your Instance ID and click SUBMIT..

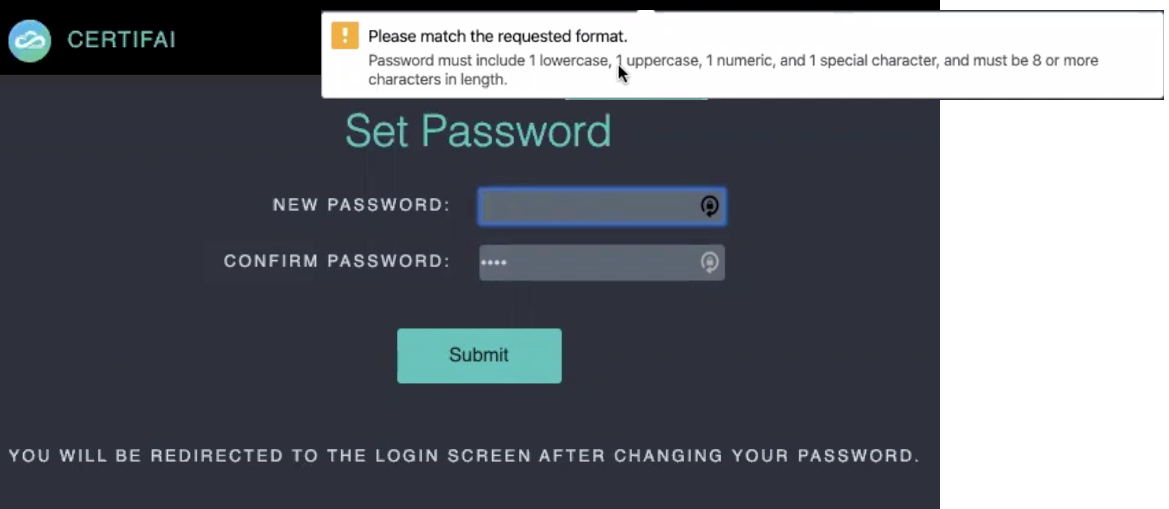
The "Set Password" page is displayed. You cannot proceed without setting a new password. Enter a strong password in the New Password field. Enter the same password into the Confirm Password field. Then click SUBMIT.
(We recommended 8 or more characters with one of each of the following: lowercase letter, uppercase letter, number, special character, no spaces)
You are redirected back to the login page where you must enter your new password for the "certifai" user and click SUBMIT. (NOTE: Do not change the username.)
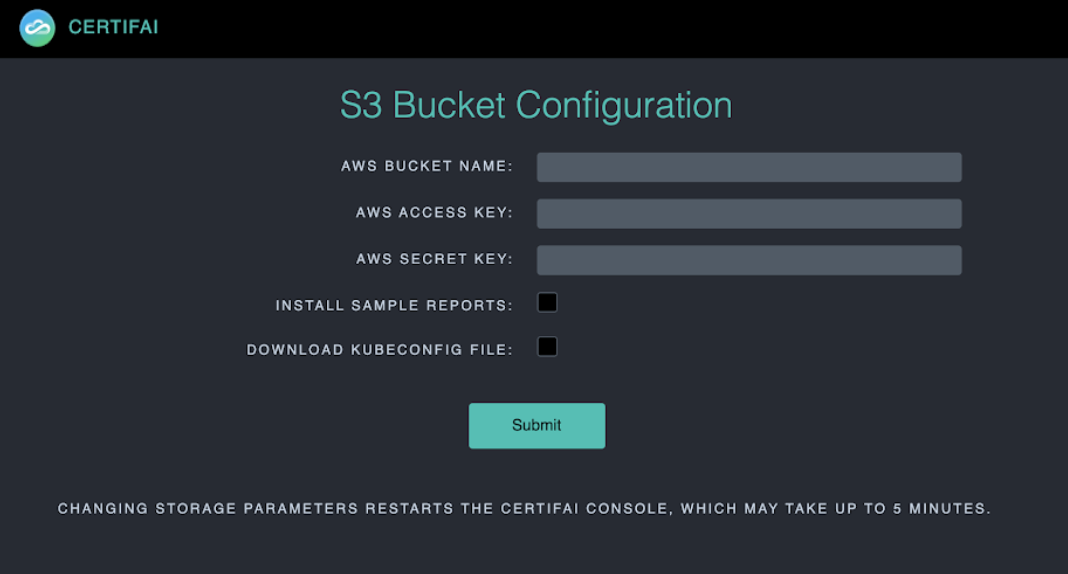
A Storage configuration page opens in Certifai Console with a warning displayed at the top. This is expected.
- a. AWS BUCKET NAME:
- b. AWS ACCESS KEY:
- c. AWS SECRET KEY:
- d. If you want to install the sample scan reports available by default with Certifai, leave Install Sample Reports checked. If you uncheck it the sample reports will not be installed.
- e. In order to run remote scan jobs using Kubernetes, check Download Kubernetes File. When this option is checked the
certifai.kubeconfig.jsonfile is automatically download to your local drive. - f. Click SUBMIT
Bookmark the IP address/URL. This will be where you access Certifai Console. Each time you return you must login to view sample scan reports or your own scan job results.
To learn more about navigating through the Console click here.
To learn more about the reports that are visualized in the Certifai Console click here.
Disable the "Forgot Password" link option
For improved security Certifai Pro users may want to disable the "Forgot Password" link on the Login page. This precaution prevents other people from your organization from using your account by changing the password.
- Go to the Login page.
- Check the DISABLE FORGOT PASSWORD checkbox.
- Accept the verification message.
- Click SUBMIT.
When you return to the Login page, the "Forgot Password" link is no longer displayed.
NOTE
If you forget your password, you will not be able to reset or recover this instance of Certifai Pro. You will need to setup a new Certifai Pro instance by following the setup instructions above.
Next steps
Click the help icon at the top right to expose the right menu.
Download and install the Toolkit.
Info
A local version of the Certifai Console is provisioned as a component of the Toolkit. It can be used only for viewing result of non-production scans that are run locally. You will not need to login to the local Console.
Run scan jobs in the AWS Cloud and view result visualizations in the remote Console.