Install Cortex Tools
This is a guide to installing SENSA Fabric tools on Windows and Mac/Linux:
- SENSA Fabric CLI
- Python Libraries (optional)
Also see:
- Install RHOS Operator for installation instructions for installing Cortex using Kubernetes on RedHat OpenShift OperatorHub
- Introduction to Fabric for Cortex component descriptions
Prerequisites
The following tables detail all the supported operating systems and software needed to run every component in Cortex.
Instructions on how get started with each component can be found by clicking that corresponding component's name in the table.
For backend dependencies see Cortex-Charts Installation and Configuration page.
MacOS/Linux
| Cortex Component | Requirements |
|---|---|
| Base | - macOS X Sierra or greater |
| Console | - Minimum screen resolution 1400x900px |
| CLI | - Node 16 is required to use the CLI - Node package manager - NPM - Node version manager - NVM |
| Admin Console | - A Chromium-based web browser, latest version of Chrome recommended |
| Cortex Python Library | - Docker v20.x (API v1.12) or greater is required for building Skills using the Python Lib |
Windows
| Cortex Component | Requirements |
|---|---|
| Base | - Windows 7 or Windows 10 |
| Console | - Minimum screen resolution 1400x900px |
| CLI | - 16 is required to use the CLI - Node package manager - NPM - Node version manager - NVM for Windows |
| Admin Console | - A web browser, latest version of Chrome recommended |
| Cortex Python Library | - Docker v20.x (API v1.12) or greater is required for building Skills using the Python Lib |
Installation Overview (recommended)
MacOS/Linux Installation Steps
Steps listed below are detailed in the sections that follow.
- Open a terminal window.
- Install NVM (Node Version Manager).
- Install NodeJS using nvm.
- Install the SENSA Fabric CLI.
- Install Docker.
- Install the Profiles SDK.
- If you, plan to use Cortex-python libraries, install Conda.
Windows Installation Steps
Steps 4-7 listed below are detailed in the sections that follow.
- Install PowerShell (highly recommended!)
- Open a PowerShell (Administrator) command window.
- Make sure that your
ExecutionPolicyis setUnrestricted. Enterget-executionpolicy. If theExecutionPolicyis notUnrestricted, enterSet-ExecutionPolicy Unrestricted -Scope CurrentUser -Force -Verbose. - Install NVM for Windows(See section below for details)
- Install NodeJS using nvm.
- Install the SENSA Fabric CLI.
- Install Docker.
- Install the Profiles SDK.
- If you, plan to use Cortex-python libraries, install Conda.
Install Node prerequisite
Install NVM on Windows
When installing NVM for Windows, there are two restrictions:
- The installation path defaults to the current user account. If a different user on the same machine tries an
nvmcommand, the command will not execute. To solve this issue, installnvmseparately on each user's account. - Colorization packages for PowerShell commands might add Unicode to the
nodeversion number, preventing Cortex from fetching the correct version of node. To solve this, turn off colorization (Windows Key + CTRL + C toggles the color filter on and off); then reinstallnode.
To install NVM for Windows:
Go to the NVM WINDOWS repo README
Scroll to DOWNLOAD NOW button (Screen shot).
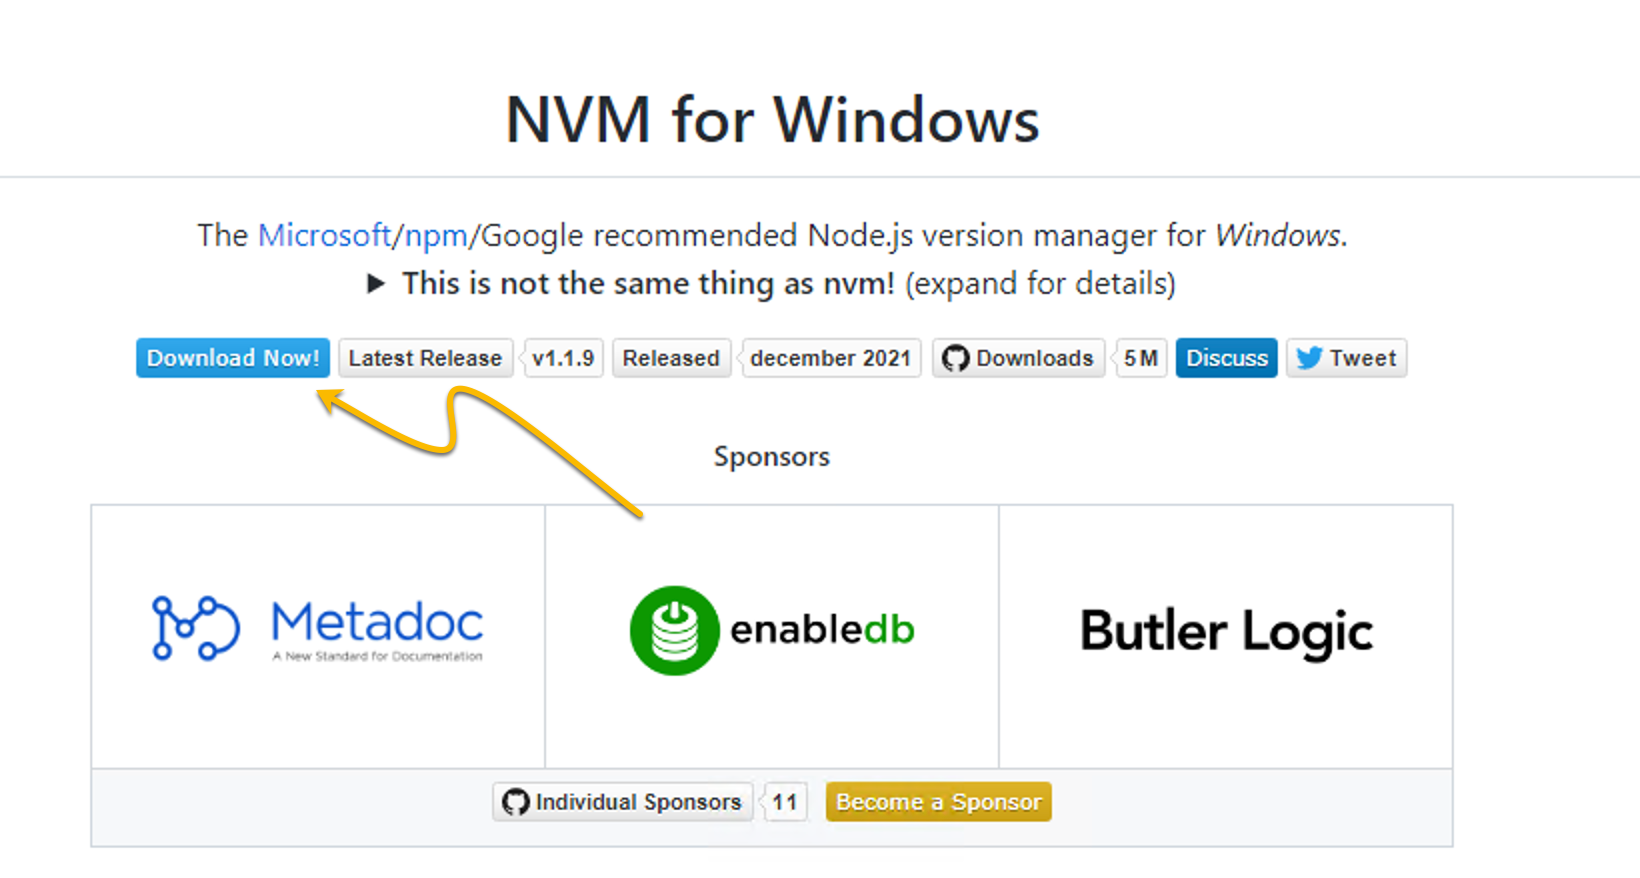
Scroll past release notes to list of binaries.
Click nvm.setup.exe and download.

Open the file and click through the installer wizard.
Install NVM on MacOS/linux
NVM is written for MacOS/Linux.
Instructions for installing NVM are found here.
You may either download and run the install script manually, or use the following cURL or Wget command:
curl -o- https://raw.githubusercontent.com/nvm-sh/nvm/v0.39.1/install.sh
wget -qO- https://raw.githubusercontent.com/nvm-sh/nvm/v0.39.1/install.sh
Install Nodejs using NVM (recommended)
On Mac/ Linux and Windows PowerShell, you install node from nvm the same way.
Open a new terminal or PowerShell window.
Verify the nvm is installed. (see section below)
Run the following command.
nvm install <latest or version number>EXAMPLE
nvm install 16.13.0To use that version of node run:
nvm use 16.13.0Verify the node installation.
Verify nvm and npm installations
You must have nodejs installed on you system in order to install the Cortex client. Node 16.x is recommended.
Test if node is installed properly by executing the following commands, if it is NOT available, you must install it using an option described below.
node -v
npm -v
Nodejs Installation Alternatives
Install nodejs as an Administrator or Root-user
NOTE: Do NOT attempt to use odd versions of node for installing Fabric CLI. Version 16 is currently tested.
Install node on the system as Administrator or Root-user on:
- Redhat/Centos Linux: Run
sudo yum install nodejs - Ubuntu/Debian Linux: Run
sudo apt install nodejs - Windows 10: Download the Node.js installer, which includes the NPM package manager. Launch it and follow the install wizard, installing in the default location.
Verify the installation on your system.
Install nodejs Locally or as a Non-root user
On MACOS/Linux
- Create a
cortex/install folder.mkdir -p cortex/ - Set your context to that folder.
cd cortex/ - Download nodejs 16.x binaries from https://nodejs.org/en. Select the binary that is created for your operating system.
- In your local drive find the path to that binary (Example:
download/release/lv16.x/node-<VERSION>-linux-x64.tar.gz).wget https://nodejs.org/dist/v16.3.1/node-v16.3.1-linux-x64.tar.gz - Extract the binaries to the install folder.
tar xfvz node-v16.3.1-linux-x64.tar.gz - Add NODEJS_HOME and PATH env variables for node, append the following to your
~/.bash_profileecho "export NODEJS_HOME=$PWD/node-v16.3.1-linux-x64" >> ~/.bash_profile
echo "export PATH=$PATH:$NODEJS_HOME/bin" >> ~/.bash_profile
On WINDOWS PowerShell
- Create a local folder
mkdir cortex - Set your context within that folder
cd cortex - Pull down your Node version binary.
find . - node-v16.3.1-windows-x64.zip . - Unzip the binary.
compact /u "Users/Admin/Downloads/node-v16.3.1-windows-x64.zip" /i /Q - Add
C:\Program Files\nodejsto yourPATHenvironment variable:
- a. Use the global Search to find "Environment Variables".
- b. Click "Edit system environment variables".
- c. Click "Environment Variables" in the dialog.
- d. In the "System Variables" box, search for
Pathand edit it to includeC:\Program Files\nodejs.(Make sure it is separated from any other paths by;)
You must restart any currently-opened command prompts before changes take effect.
Set node default version
If you have multiple versions of node (npm) installed, you must set a version 16.x as the default (to be used in subsequent terminal sessions) and/or set that version as the version for the active session.
NVM does not automatically configure Node to the most recent version, so it is not enough to have a required version installed.
- Set the default Node version for subsequent terminal sessions. Exit the terminal and open a new session with the default version.
nvm alias default node - Set the active Node version in your session.Add a version number to the end of the above commands to set as specific version as default or active.
nvm use default
Install the CLI
The Cortex command-line interface (CLI) helps you to perform many Cortex tasks from your terminal, including:
- Generating and deploying skills
- Invoking agent services
- Configuring jobs and connections
- And many other common developer tasks
Use a node version manager, like NVM, to manage your Node installation. This can help to avoid file permission issues. See the npm documentation for help.
Install the Cortex CLI with NPM. The --location=global flag tells npm to install the
cortex CLI globally.
npm install --location=global cortex-cli
To install a specific version of the CLI run:
npm install <package>@<version>
EXAMPLE ENTER THE APPROPRIATE VERSION NUMBER
npm install cortex-cli@2.0.5
DO NOT run pip install cortex or python3 -m pip install cortex. CognitiveScale does not own the cortex package. Installing this package may interfere with the operation of the CLI and the cortex-python libraries.
Test that the CLI is installed:
cortex -v
Install Cortex CLI as a non-root user (Mac and Linux)
If you are required to install the Cortex as a non-root user on your system follow the instructions below.
- Create a
cortex/install folder.mkdir -p cortex/
cd cortex/ - Install cortex-cli within your install folder.
npm install cortex-cli - Add cortex client to your PATH, append the following to your
~/.bash_profile.export PATH=$PATH:$PWD/node_modules/.bin - Test that cortex-cli is installed and available in the
$PATH.cortex -h
### Install Cortex CLI as a non-root user (Windows)
If you are required to install the Cortex as a non-root user on your system follow the instructions below.
- Create a
cortex/install folder.mkdir -p cortex/
cd cortex/ - Install cortex-cli within your install folder.
npm install cortex-cli - Add cortex client to your PATH, append the following to your
~/.bash_profile.export PATH=$PATH:$PWD/node_modules/.bin - Test that cortex-cli is installed and available in the
$PATH.cortex -h
See Use the CLI to configure the CLI.
Install the Cortex Profiles SDK
Installation instructions are provided in the Profiles SDK Examples Repo.
Install Docker
To build and run models and actions, Docker 1.9 or greater must be running locally on your computer. If you have not already installed Docker 1.9, use the following installation instructions. You need to create a Docker Hub account to download Docker.
- For Mac users, see Install Docker for Mac.
After Docker has been installed locally, use the following steps to start running Docker:
1. Go into your Applications folder and click **Docker**.
2. The Docker logo will appear in either the Mac or Windows toolbar. Click the logo and verify that Docker is running.
For Windows users, see Install Docker For Windows.
After Docker has been installed locally, use the following steps to start running Docker:
- Search for Docker, and select Docker Desktop in the search results.
- The Docker menu (whale menu) displays the Docker Subscription Service Agreement window. It includes a change to the terms of use for Docker Desktop.
- Click the checkbox to indicate that you accept the updated terms and then click Accept to continue. Docker Desktop starts after you accept the terms.
Install cortex-python library
In Cortex v6.x only the base library, cortex-python, is available.
In the cortex-python GitHub repo, the setup.py file specifies that the following libraries are required:
install_requires=[
      'requests>=2.12.4,<3',
      'requests-toolbelt>=0.8.0',
      'python-jwt>=3.3.0,<4.0',
      'pyyaml>=5.3.1,<6',
      'cuid>=0.3,<1',
      'tenacity>=8.0,<9.0',
      'dill>=0.2.8.2'
  ]
Install the cortex-python library using pip3:
pip3 install cortex-python
Upgrade cortex-python libraries
Upgrade the the cortex-python libraries using pip:
pip3 install -U cortex-python
Install Profiles SDK
The Profiles SDK is used to build complex schemas with a substantial amount of data.